Metal Testing Equipment
Standards
ASTM D412, ASTM D638, ASTM D790, ASTM E4, ASTM E8, ISO 1184, ISO 178, ISO 37, ISO 527, ISO 604, ISO 6892, ISO 7500-1


Description
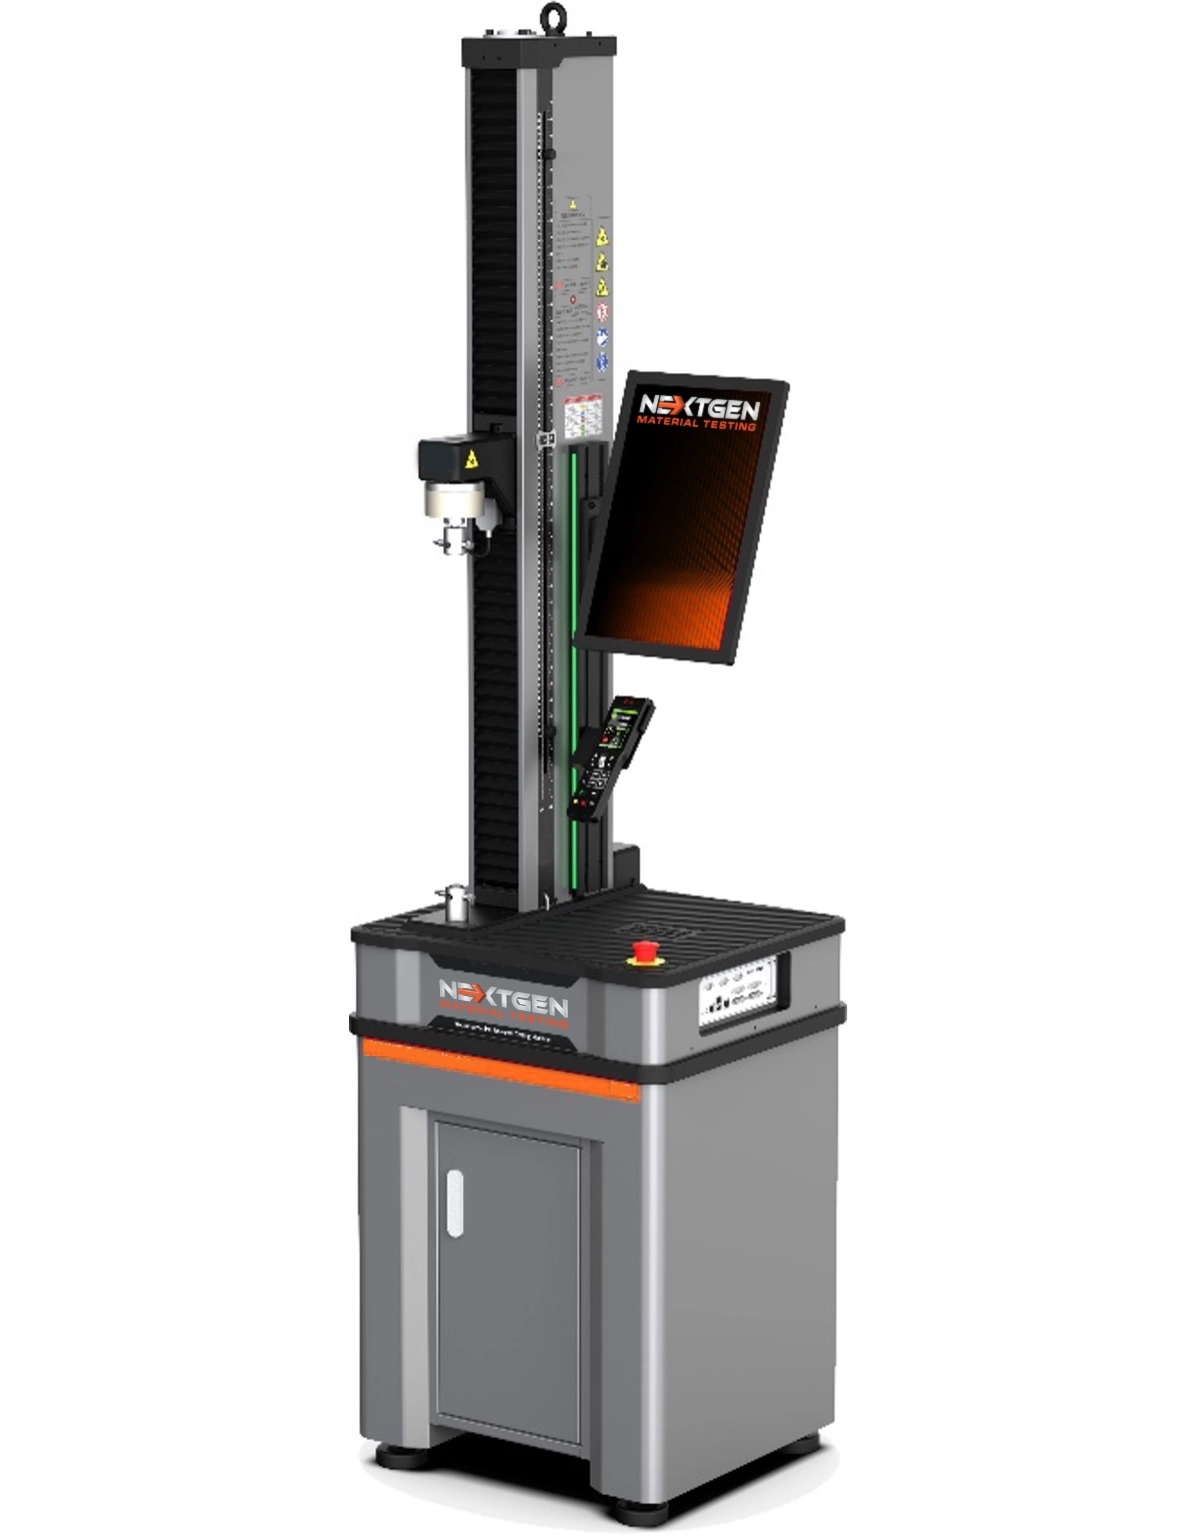
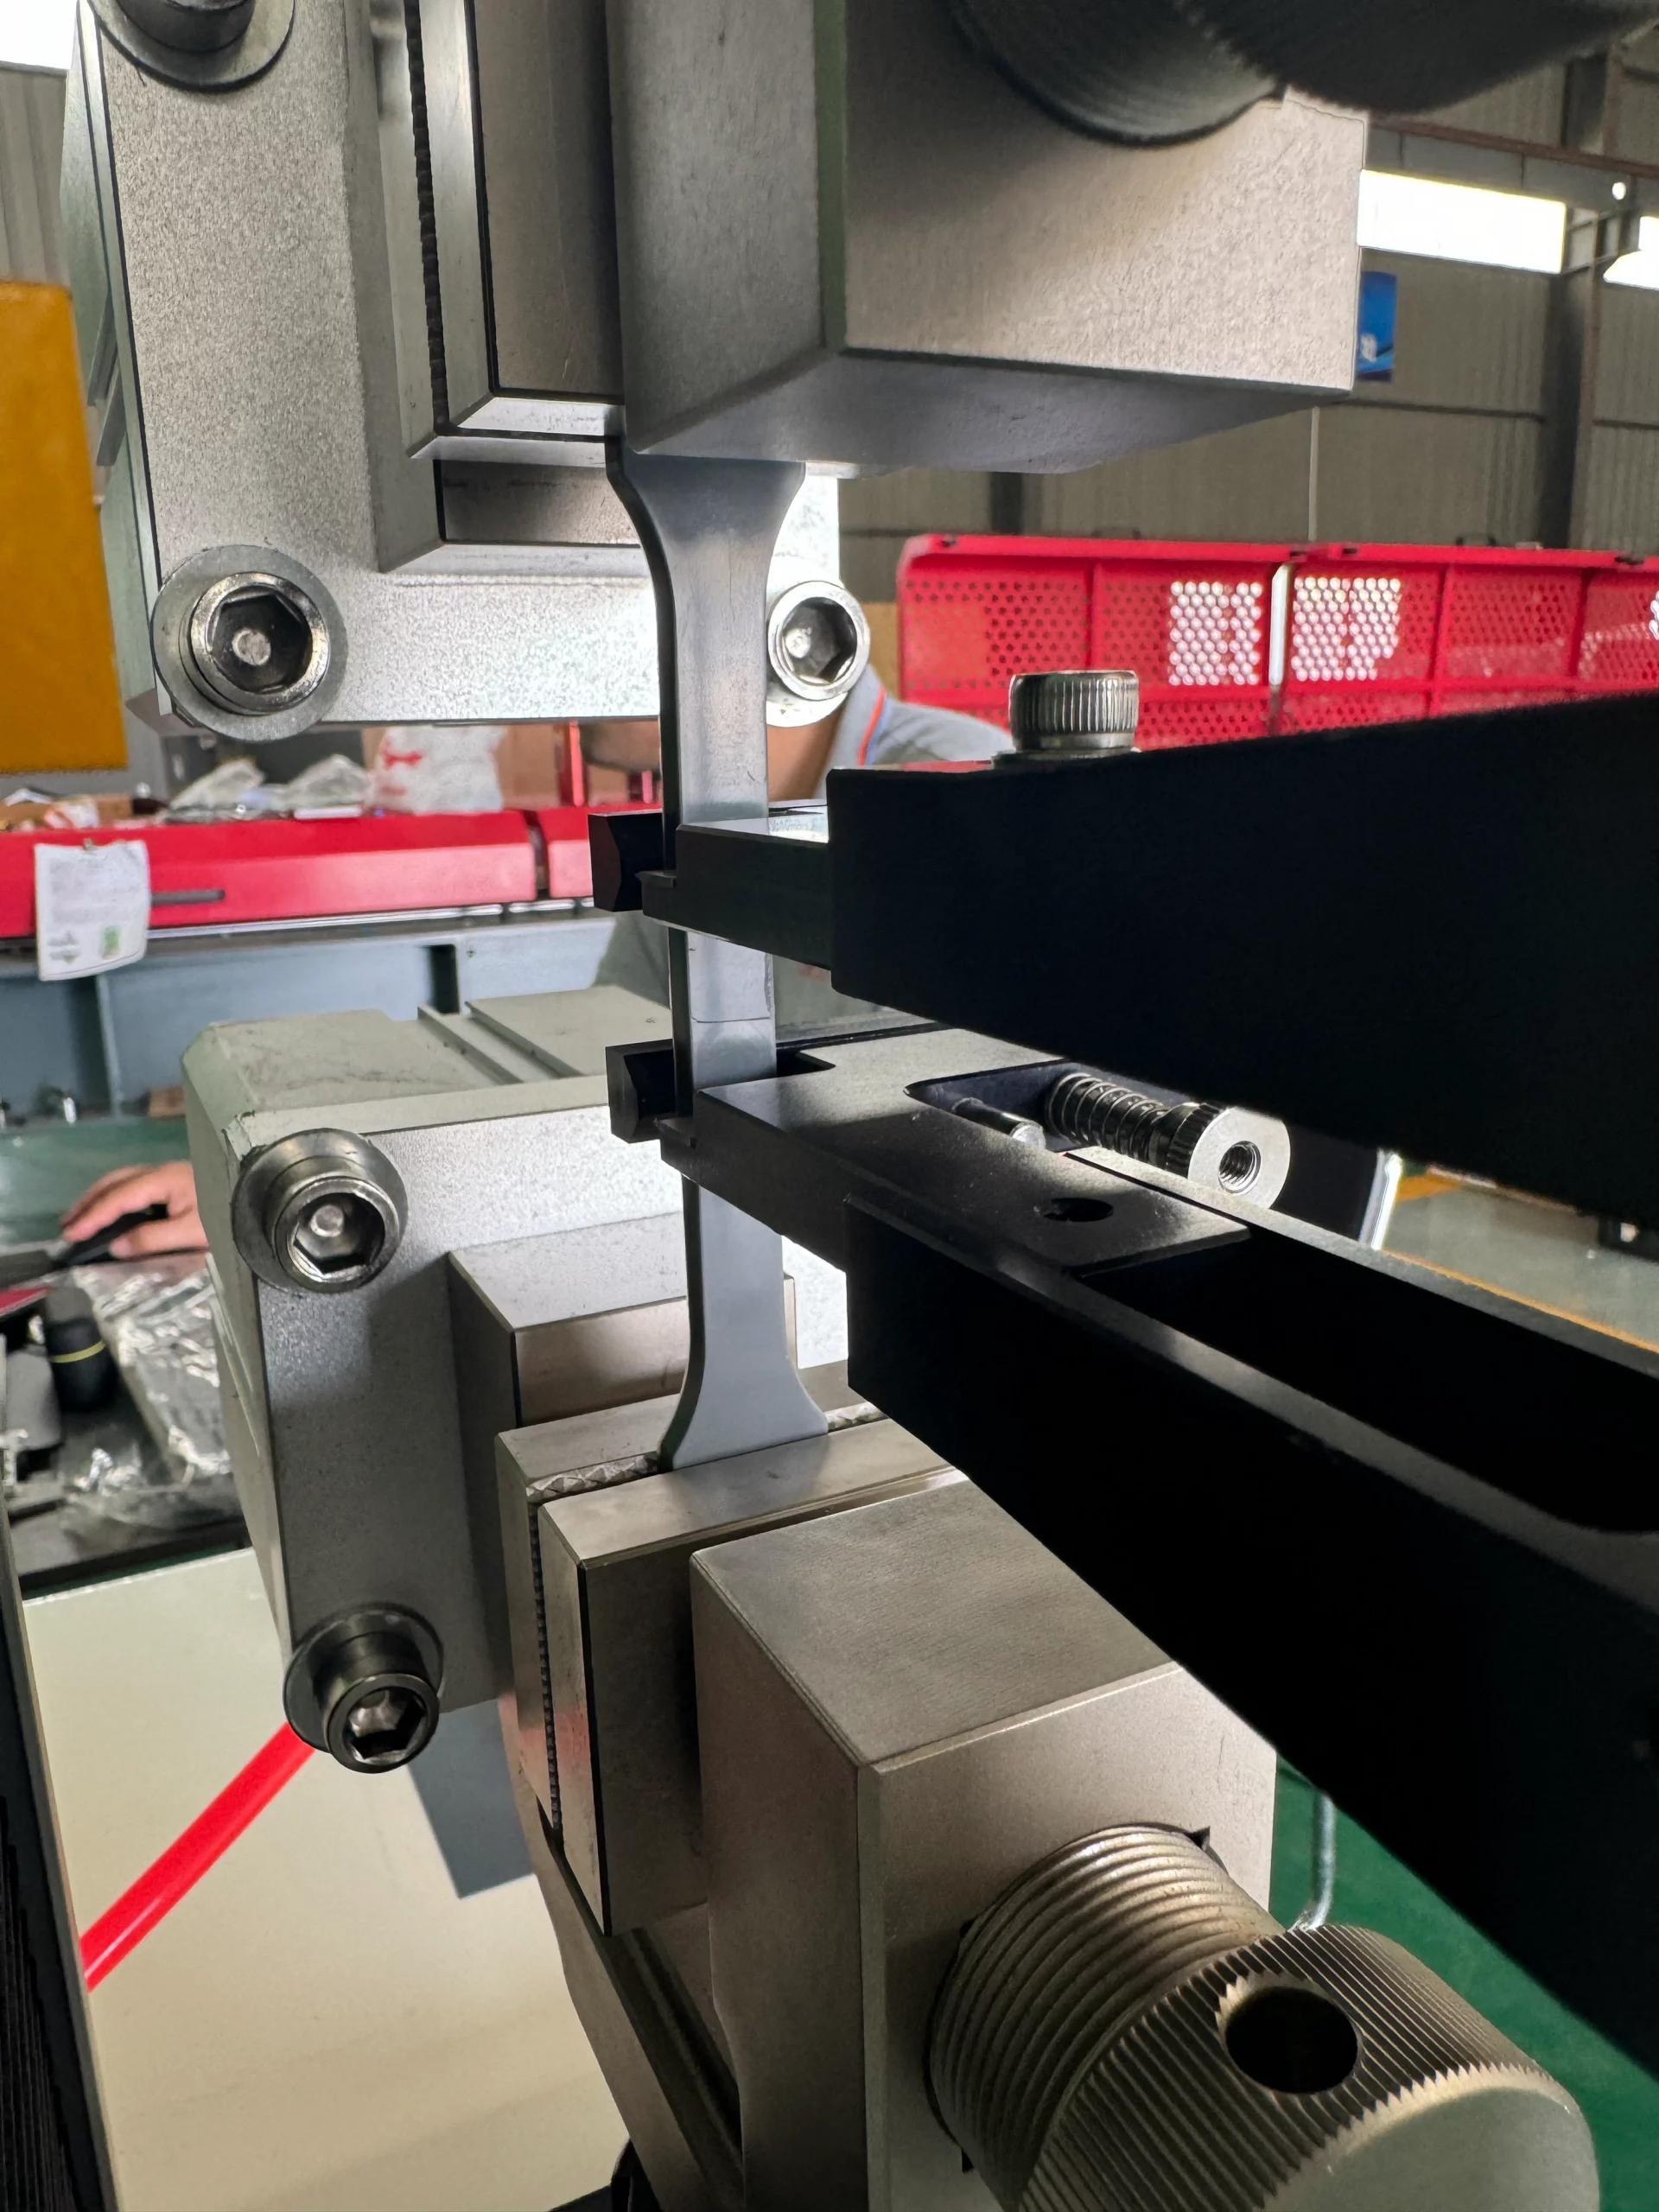
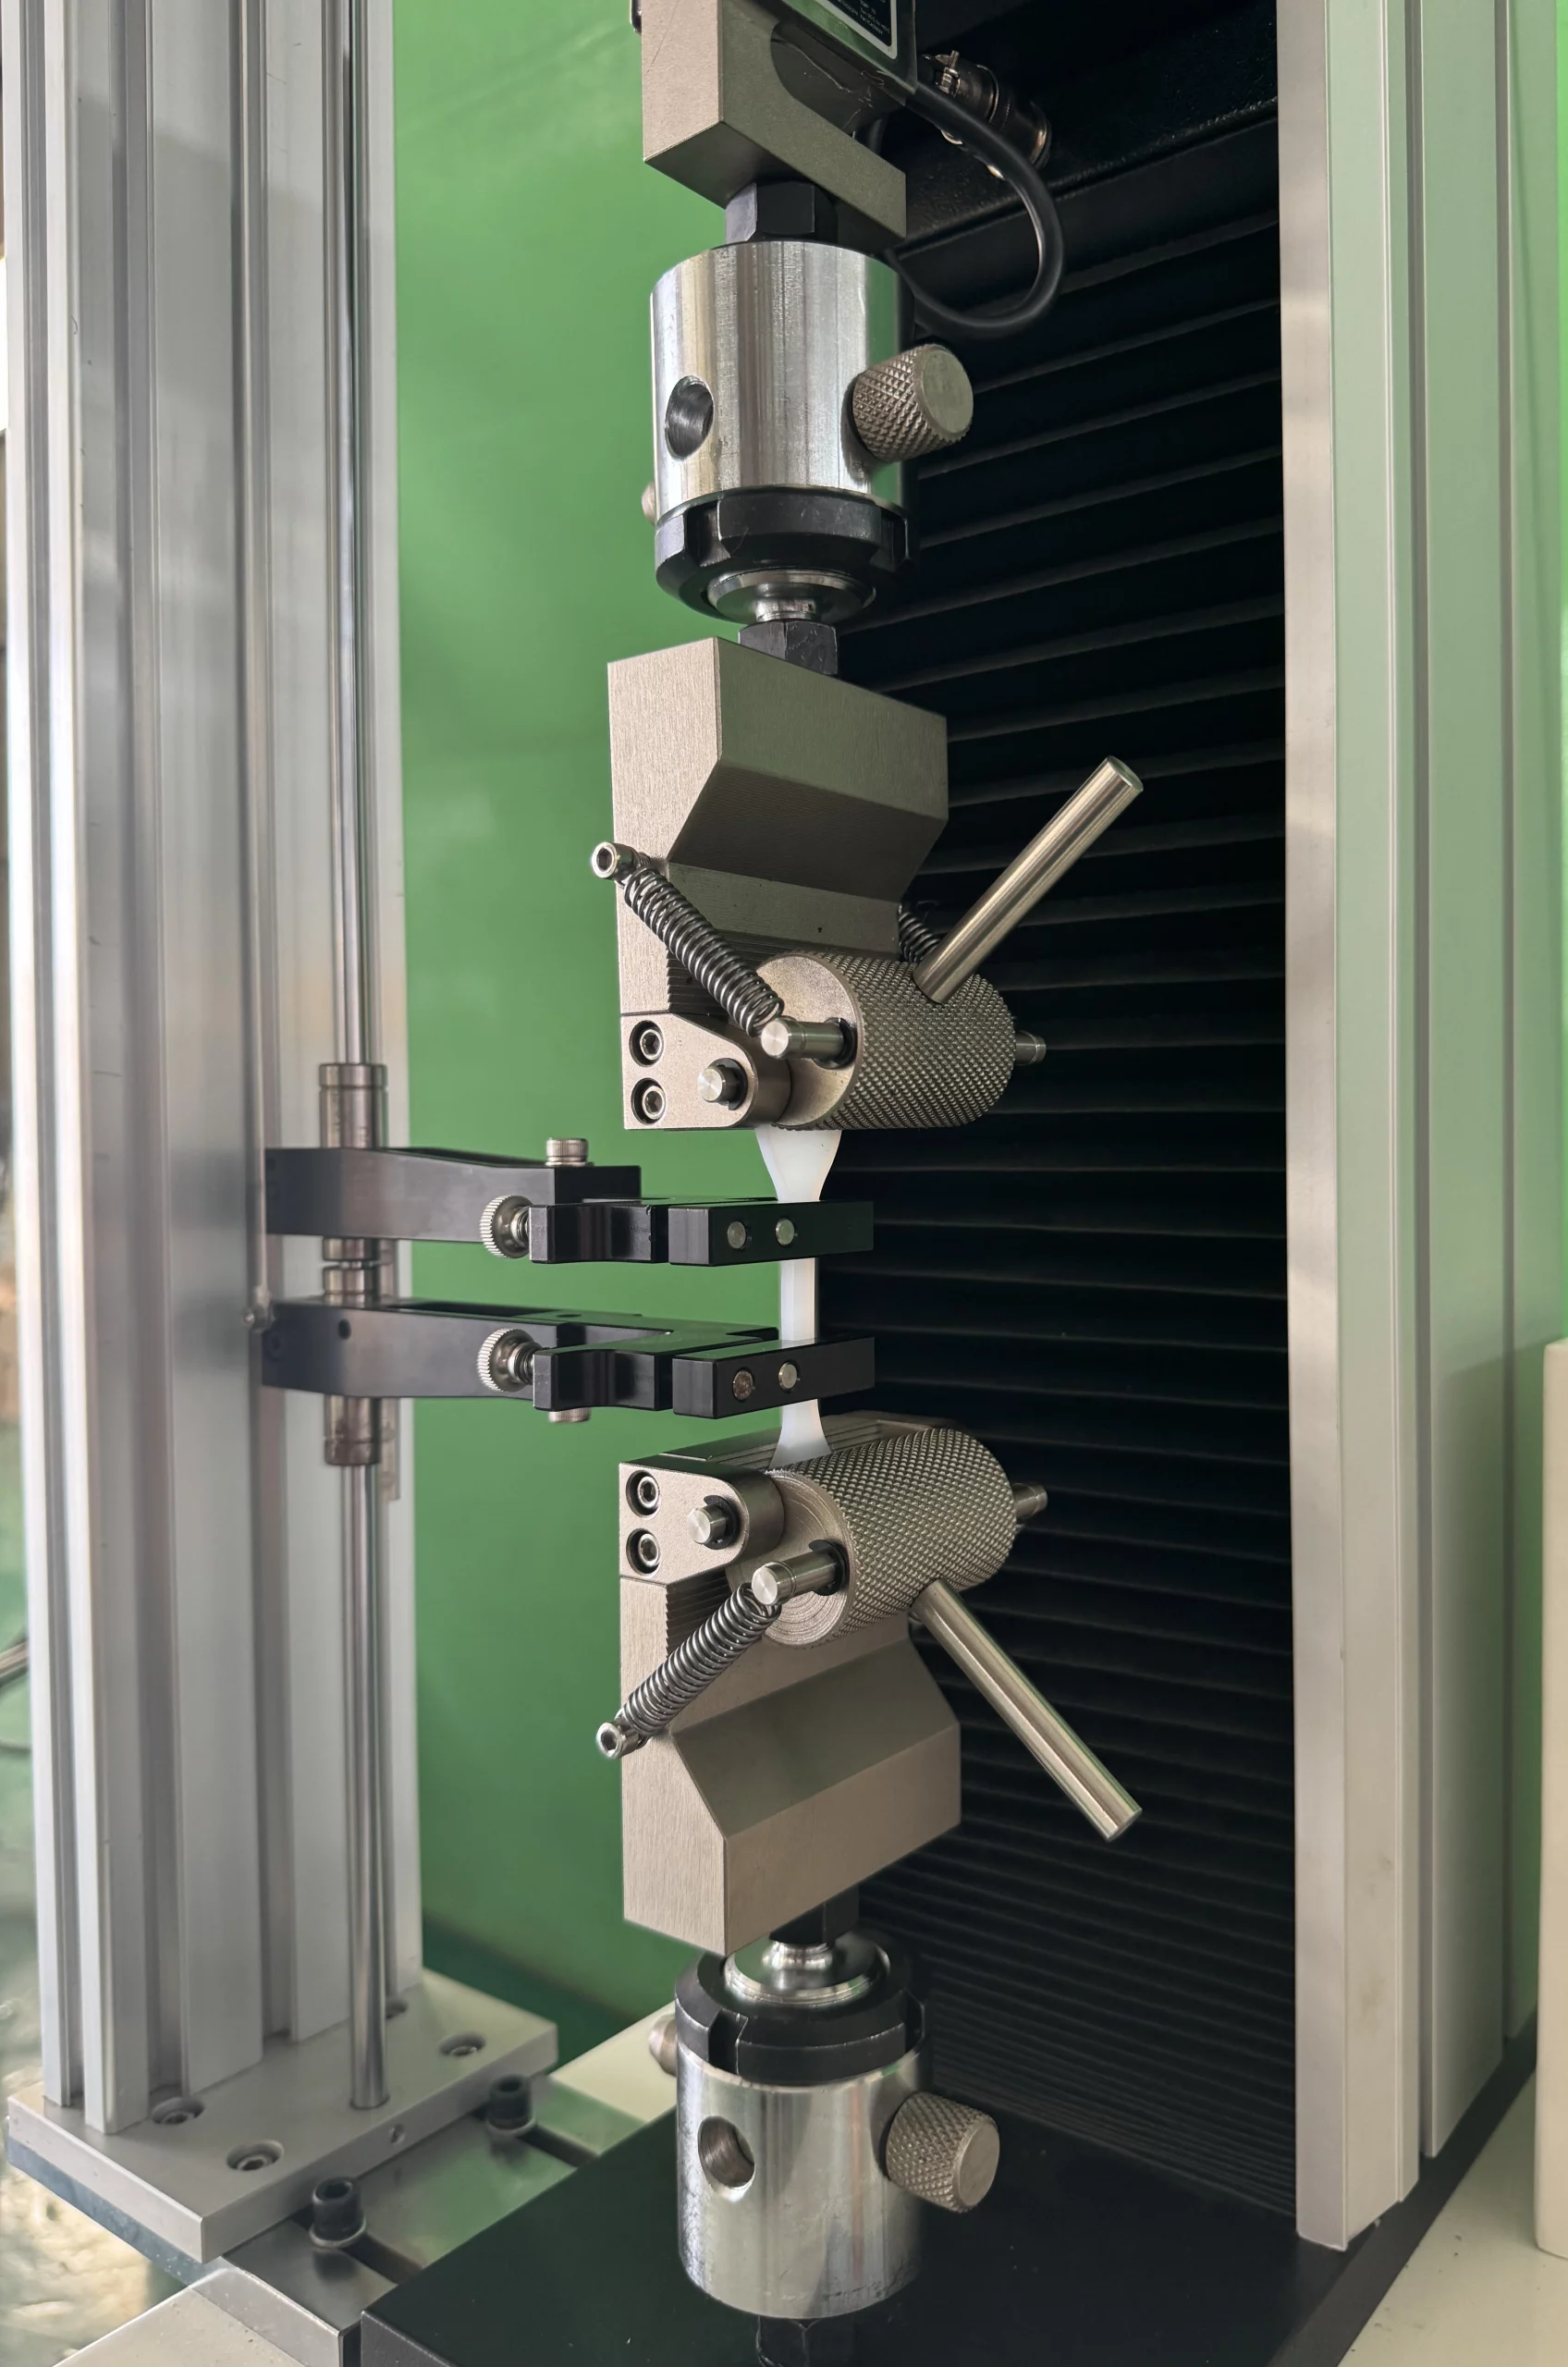
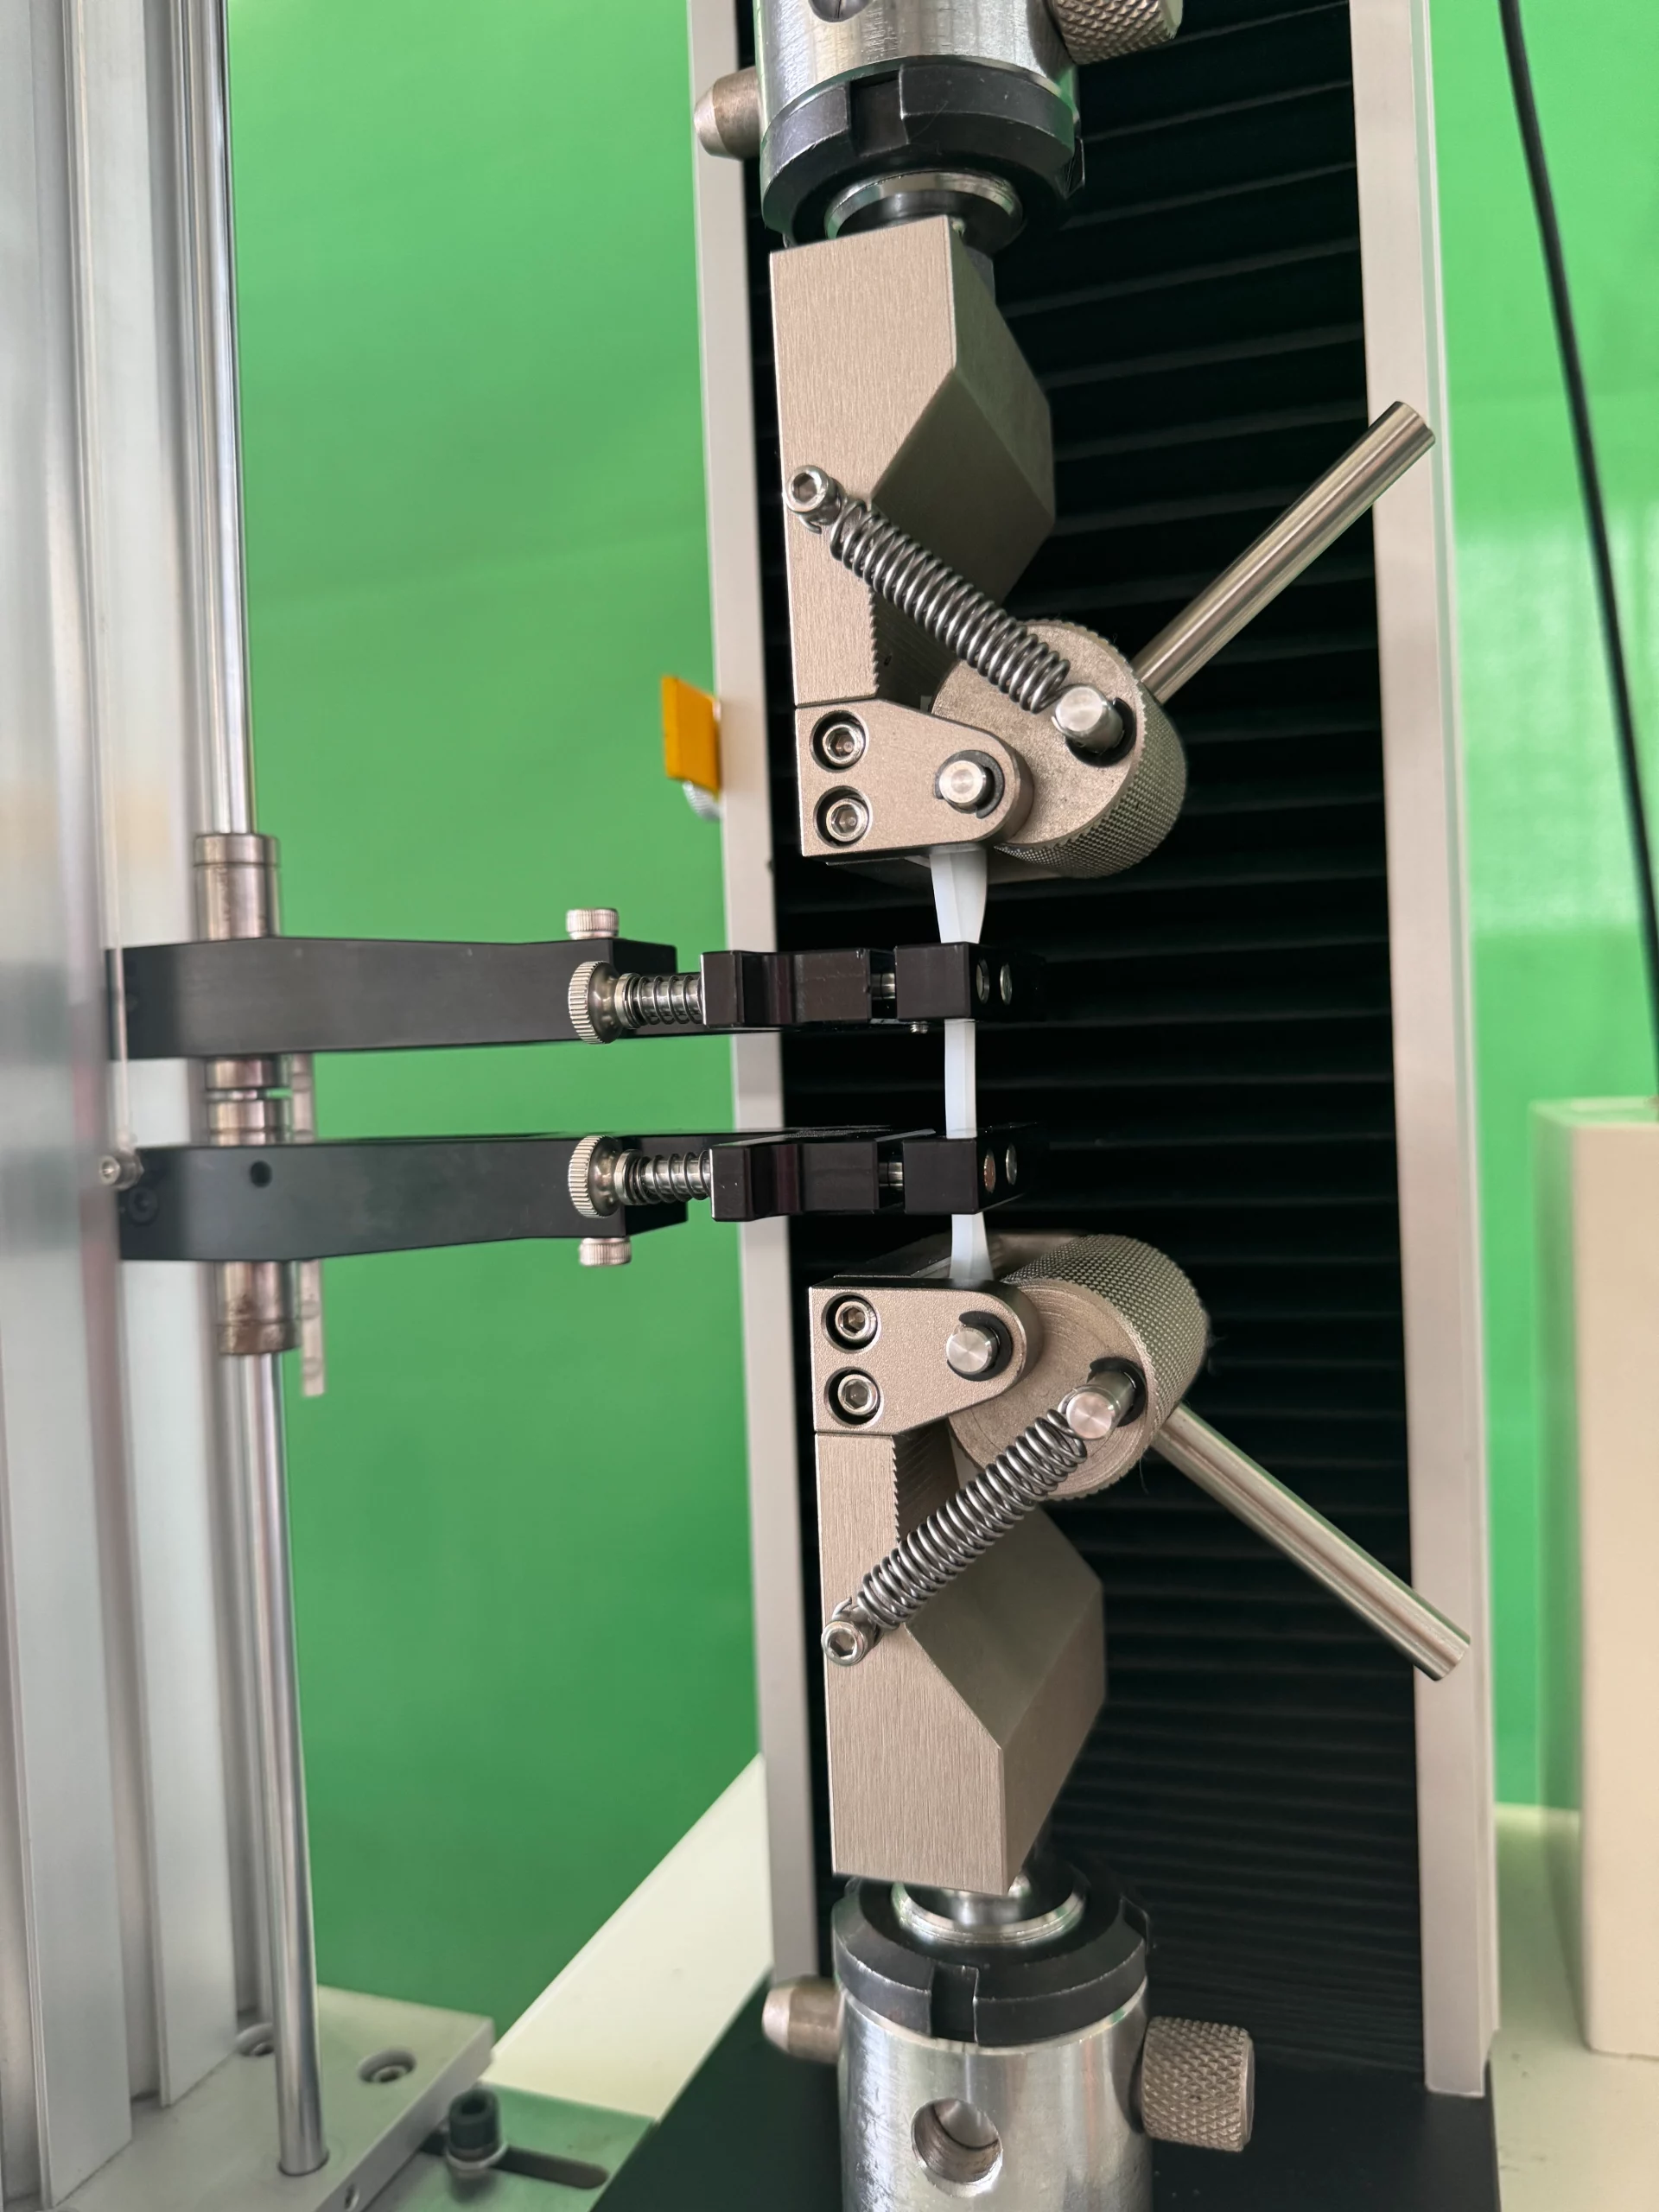
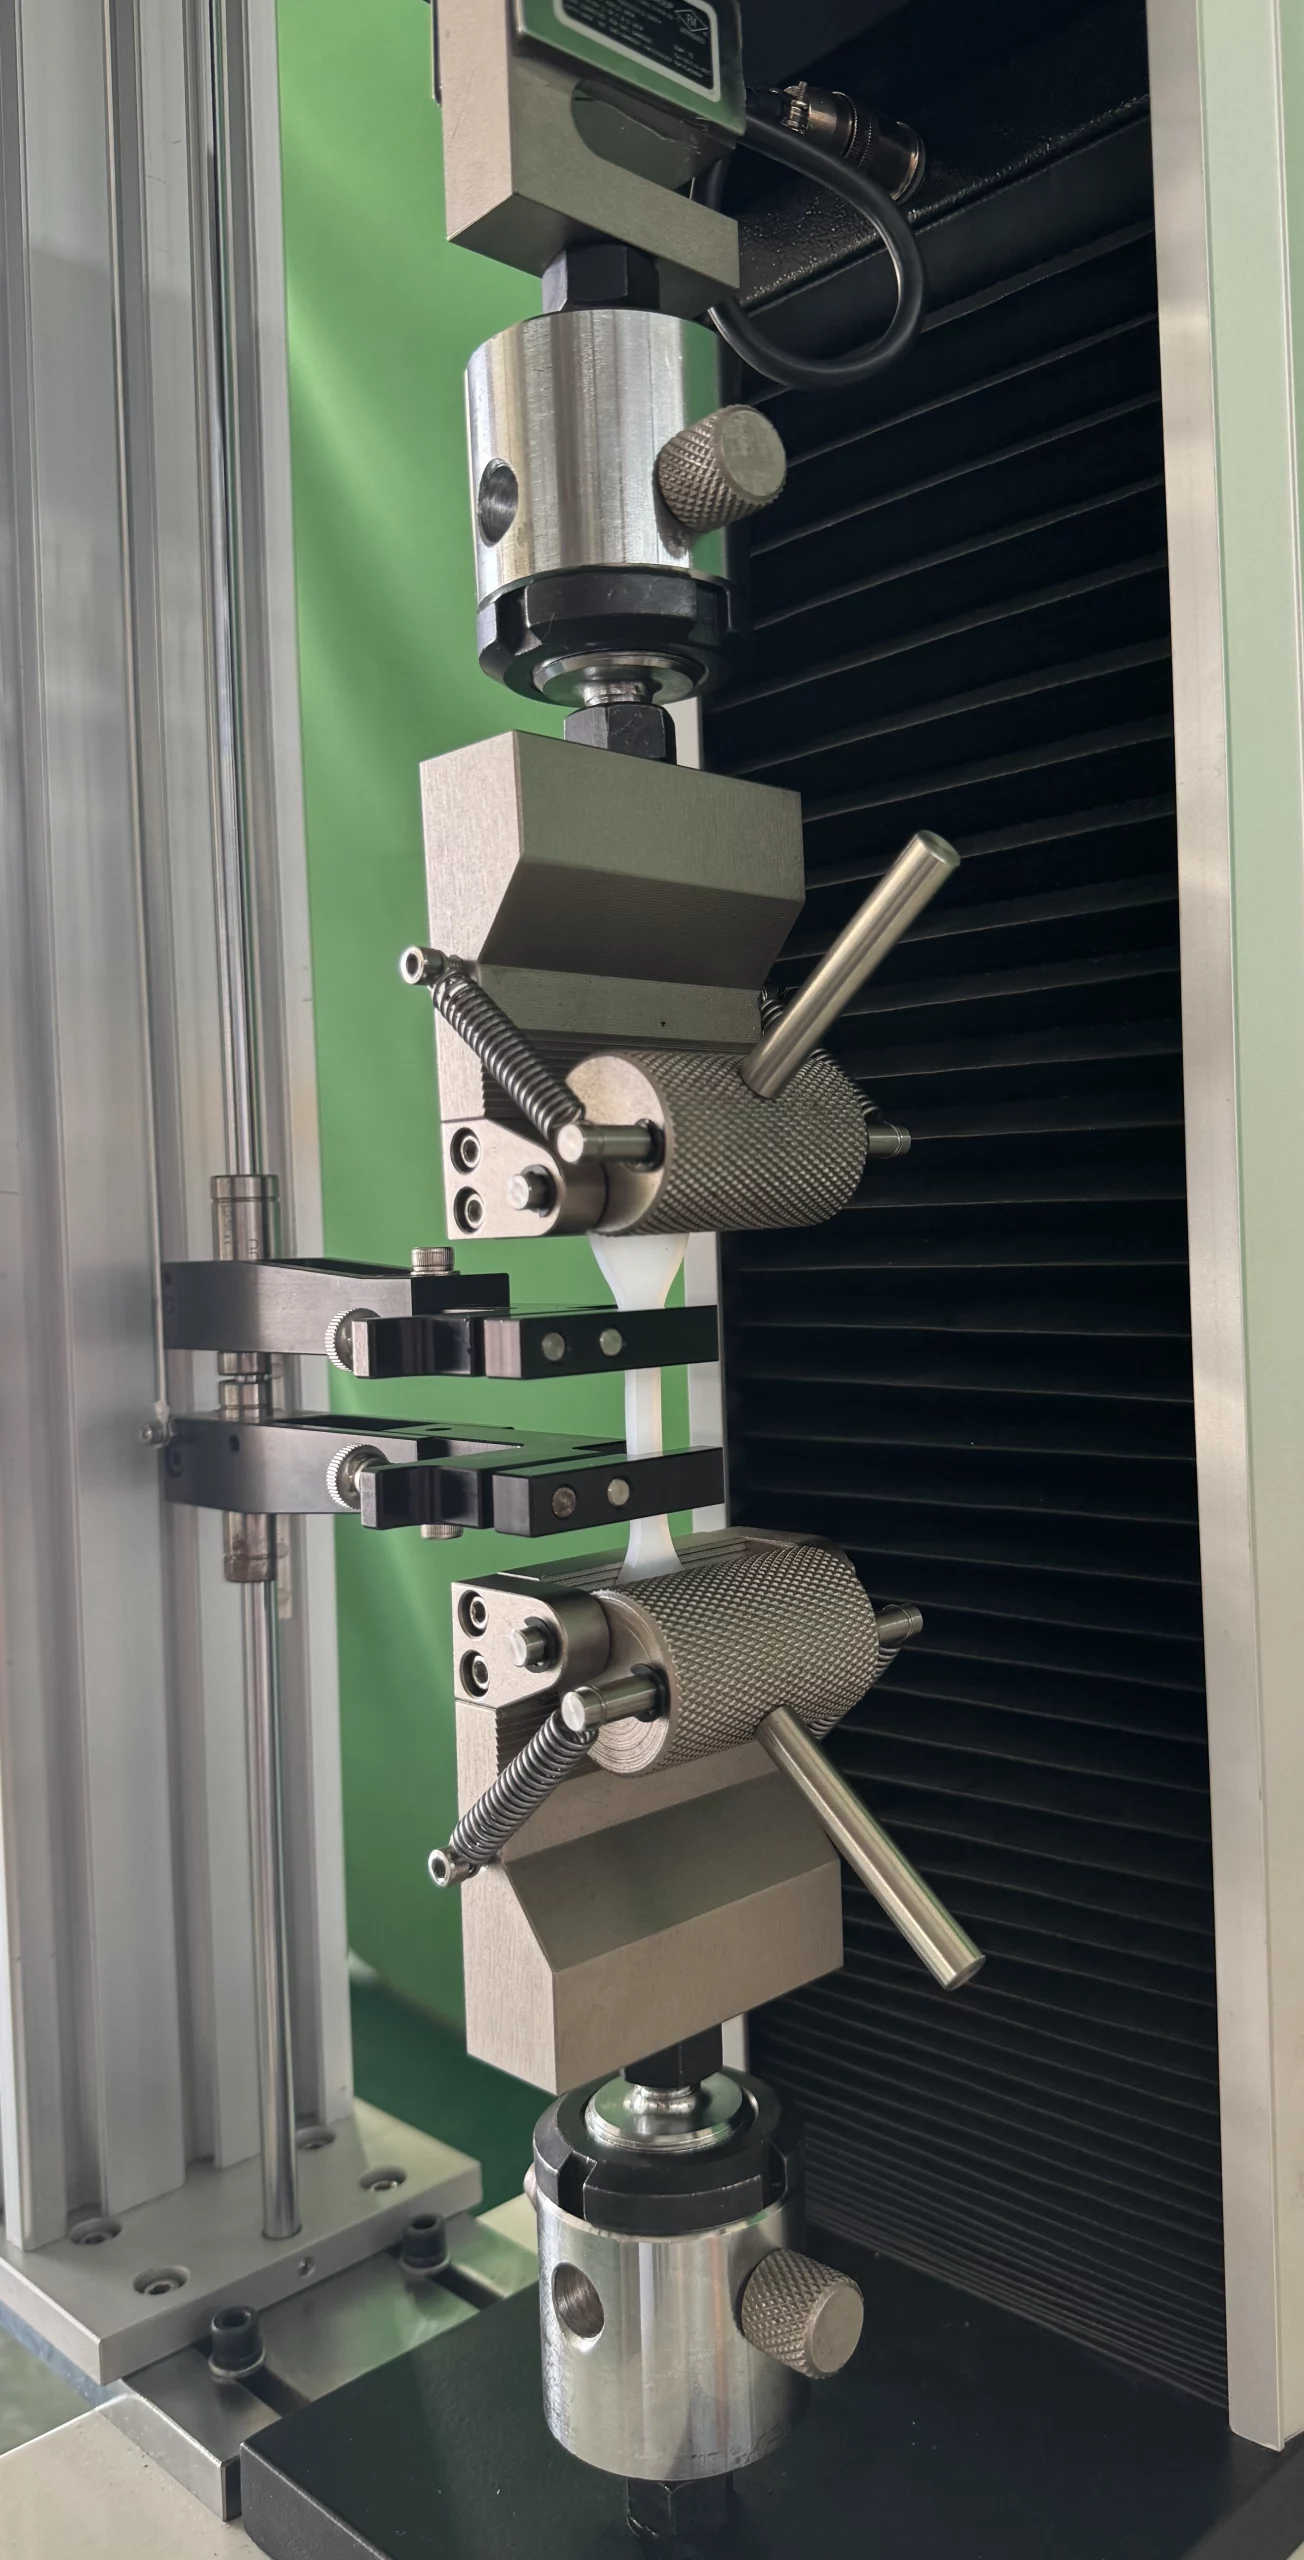
The NG-EML Series A – Single Column Bench Top Universal Testing Machine (50 N – 5 kN) is a next-generation electromechanical system built for both advanced research and routine quality control applications. Combining precision, speed, and compact design, the system offers a powerful solution for testing rubber, plastics, metals, composites, adhesives, films, foams, wires, and consumer goods under tension, compression, and flexure.
Force Capacity Options: 50 N (11.24 lbf), 100 N (22.48 lbf), 200 N (44.96 lbf), 500 N (112.40 lbf), 1 kN (224.80 lbf), 2 kN (449.61 lbf) , 5 kN (1124.04 lbf)
Frame Configuration: Single-column, table-top electromechanical frame
Test Space: Single-zone layout optimized for vertical displacement accuracy and consistent force application
Typical Applications: Material performance testing in R&D, production verification, education, and quality assurance. Especially suited for high-precision low-force applications and space-limited environments.
Typical Test Specimens
Below is a representative list of typical materials and components compatible with this testing system:
- Plastics, fine wire, fibers, threads, biomaterials, thin films, adhesives, foam, packaging materials, paper products, and general consumer goods
- Thermoplastics and thermosets (ASTM D638, ISO 527)
- Elastomers and rubber compounds (ASTM D412, ISO 37)
- High-strength composite materials and prepregs
- Metallic wires, solder, and small components (ASTM E8, ISO 6892)
- Biocompatible materials and medical samples such as films, sutures, and tissue substitutes
- Packaging films, laminated paperboard, and coated paper (ISO 1924, ASTM D882)
- Structural adhesives, sealants, and bonding tapes (ASTM D903, ISO 8510)
- Soft and rigid foams (ISO 2439, ASTM D3574)
- Textiles, including woven and non-woven fabrics, yarns, and geotextiles
- Consumer product components such as plastic parts, clips, springs, and flexible displays
- Optical films, membranes, and ultrathin multilayered structures
- Thin metal sheets, metal foil, and small-scale electronic components (low-force range)
Key Features of the NG-EML Series A Single Column Bench Top Universal Testing Machine
The NG-EML Series A is engineered with advanced structural and control features designed to enhance performance and reliability. Key highlights include:
- Compact, rigid load frame: Sturdy, space-efficient single-column frame configurations, optimized for desktop use without sacrificing performance.
- FEA-optimized structural components: Column and crosshead designs feature enhanced rigidity to minimize deflection and maintain precise alignment under full load.
- High-speed, low-vibration drive system: Electromechanical direct-drive system with a high-rigidity synchronous belt enables crosshead speeds up to 2400 mm/min and return speeds up to 3000 mm/min, while minimizing mechanical noise and vibration.
- Pre-loaded precision ball screws: Axial preloading eliminates backlash, ensuring consistent force transmission and maintaining crosshead accuracy even during cyclic or dynamic loading.
- Linear motion guidance: Dual linear guide rails with precision bearings maintain coaxial alignment, minimizing lateral movement across the full stroke range.
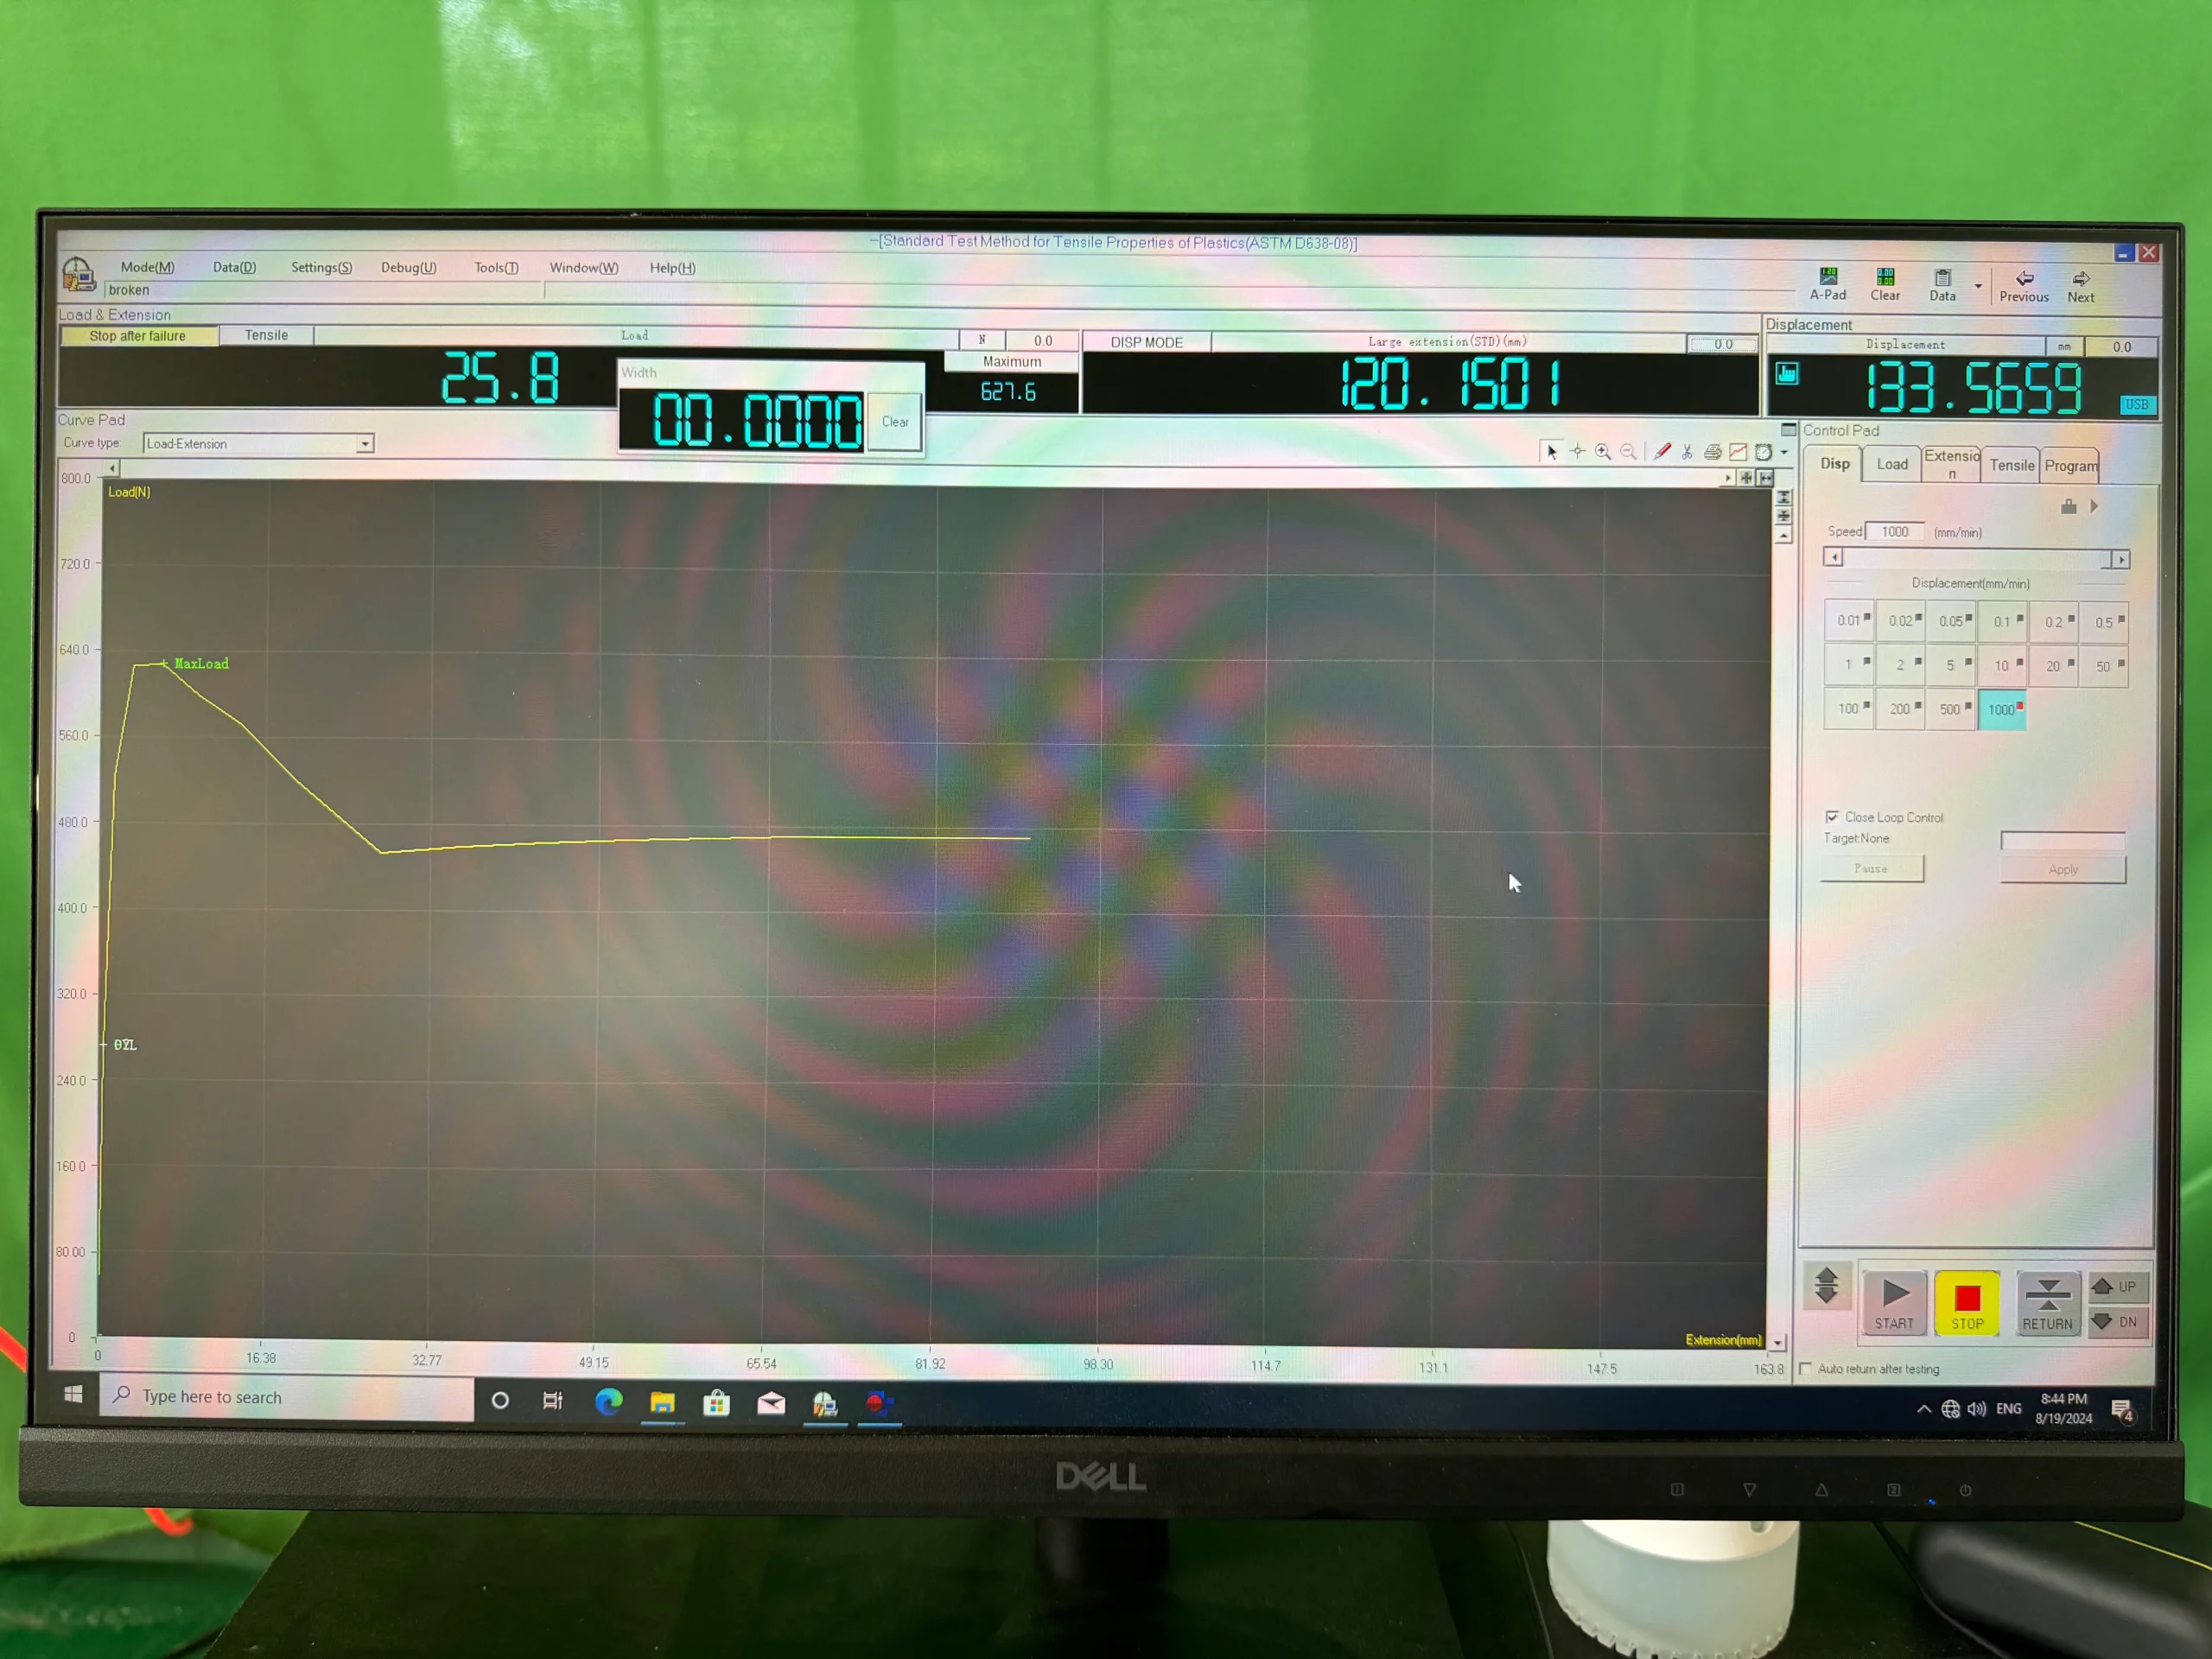
- GenTest™ Universal Testing Software: Pre-installed software provides method templates for ASTM, ISO, GB/T, EN, DIN, and BS standards. Features include step-by-step test setup, automatic result calculation, real-time graphical output, and user access control levels.
- Digital closed-loop control system: Integrated 24-bit resolution controller with a 1200 Hz acquisition rate enables closed-loop control of force, displacement, and strain using optimized PID algorithms. Complies with ISO 7500-1 Class 0.5 and ASTM E4 requirements.
- Automated limit monitoring: Continuous real-time checks of crosshead travel, overload protection at 103%, system voltage, and motor temperature. Emergency stop functions and programmable stroke limits are integrated at both hardware and software levels.
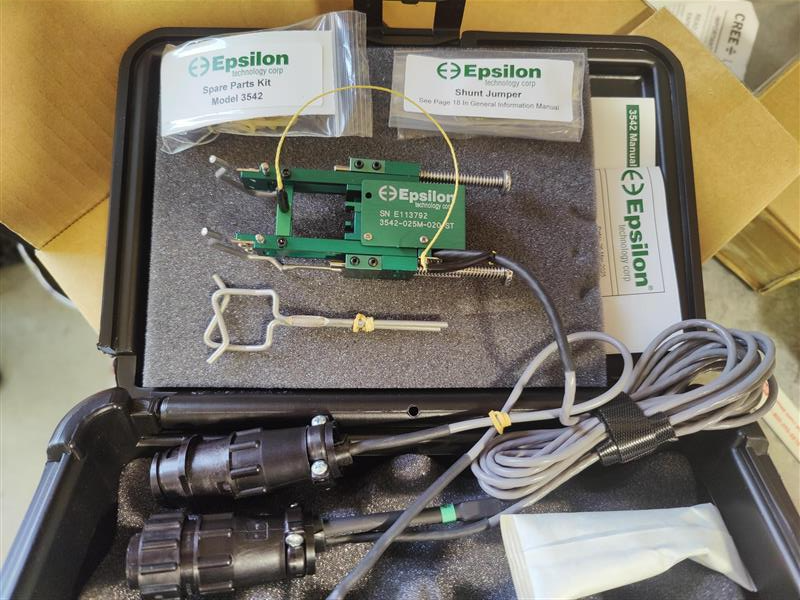
- Wide selection of interchangeable accessories: Compatible with manual, pneumatic, and hydraulic grips; clip-on, laser, and video extensometers; temperature and humidity chambers; and torsional fixtures. All accessories use a modular plug-in interface.
- Safety-enhanced test space enclosure: Optional transparent protective shields with interlock logic are available. Shields are resistant to debris from specimen failure and automatically disable system movement if opened.
Technical Specifications
| Model | NG-EML Series A – Single Column Bench Top Universal Testing Machine |
|---|---|
| Force Capacity | 0.01 kN (2.2 lbf) / 0.05 kN (11.2 lbf) / 0.1 kN (22.5 lbf) / 0.5 kN (112 lbf) / 1 kN (225 lbf) / 2.5 kN (562 lbf) / 5 kN (1124 lbf) |
| Frame Type | Desktop |
| Test Space | Single-zone configuration |
| Maximum Crosshead Speed | 2400 mm/min |
| Minimum Crosshead Speed | 0.00005 mm/min |
| Return Speed (Max) | 3000 mm/min |
| Position Resolution | 0.0133 µm |
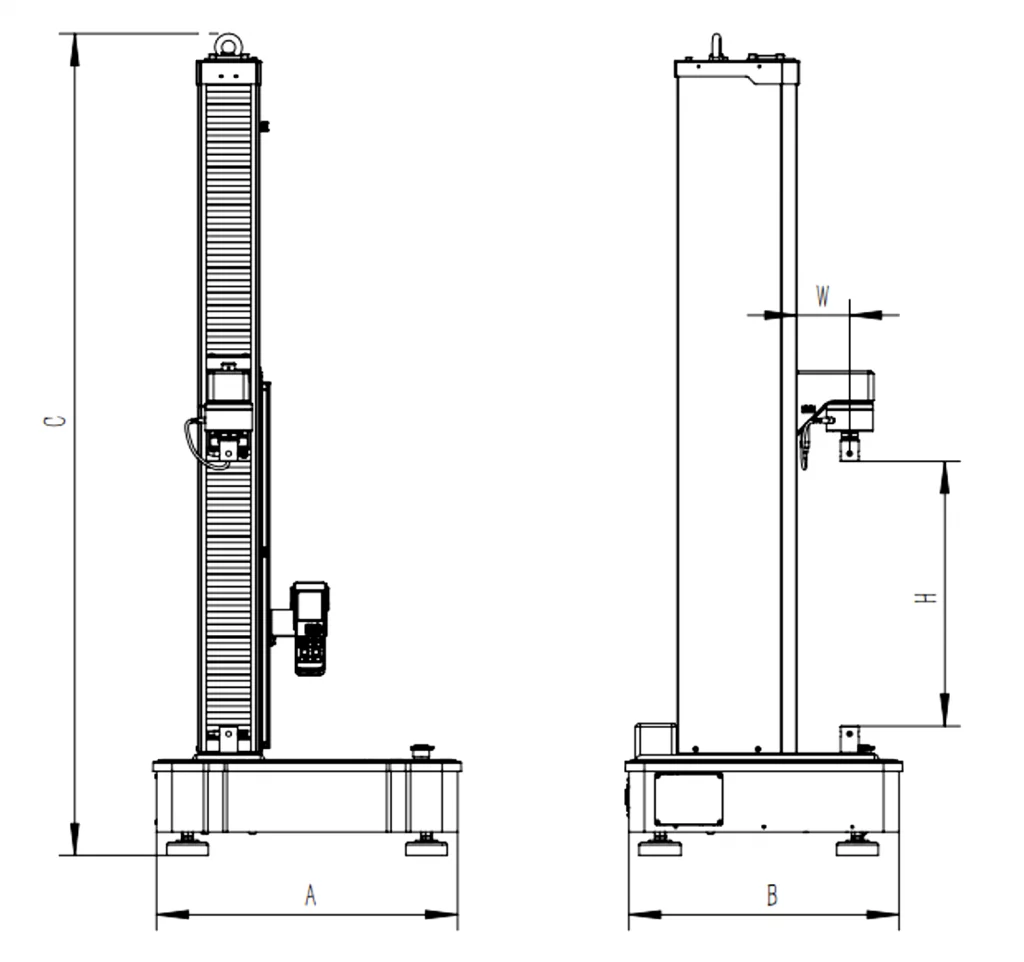
| Vertical Crosshead Travel (H) | 960 mm |
| Test Width (W) | 100 mm |
| Dimensions (W × D × H) | 22.8 × 20.5 × 62.2 in (580 × 520 × 1580 mm) |
| Frame Stiffness, kN/mm | 10 kN/mm |
| Weight | 238 lbs (108 kg) |
| Power Supply | 600 W |
| Voltage | Single-phase AC 220 V ±10 %, 50 Hz / 60 Hz |
| Common Parameters | |
|---|---|
| Accuracy | Class 0.5 |
| Force Range | 500 N – 5 kN (0.2% – 100% FS) 10 N – 250 N (0.4% – 100% FS) |
| Calibration Standard | GB/T 16825.1, ISO 7500 (Class 0.5), ASTM E4 |
| Speed Accuracy | ±0.2% of set speed |
| Position Accuracy | ±0.2% of set position |
| Force Resolution | 1 / 600000 FS |
| Extension Resolution | 1 / 600000 FS |
| Strain Accuracy | Better than GB/T 228, ISO 6892-1, ASTM E8, ASTM E21 |
| Safety Protection | Overload protection (103% of rated force), position limit, over-voltage protection |
| Single-Channel Data Sampling Rate | 1200 Hz |
| Control Frequency | 1200 Hz |
| Environmental and Operational Conditions | |
|---|---|
| Working Temperature | +5 °C to +40 °C |
| Storage Temperature | −25 °C to +55 °C |
| Relative Humidity | At 20 °C, +10% to 90%, non-condensing |
| Maximum Operating Altitude | 2000 meters |
| Motor Type | AC servo motor |
| Ball Screw | Pre-loaded |
| Position Measurement | Optical encoder |
Control System
The NG-EML Series A system incorporates a high-performance digital control unit designed for precise test execution, seamless communication, and enhanced system integration.
- USB 2.0 Communication Interface: Data exchange between the machine and the host computer is handled via a stable USB 2.0 interface operating at 12 Mb/s. This connection supports multiple communication modes, including control, interrupt, bulk transfer, and real-time streaming. USB 2.0 is widely adopted in bench-top testing systems due to its reliable speed, plug-and-play compatibility, and electrical isolation.
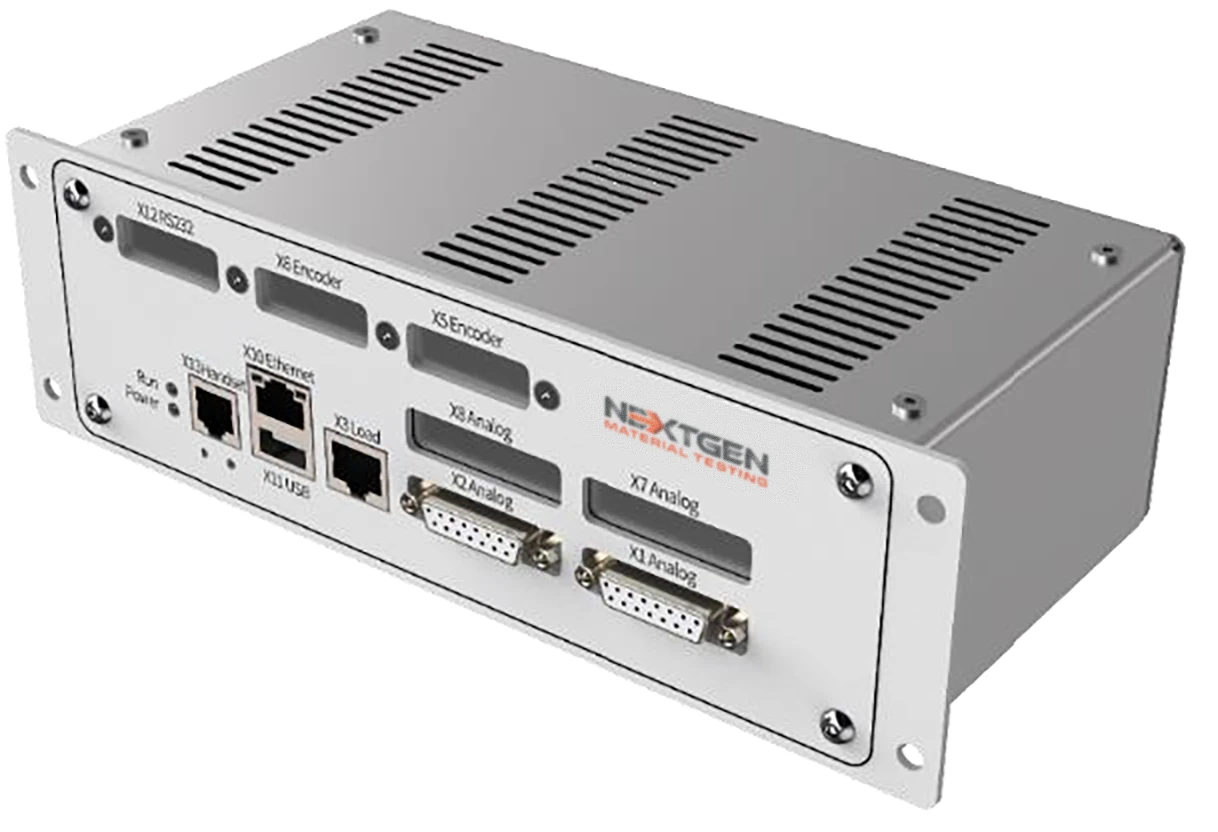
- Alternative Connectivity – Ethernet (TCP/IP): In addition to USB, the controller supports Ethernet-based communication through a dedicated high-speed logic chip with full TCP/IP protocol support. This enables low-latency, high-throughput data transmission—ideal for distributed testing setups or remote-controlled environments.
- Sampling and Acquisition Performance: The system provides 1200 Hz closed-loop sampling, allowing synchronized acquisition of force, displacement, and extensometer signals. A six-channel analog input module with 24-bit resolution ensures accurate, real-time signal capture and control.
- Integrated Hardware Protection: Embedded firmware performs continuous monitoring of voltage, current, overload conditions, motor temperature, and crosshead position. Both hardware- and software-based emergency stop logic are built into the system for added operational safety.
- Handheld Remote Console (Standard): The system includes a 3.5-inch full-color touchscreen controller with an ergonomic silicone keypad and precision rotary dial. The remote unit enables:
- Start/stop test execution
- Grip actuation
- Crosshead movement and fine positioning
- Return-to-origin function
- Overload prevention logic
The remote can operate in standalone or PC-synchronized mode, providing flexible control redundancy across various test setups.
-
Standalone Control Option (Optional)
An optional industrial-grade touchscreen PC can be mounted directly on the machine frame. This configuration allows full test control without the need for an external computer, improving system mobility and simplifying usage in educational labs, mobile units, or multi-station environments.
Optimized Structural Rigidity
The NG-EML Series A Single Column Bench Top UTM features a frame engineered for superior mechanical stiffness and durability. Utilizing a high-rigidity dual-rail structure and an FEA-optimized crosshead design, the system minimizes deflection and backlash, ensuring exceptional accuracy during critical measurements such as modulus determination, yield strength, and failure loads.
- The testing frame integrates preloaded precision ball screws, dual linear motion guide rails, and reinforced column supports to significantly reduce mechanical play.
- All interfaces — load cell, ball screw, motor couplings, and crosshead contact points — are engineered for zero-clearance under load, enhancing measurement consistency in both static and dynamic tests.
- The rigid design ensures long-term alignment stability, even during high-cycle or repetitive test applications.
Advanced Direct-Drive Servo Actuation
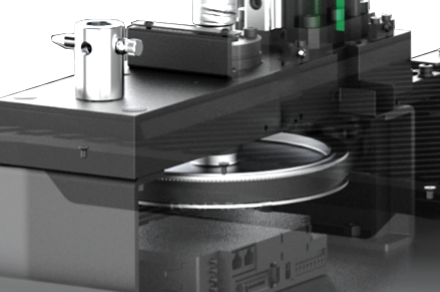
The NG-EML Series A Universal Testing Machine features a next-generation direct-drive servo transmission system designed to deliver high speed, rapid acceleration, and precise control across all testing scenarios.
- The system replaces traditional gear reducers with a high-rigidity synchronous belt and servo motor assembly, significantly improving mechanical efficiency and eliminating transmission backlash.
- The crosshead achieves a maximum travel speed of 2400 mm/min and a return speed of up to 3000 mm/min, minimizing cycle time and increasing testing throughput.
- The high-speed actuation system provides enhanced responsiveness for low-speed tests such as creep, stress relaxation, and modulus ramp procedures, while maintaining exceptional control during ultra-slow movements required for sensitive measurements.
- Optimized acceleration profiles improve adaptability in complex test sequences, including multi-stage loading and high-speed ramp testing, without sacrificing positional accuracy or data integrity.
Integrated Safety and Intelligent Control Architecture
The NG-EML Series A UTM is equipped with a comprehensive safety and control system designed to protect both the operator and the equipment while enhancing operational responsiveness and workflow efficiency.
- Real-Time Collision Prevention: The system continuously monitors force feedback and motion data. If a sudden force anomaly is detected—such as from a specimen fracture or obstruction—crosshead movement is halted immediately to prevent load cell overload or mechanical damage.
- Overload Protection Logic: A hardware-level stop is triggered at 103% of the rated force capacity, safeguarding critical components and preserving long-term system integrity.
- Dual-Layer Position Limit Protection: Safety boundaries are enforced through both software-defined stroke limits and mechanical end-stop switches, ensuring reliable crosshead travel within safe zones.
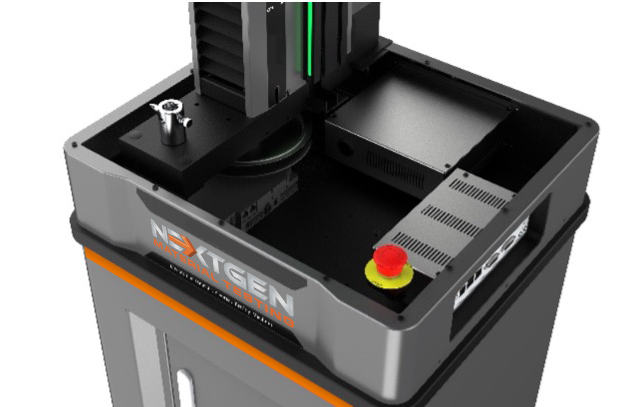
- Emergency Stop Circuitry: Integrated emergency stop buttons provide the operator with immediate control to interrupt all machine motion in case of unexpected conditions.
- Sensor Range Enforcement: All analog input channels—including force, displacement, and extensometer—are monitored in real time. Built-in range validation prevents data distortion and protects against overrange input signals.
- Integrated Auto-Calibration and Diagnostics: The system supports internal load cell verification and automated self-diagnostic routines, helping to maintain continuous calibration accuracy and reduce maintenance downtime.
 Handheld Controller Safety Features: The included remote console features intelligent functions such as grip lockout, overload prevention, and a return-to-origin safeguard, reducing the risk of misalignment or accidental movement during setup.
Optional Protection Shield
The optional protection shield features a fully enclosed structural design with an aluminum alloy reinforcement frame and high-impact polycarbonate panels. This safety enclosure is engineered in accordance with international mechanical safety standards to ensure maximum protection during critical testing operations. Equipped with an integrated door locking mechanism and software-linked interlock system, the shield restricts system movement when the door is open. This design minimizes the risk of injury and enhances occupational safety in high-throughput or high-force test scenarios.
Streamlined Operation and Maintenance
The NG-EML Series A Single Column Bench Top Universal Testing Machine is engineered for intuitive operation, reduced training requirements, and simplified maintenance—supporting efficient, uninterrupted performance in both laboratory and production environments.
- User-Centered Software Workflow: The system runs on GenTest™ software, which features a clean, icon-driven interface. Preloaded test method templates for ASTM, ISO, GB/T, and EN standards enable fast test configuration, while drag-and-drop sequence creation and real-time graphical feedback streamline both basic and advanced testing procedures.
- Step-by-Step Configuration: Operators can construct test sequences through a guided setup process, minimizing the chance of error and ensuring consistent execution across different users and laboratories.
- Instant Report Generation: One-click data export, automatic calculation of key test parameters (e.g., modulus, yield strength, tensile strength), and batch processing tools simplify compliance documentation and quality reporting.
- Plug-and-Test Accessory Integration: All extensometers, grips, fixtures, and environmental chambers connect via modular interfaces with automatic recognition. Accessories can be swapped without requiring recalibration or software adjustments, significantly reducing setup time.
- Accessible Maintenance Architecture: The controller module is slide-mounted for easy servicing without disassembling the machine frame. Protective panels can be opened rapidly to allow direct inspection or replacement of belts, motors, or sensors.
- Dual Control Modes: The system supports full operation via either the handheld remote console or the optional industrial touchscreen PC interface, allowing flexible switching between local and PC-based control depending on the application—ideal for both training and production use.
Mechanical and Electronic Architecture
The NG-EML Series A UTM is engineered with a precision mechanical structure and high-performance control electronics to ensure stability, repeatability, and accuracy across all test scenarios.
- High-Stiffness Linear Guide System: Dual linear guide rails with integrated self-lubrication significantly enhance lateral stiffness and ensure straight, low-friction crosshead travel. This design minimizes off-axis motion and maintains precise axial alignment, which is essential for reducing measurement error in displacement- and strain-sensitive tests.
- Low-Noise Synchronous Belt Drive: The direct-drive system employs a high-performance synchronous belt optimized for high speed and low vibration. It operates maintenance-free and ensures smooth power transmission between the servo motor and the actuator assembly.
- Integrated Optical Encoder: A high-resolution photoelectric encoder is embedded within the servo system to capture real-time position feedback of the crosshead, supporting micro-displacement measurements with 0.0133 µm resolution.
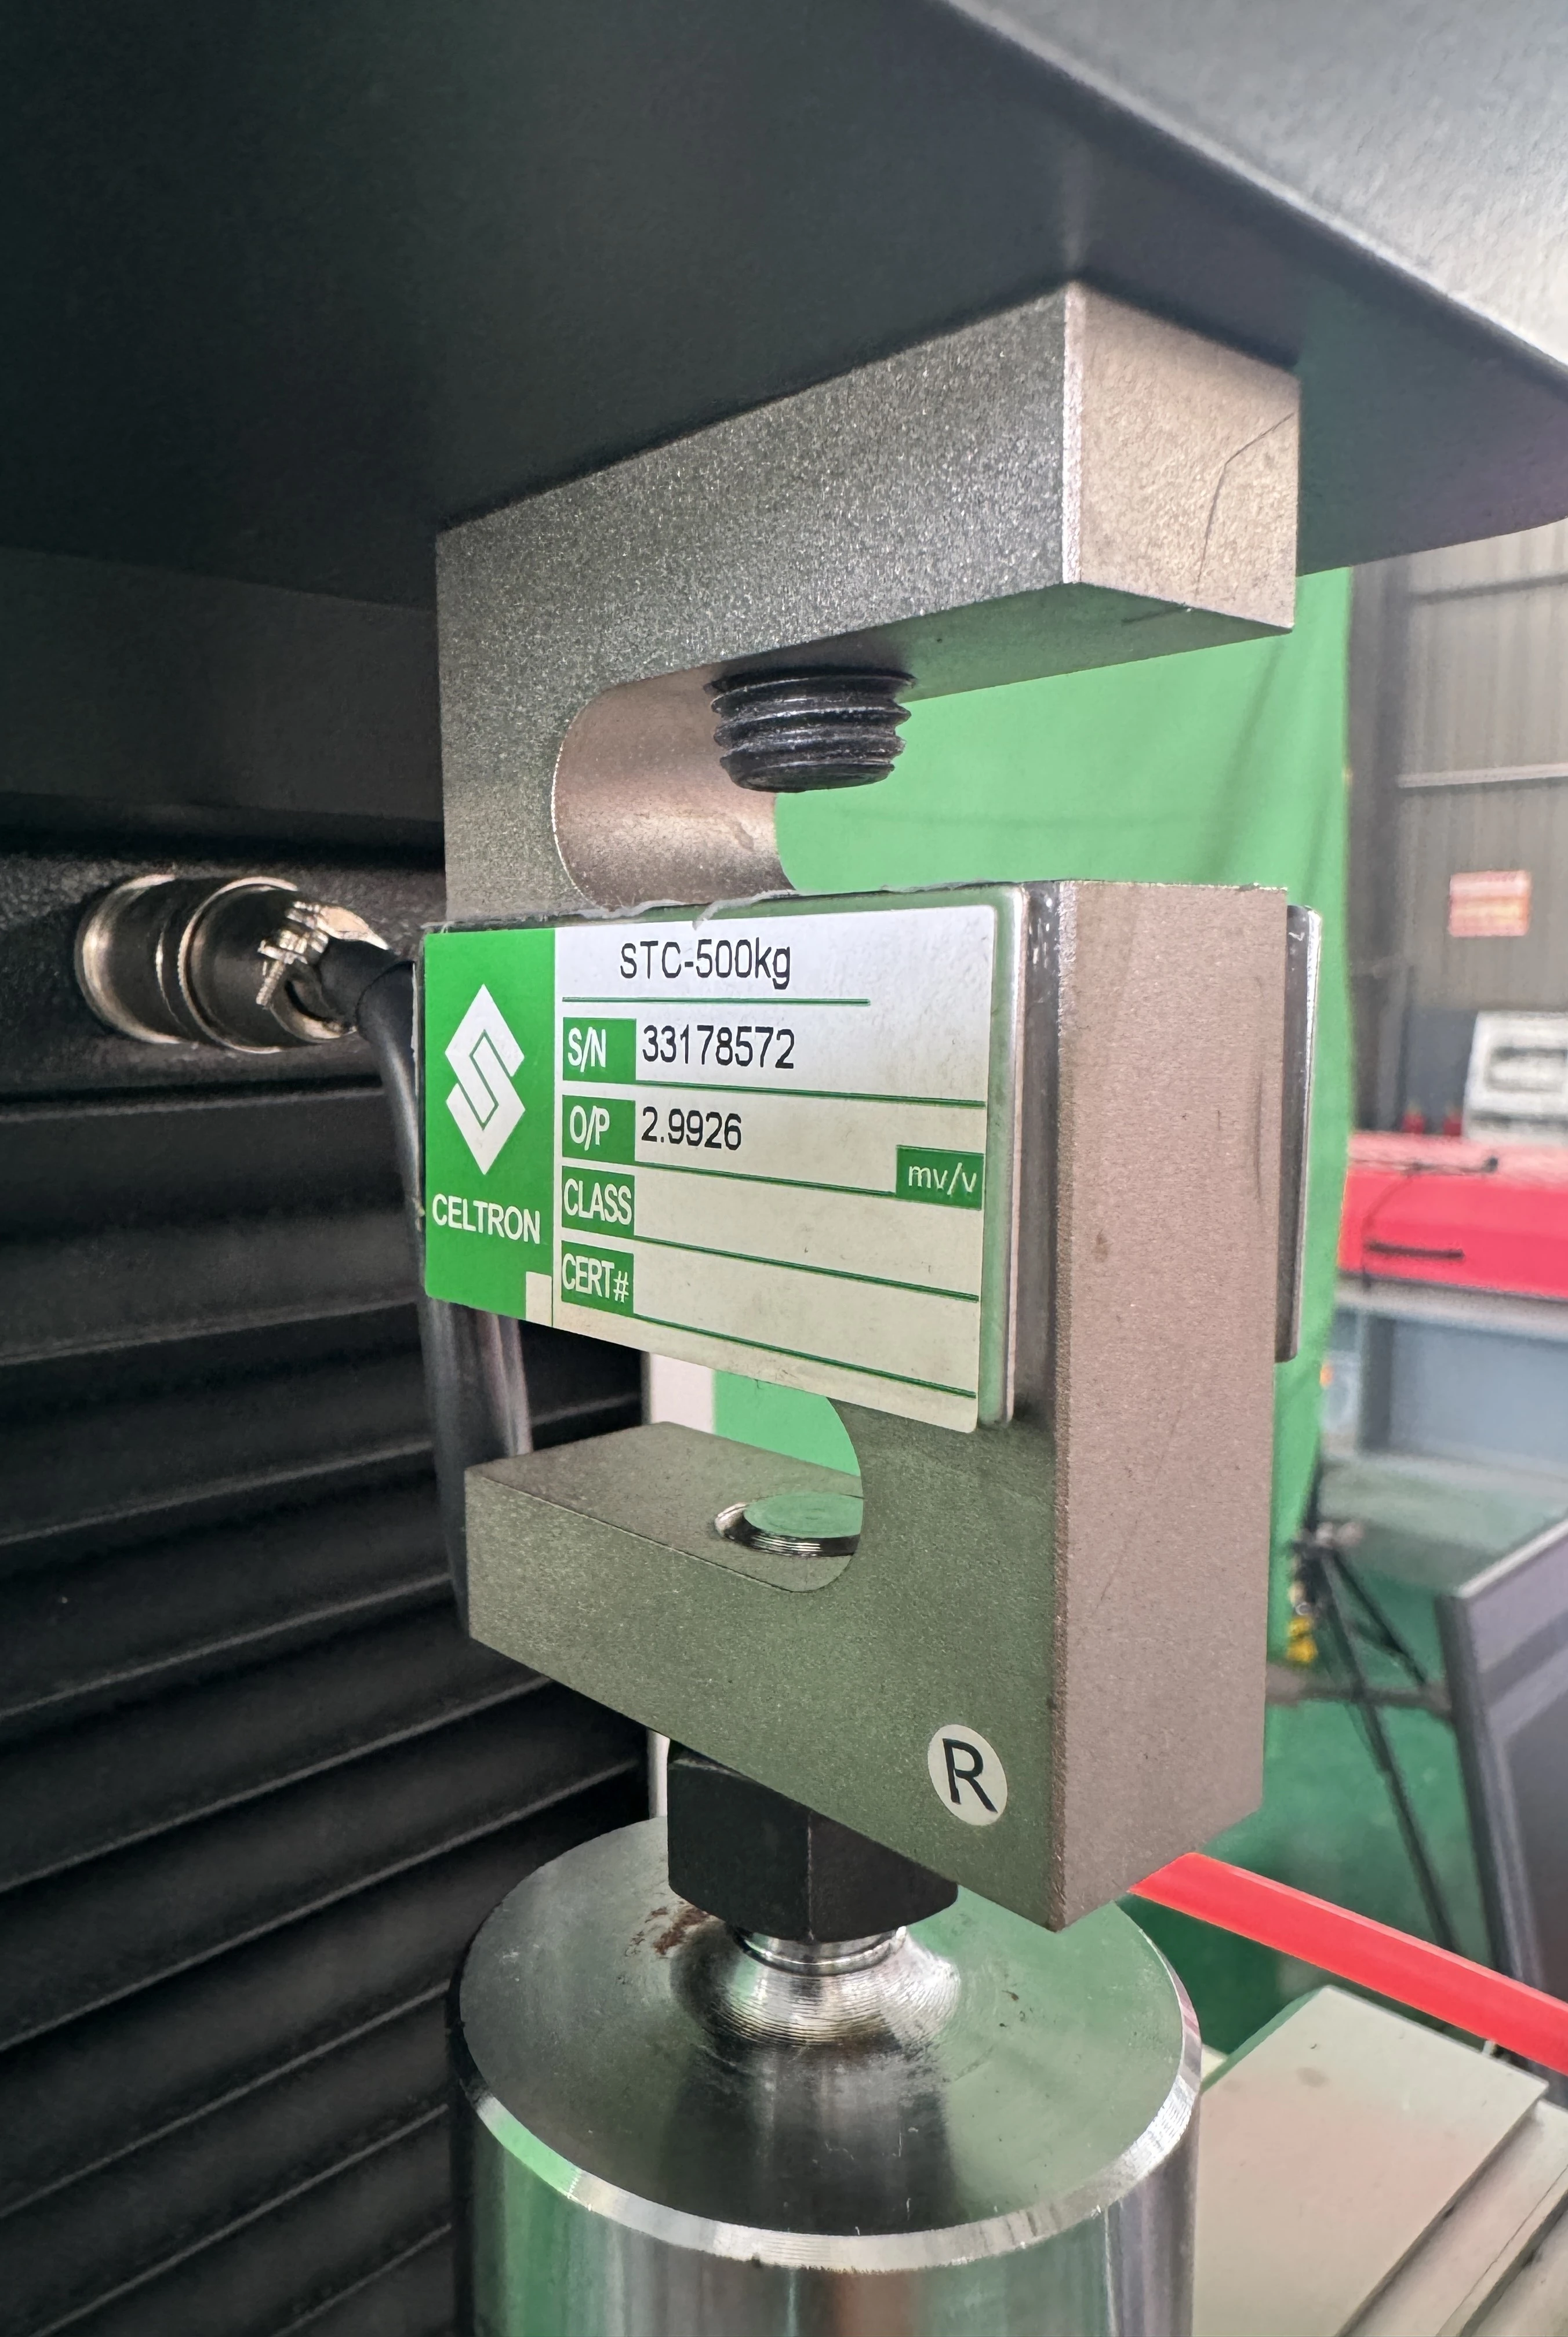
Load Cell Assembly
The system includes the following load cell features:
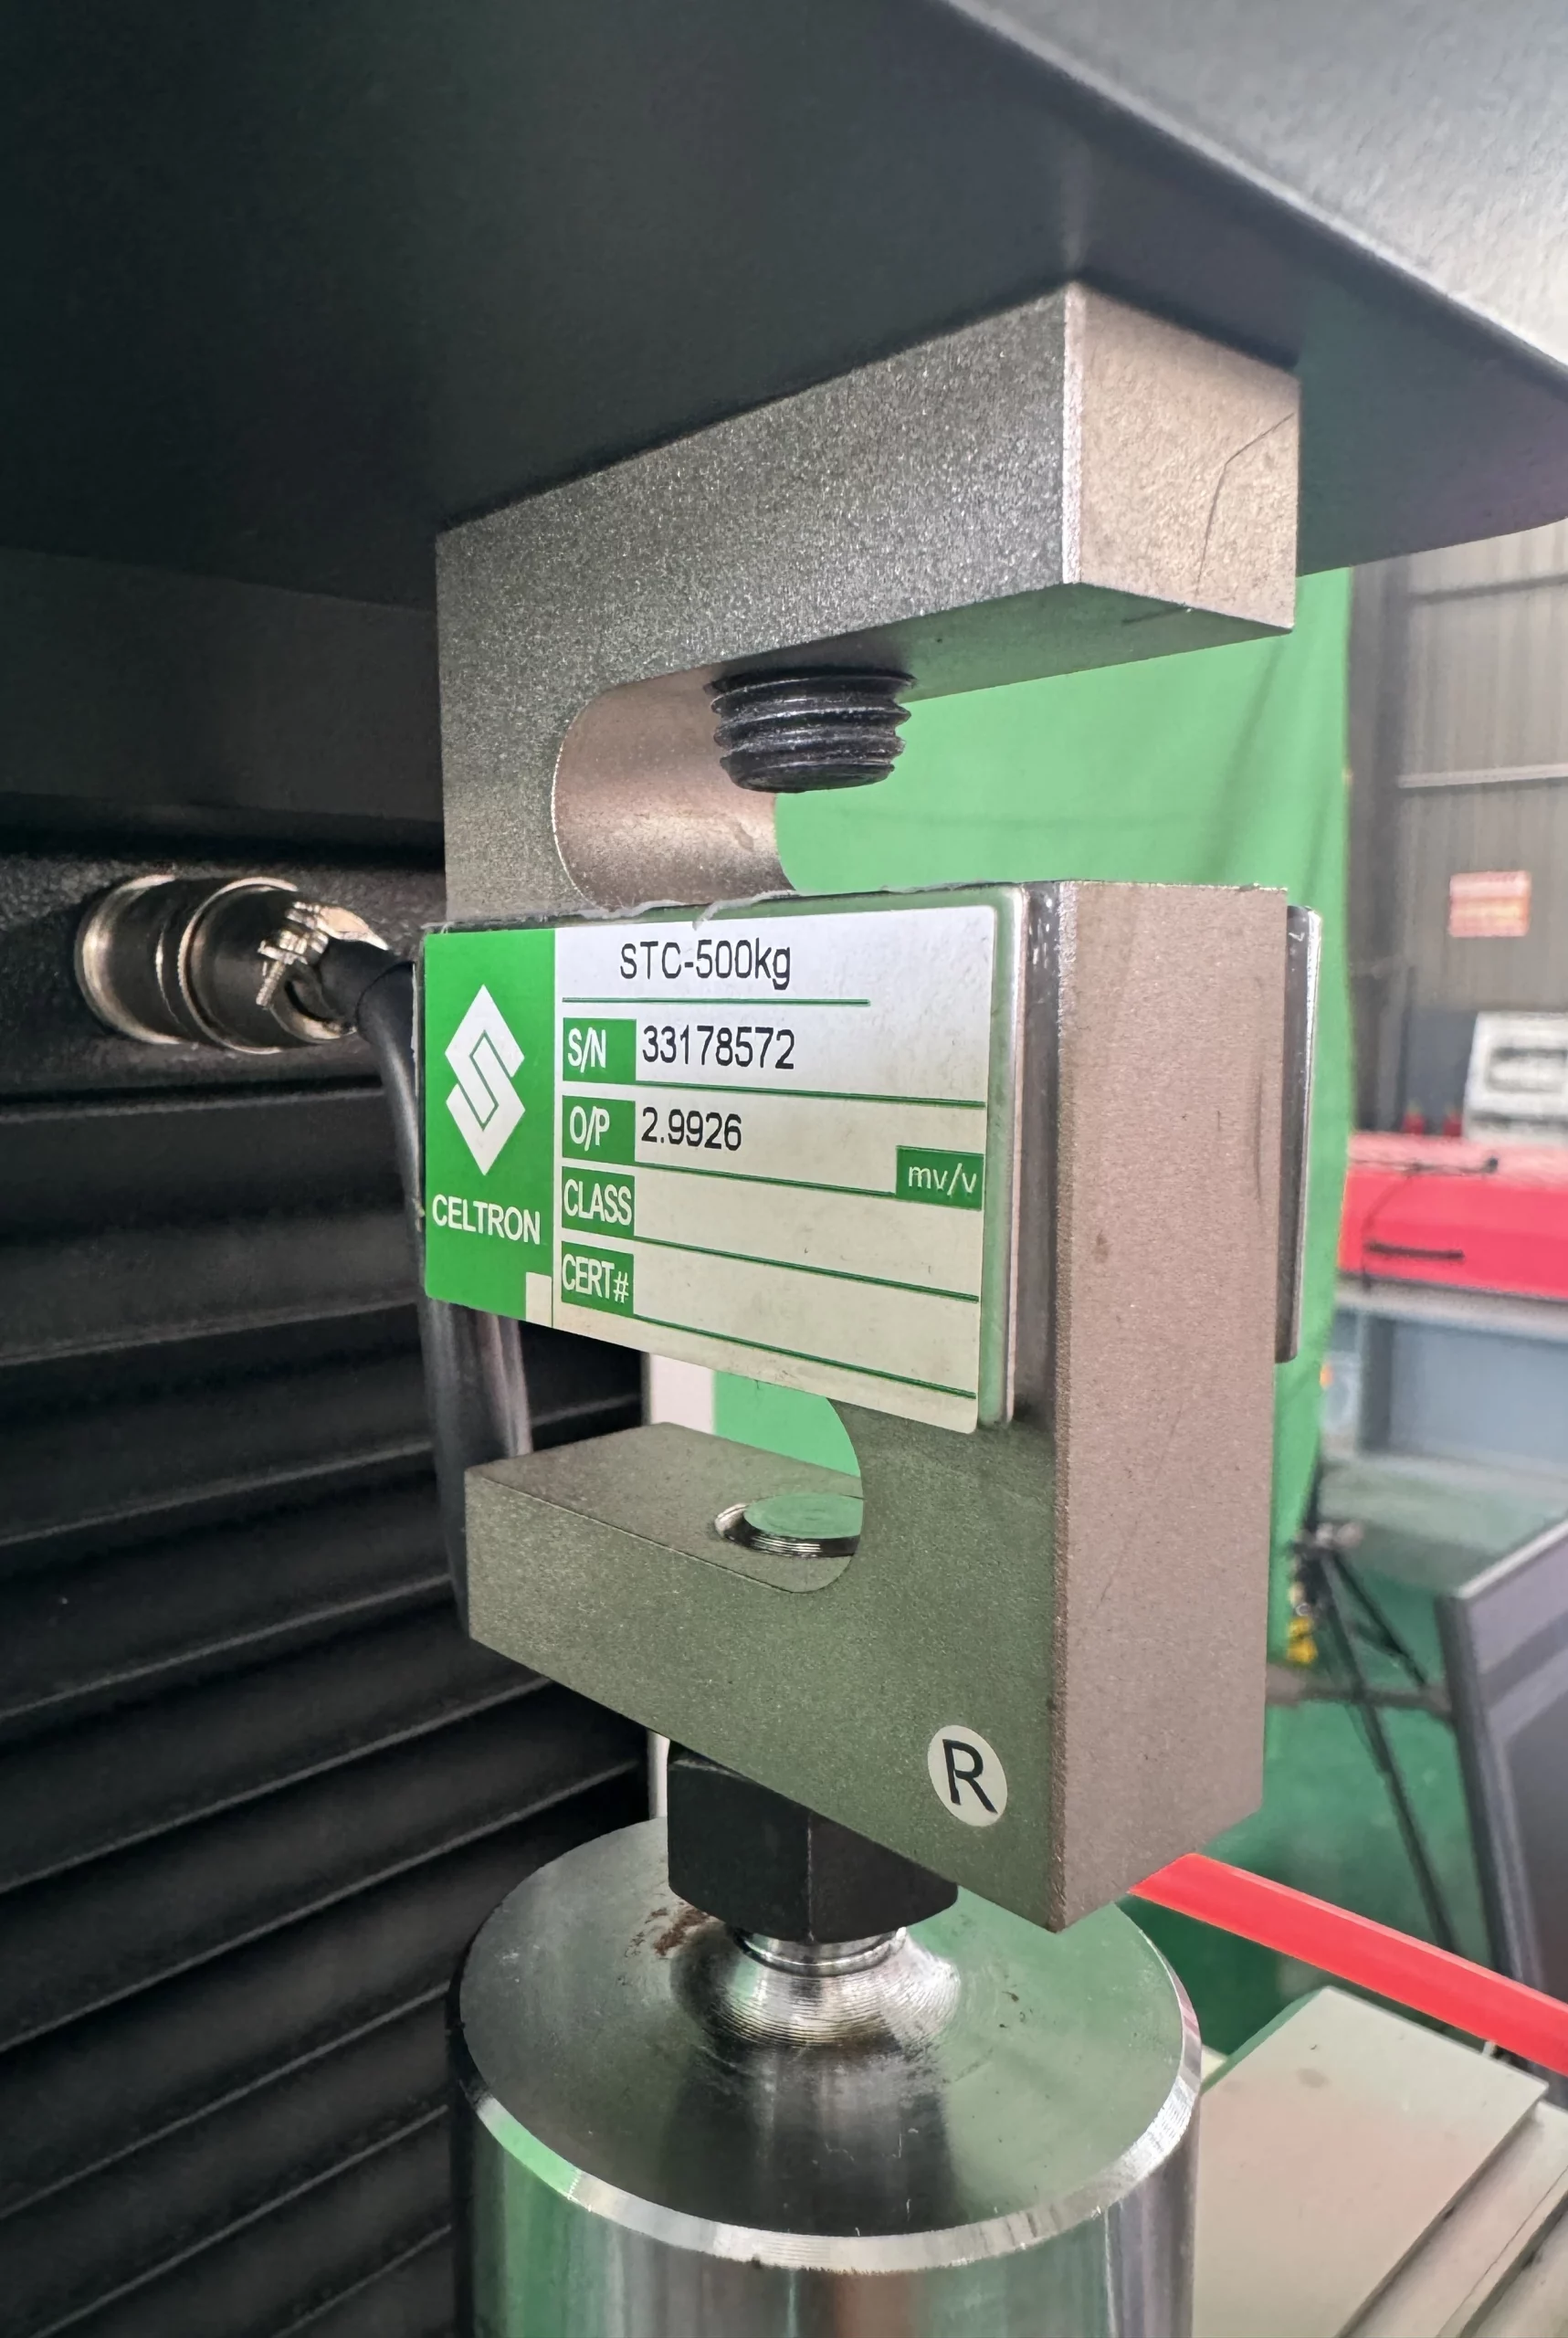
- High-Precision Load Cells: Each system includes a factory-calibrated load cell with high stiffness, minimal signal drift, and linearity across the entire rated force range.
- Overload and Lateral Force Protection: Built-in safety logic and structural reinforcement protect the sensor against shock loading, side forces, and improper specimen failure.
- Bidirectional Testing: The load cells support both tensile and compression tests without requiring reconfiguration.
- TEDS Auto-Recognition: All load cells are equipped with IEEE 1451.4-compliant TEDS chips, enabling plug-and-play recognition and eliminating manual setup.
- Self-Calibration Ready: The system supports internal load cell verification procedures to maintain measurement accuracy over time.
- Wide Operating Temperature Range: Rated from −55°C to +90°C, suitable for standard and environmental chamber-based testing.
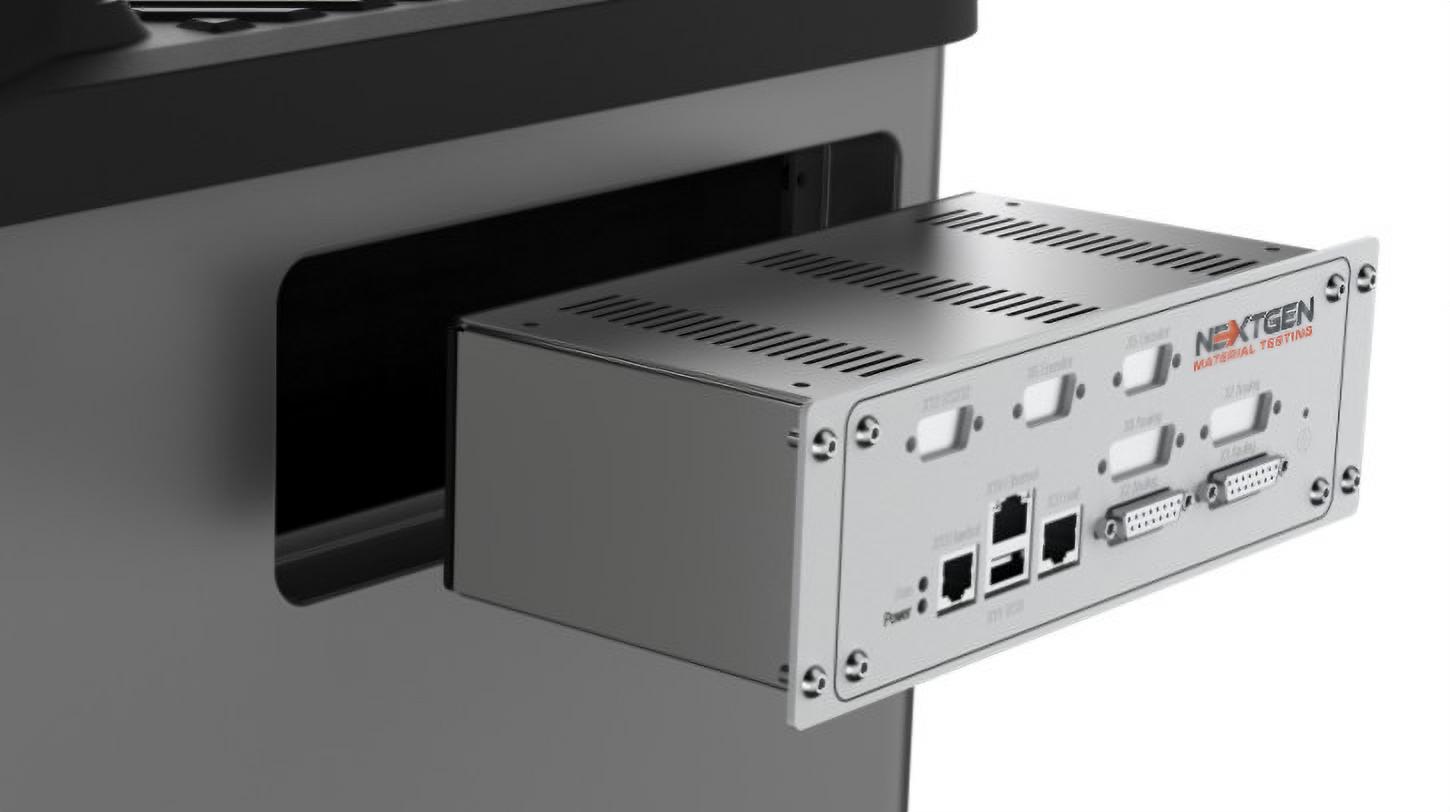
Closed-Loop Controller
The system incorporates a responsive closed-loop controller designed for test control under dynamic load conditions:
- Adaptive Feedback Control: The controller features a next-generation closed-loop PID algorithm, optimized for the upgraded direct-drive mechanics. This enables rapid system response under varying material behavior and loading profiles.
- Smooth Transition Profiles: Intelligent speed ramps and control smoothing algorithms ensure consistent performance across high-speed and low-speed regimes. This is critical for metal testing at both ambient and elevated temperatures.
- Multi-Channel Acquisition: Six synchronized analog channels and multiple digital inputs allow simultaneous integration of extensometers, temperature sensors, strain gauges, and load signals with millisecond-level accuracy.
- Real-Time Monitoring and Safety: Continuous monitoring of voltage, temperature, and sensor integrity ensures safe test execution even during long-duration or high-cycle protocols.
Live Data Visualization and Graphing
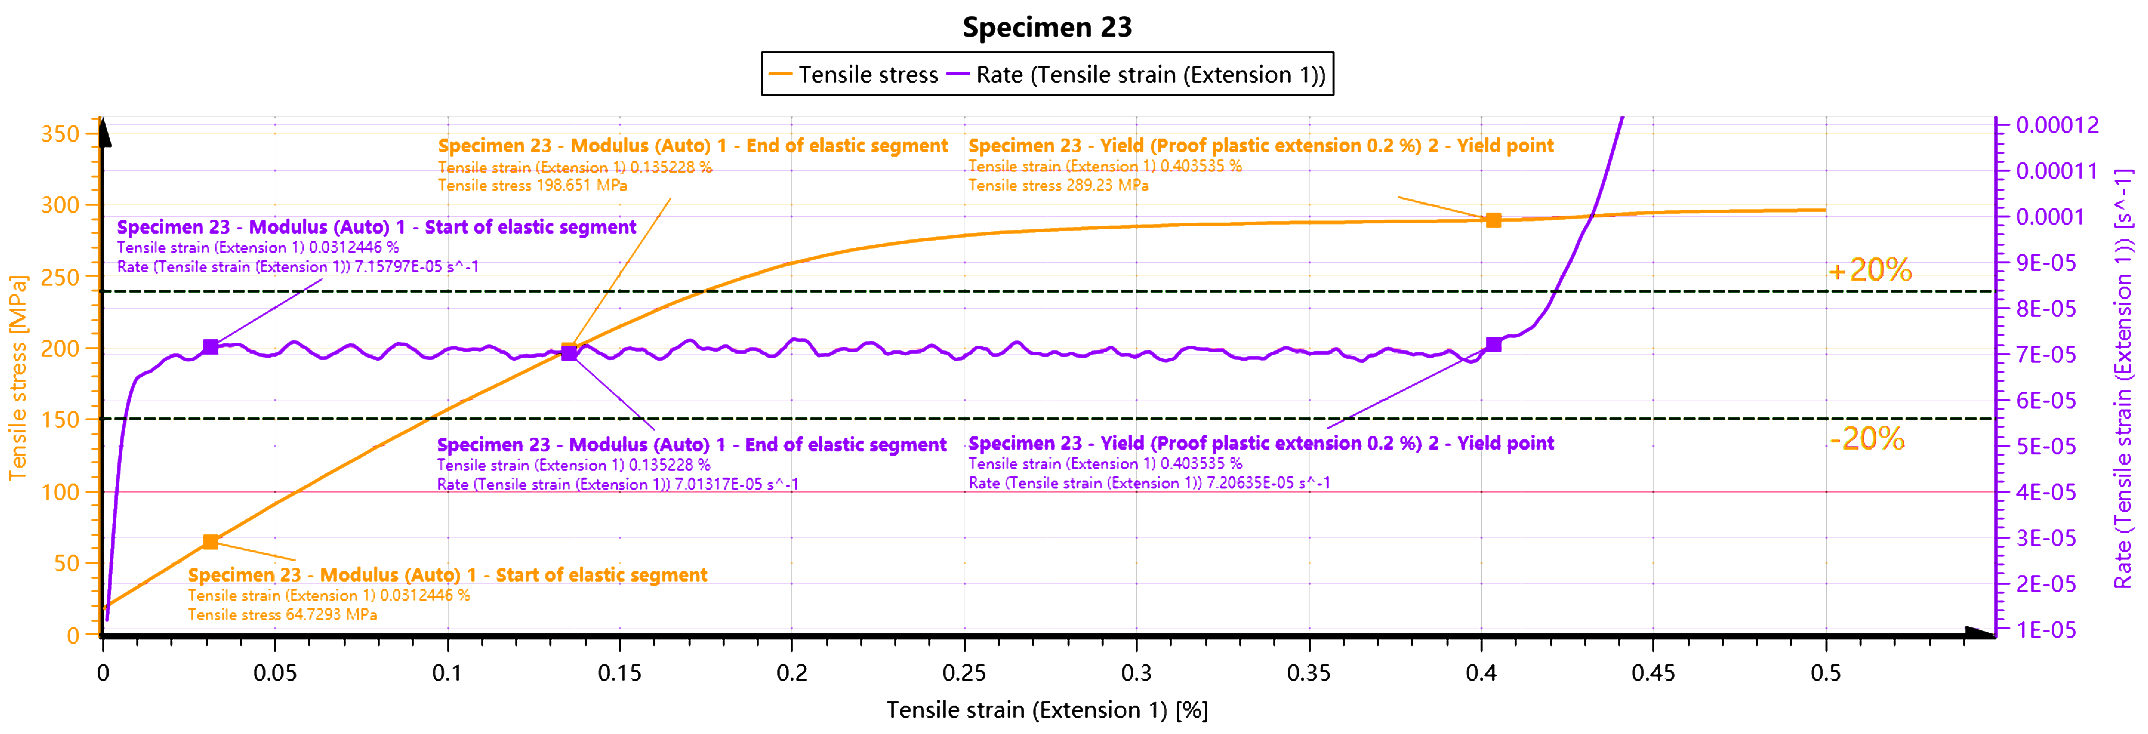

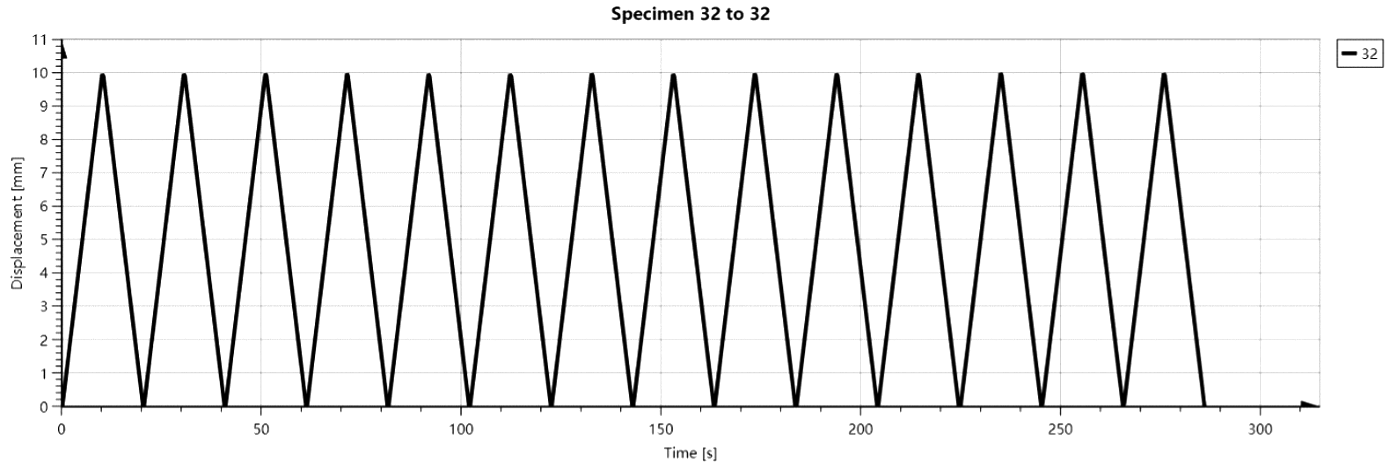
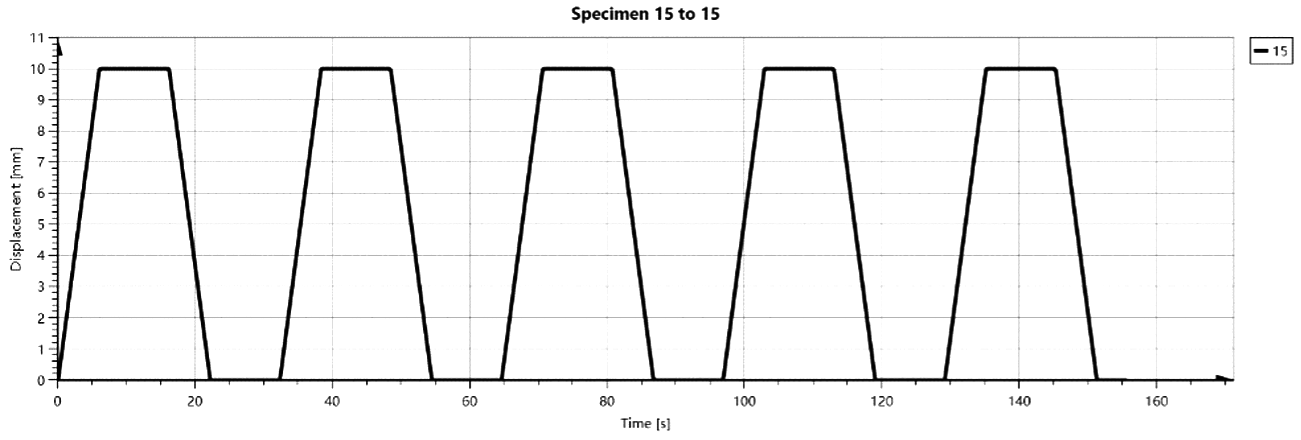
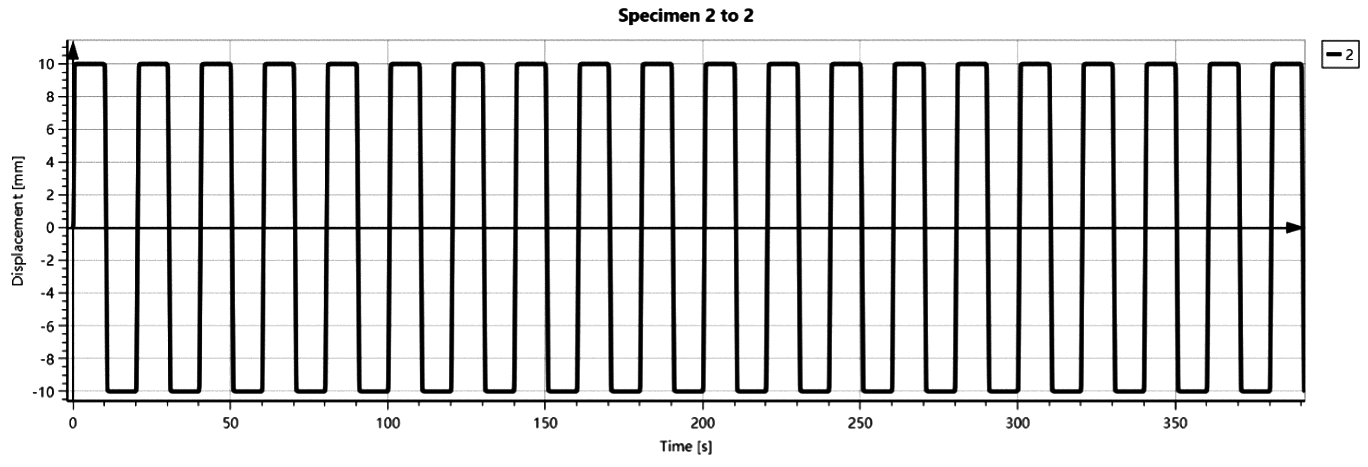
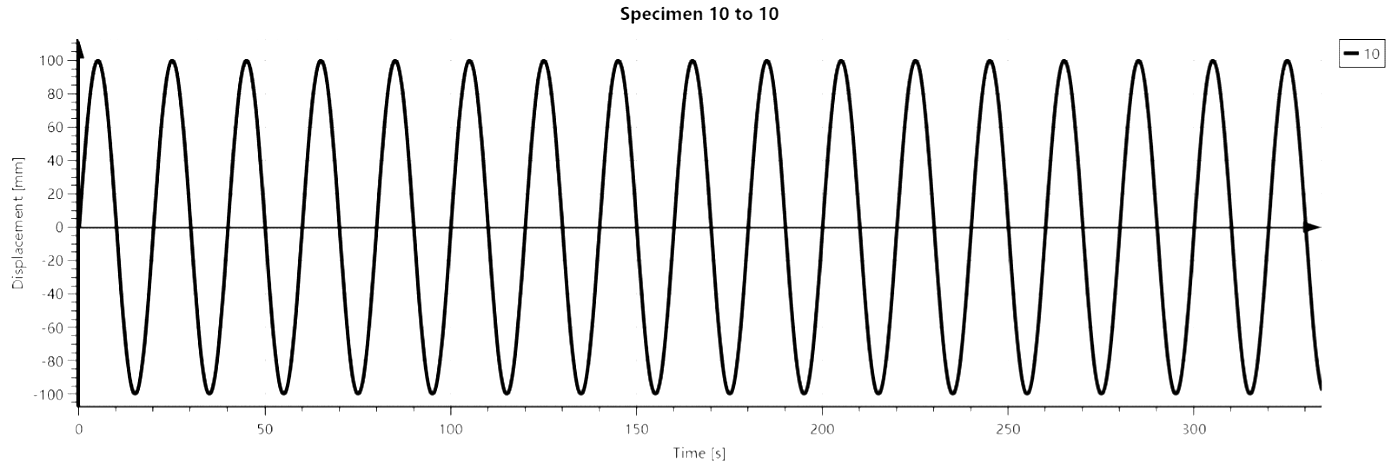
- Real-Time Graphing: During each test, the system displays synchronized force-displacement, stress-strain, and time-based curves in real time. Graphs are updated dynamically with every acquisition cycle (1200 Hz).
- Customizable Chart Layouts: Operators can define custom chart views, zoom windows, axis scaling, and data overlays for advanced comparative analysis.
- Result Markers and Zoom-In Tools: Breakpoints, yield offsets, modulus zones, and extensometer triggers are automatically marked and labeled during or after testing.
- Multiple Curve Overlays: Batch testing and comparison of multiple sample curves on a single graph allow performance consistency analysis and outlier detection.
- Export Formats: Charts and raw data can be exported in multiple formats including CSV, Excel, PDF, and graphical image (PNG, SVG).
Integrated Control Interfaces
The NG-EML Series A is engineered to support multiple control and interaction modes, providing operators with ergonomic, efficient, and flexible access to all machine functions. Whether in production, R&D, or training environments, these interfaces streamline test execution, setup, and safety control.
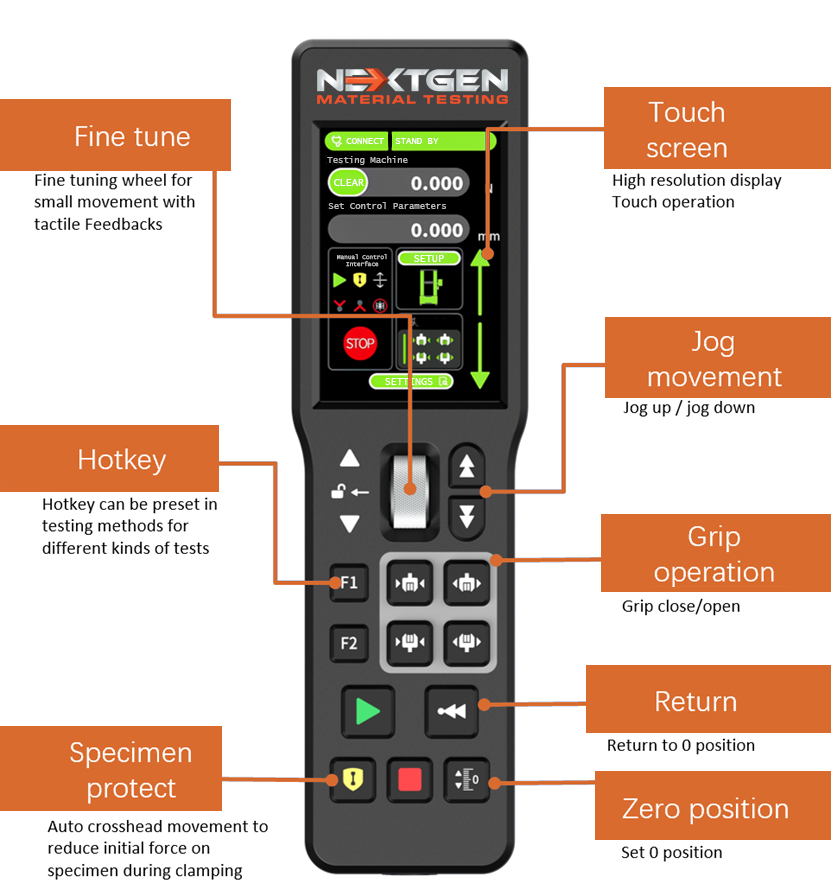
Handheld Remote Controller – Included as Standard
This compact, magnetically mountable remote handset includes a fully integrated 3.5-inch full-color touchscreen display for direct user interaction with test status and parameter control.
- Ergonomic Interface: Features silicone-coated buttons and a fine-resolution rotary wheel, which allows precise manual positioning of the crosshead. Operators can jog the crosshead, issue return-to-origin commands, or fine-tune alignment prior to clamping specimens.
- Real-Time Feedback: Live force, displacement, and system state are displayed on-screen. The user receives continuous updates, reducing the need to shift attention between the handset and PC.
- Core Control Functions:
- Start / Stop test
- Return to home position
- Manual jog of crosshead (up/down)
- Grip open/close control (if pneumatic system installed)
- Specimen protection logic – prevents excessive preload during setup
- Flexible Communication Modes: Can function either:
- In direct mode, communicating with the controller via embedded logic
- In PC-synchronized mode, acting as a secondary user input device for software-guided workflows
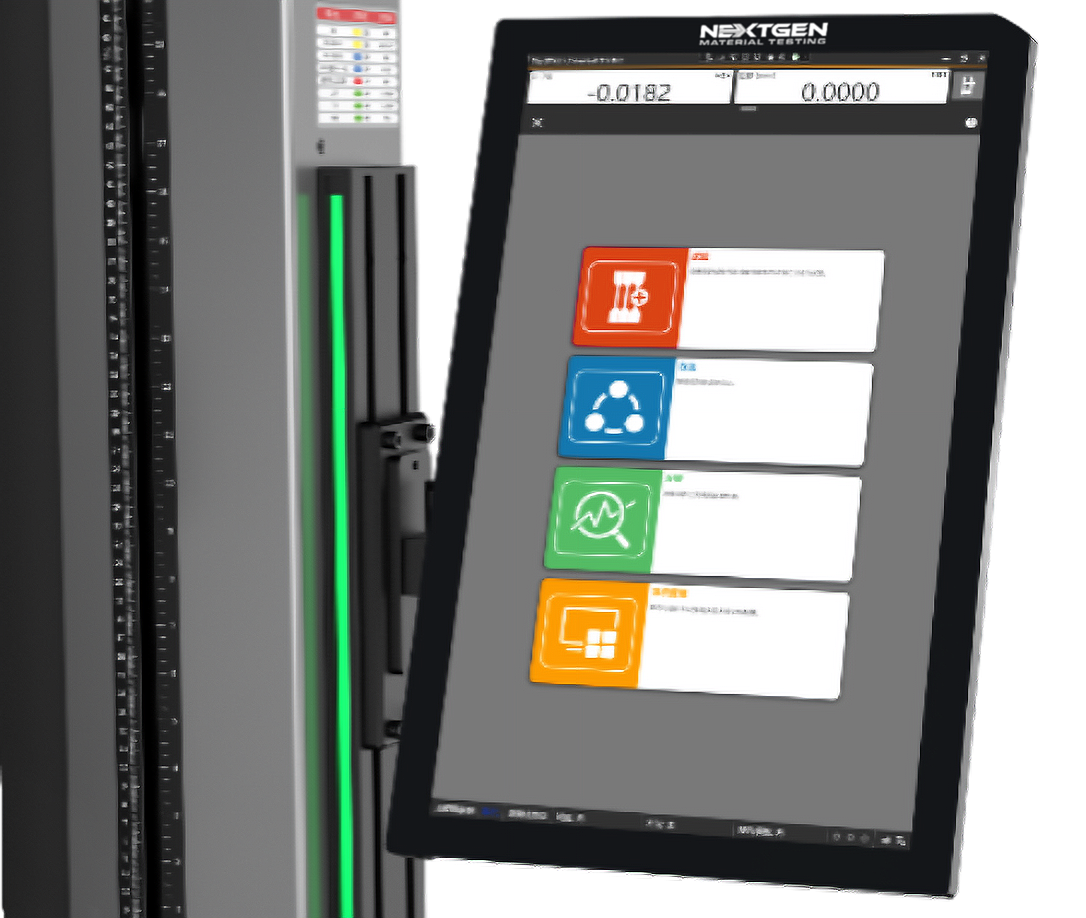
Optional Industrial Touchscreen PC
An optional all-in-one touchscreen computer can be mounted directly on the load frame, enabling standalone test execution without requiring an external desktop or laptop.
- GenTest™ Software Ready: The integrated industrial PC is preloaded with the full version of GenTest™ software. It provides access to all standard test method libraries, custom sequence creation, live graphing, real-time analytics, and report generation tools.
- Intuitive Touch Interface: Multi-touch screen supports tap, drag, pinch-to-zoom, and gesture control. Graphs, test results, and settings are interactively accessible on-screen, minimizing the learning curve for new users.
- Industrial-Grade Build: The PC unit features:
- Shock-absorbing housing
- Sealed surface for dust and moisture resistance
- Vibration isolation mounts (optional)
- Port Expansion: Offers multiple USB ports for data export, printer connection, barcode scanning, or peripheral automation.
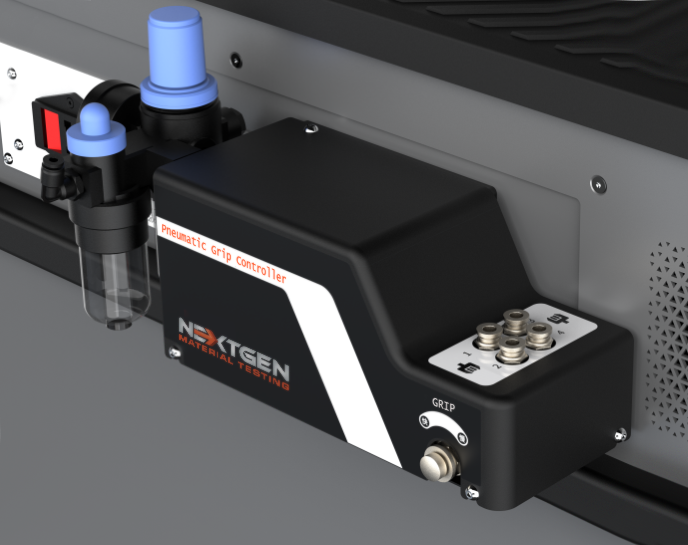
Optional Pneumatic Grip Control Module
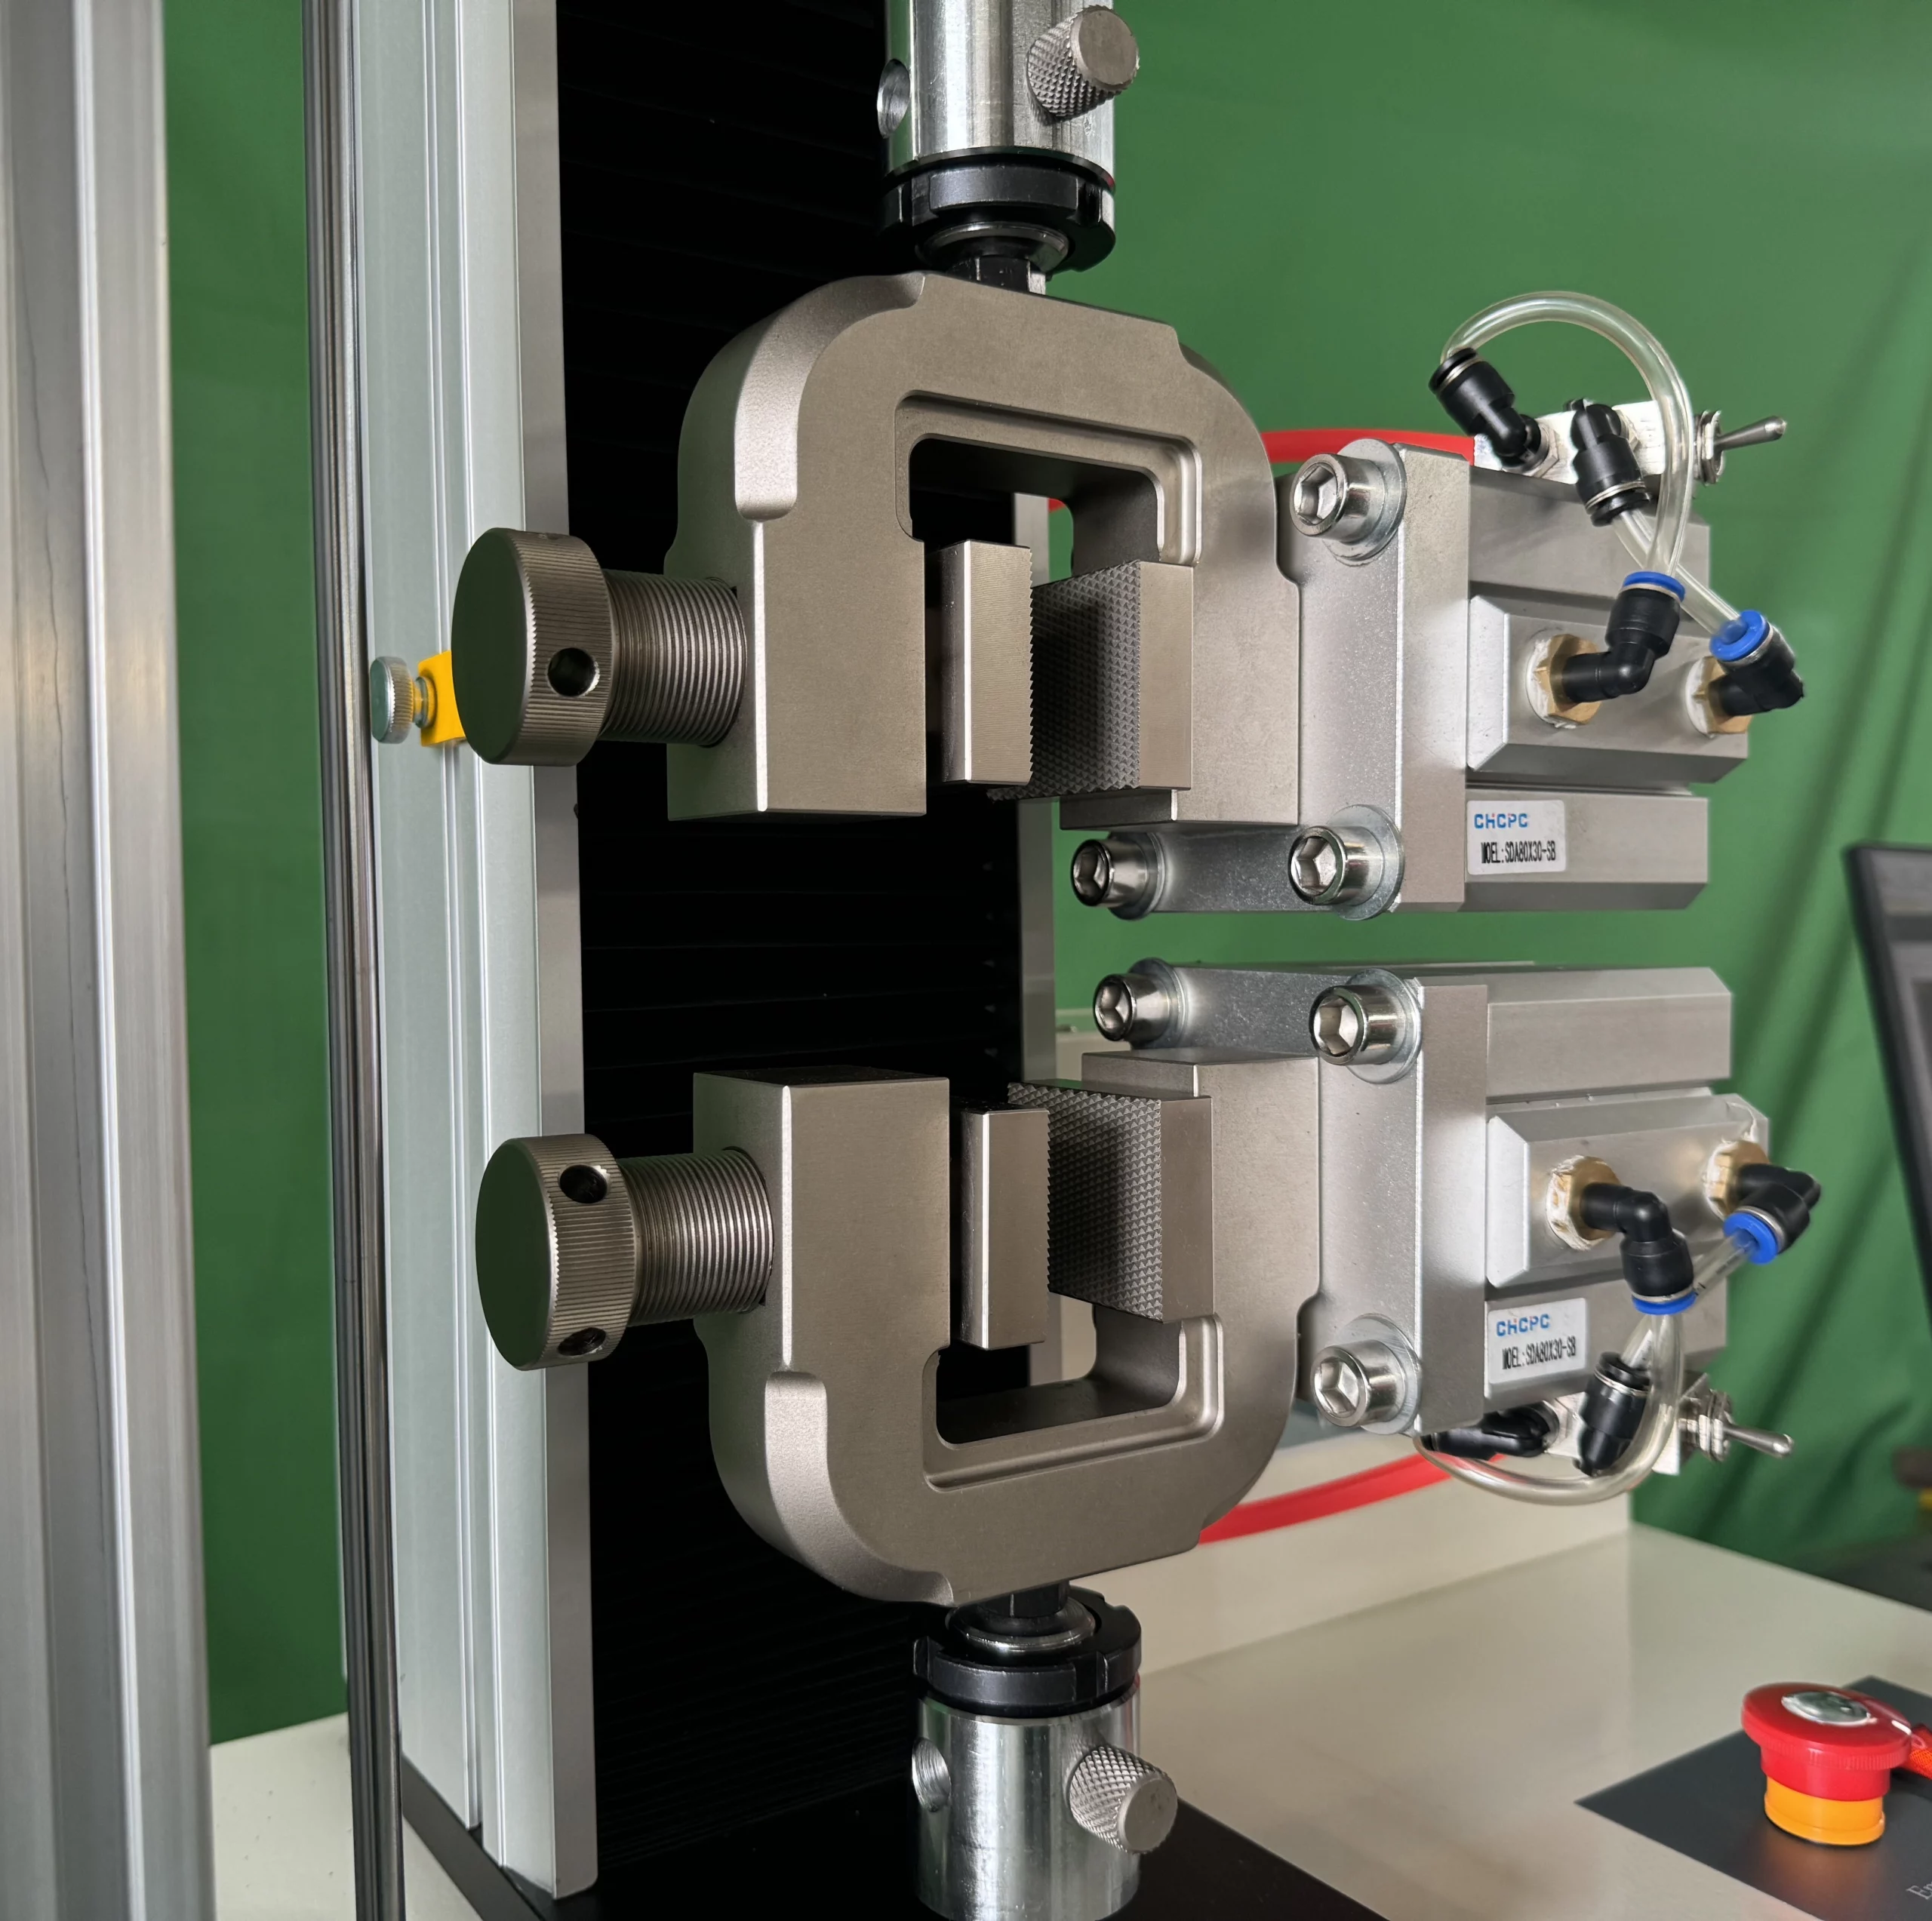
For applications requiring pneumatic grips, the system supports an optional digital pneumatic grip pressure control unit.
- Pressure Control and Regulation: Users can set and adjust air pressure via a digital interface to match the material’s clamping requirements. Accurate pressure prevents both under-clamping (slippage) and over-clamping (material deformation).
- Dual Gripping Channels: Independently control opening and closing of upper and lower pneumatic grips for high-precision clamping sequences.
- Integrated Safety Mechanism:
- Grip actuation is disabled unless the test space is clear and the system is in a safe state
- Pre-pressure locking and relief mechanisms help maintain grip force during test start
- Compact Design: The module can be rack-mounted near the testing system or installed directly on the machine frame for easy access. Quick-connect fittings allow fast changeover of grip types.
- Visual Display: Real-time pressure feedback and grip status indicators support operator awareness and reduce the risk of setup error.
GenTest™ Software
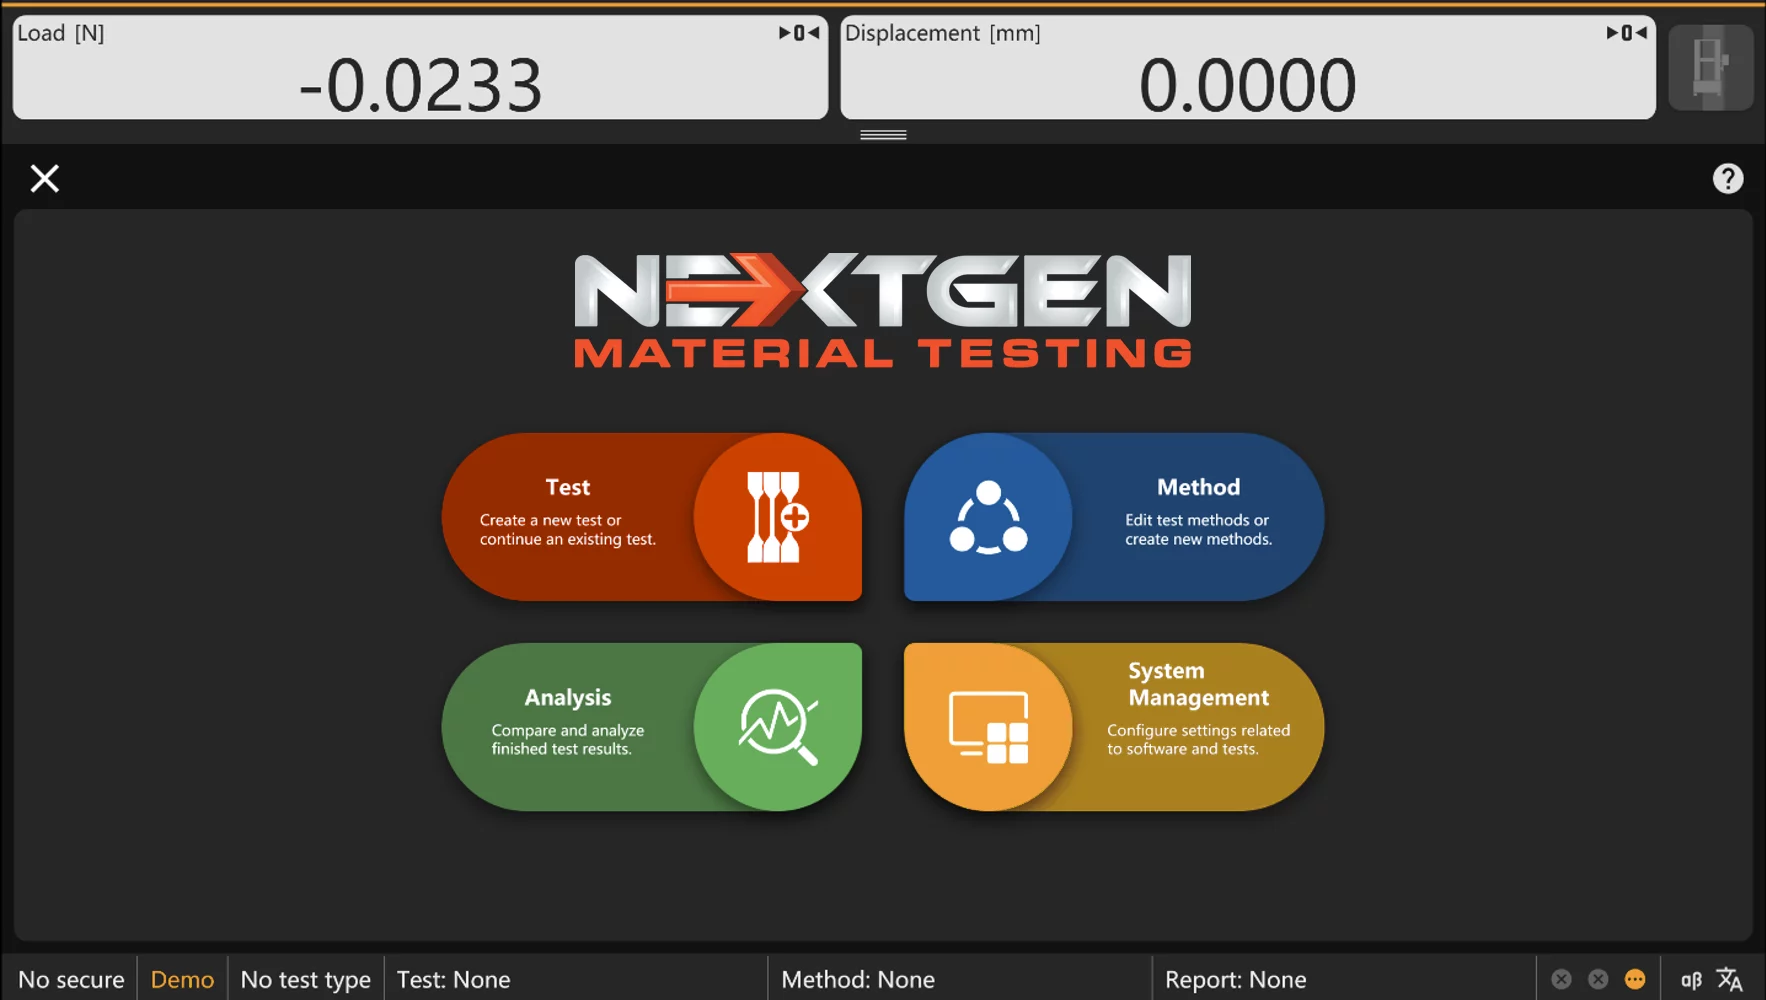
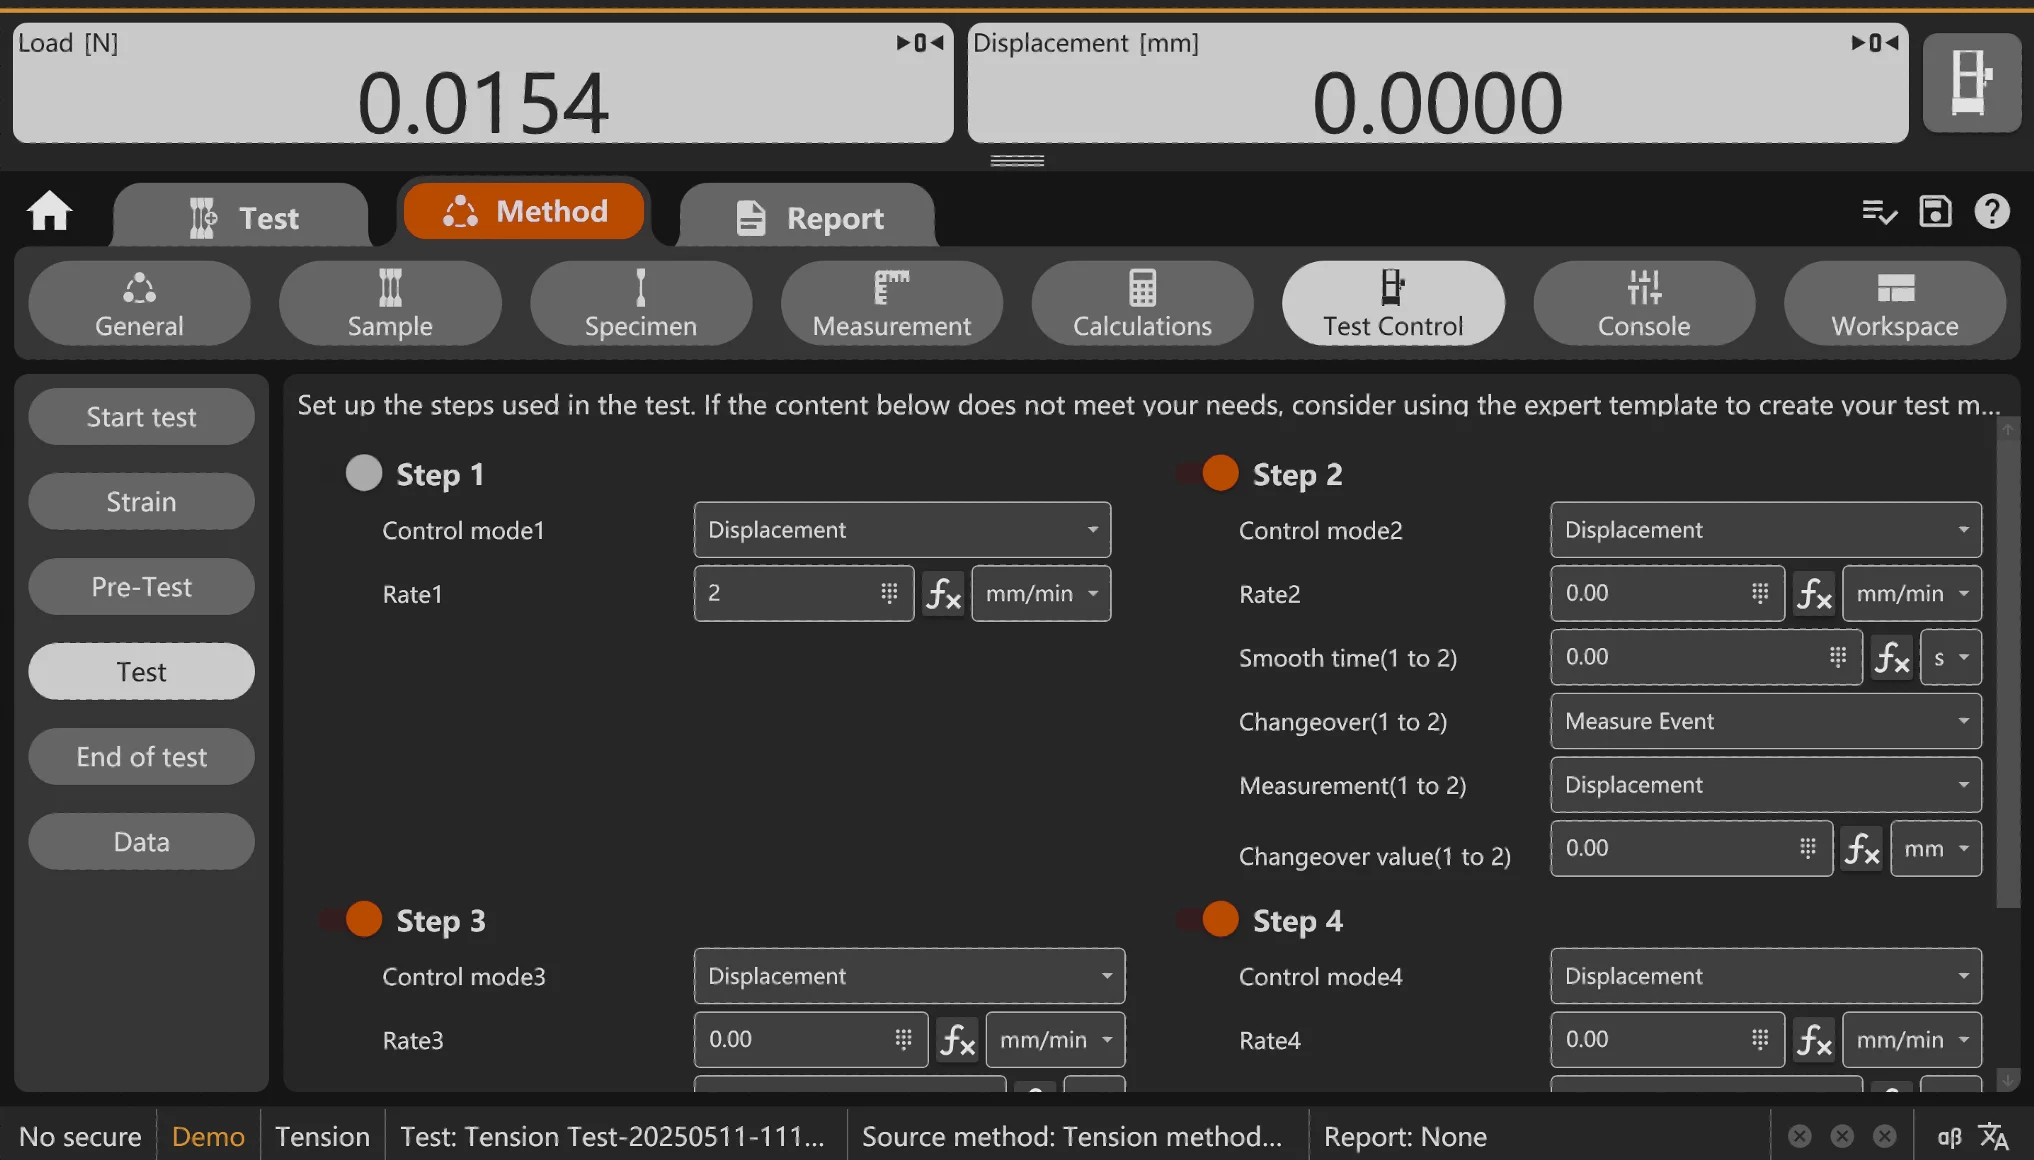
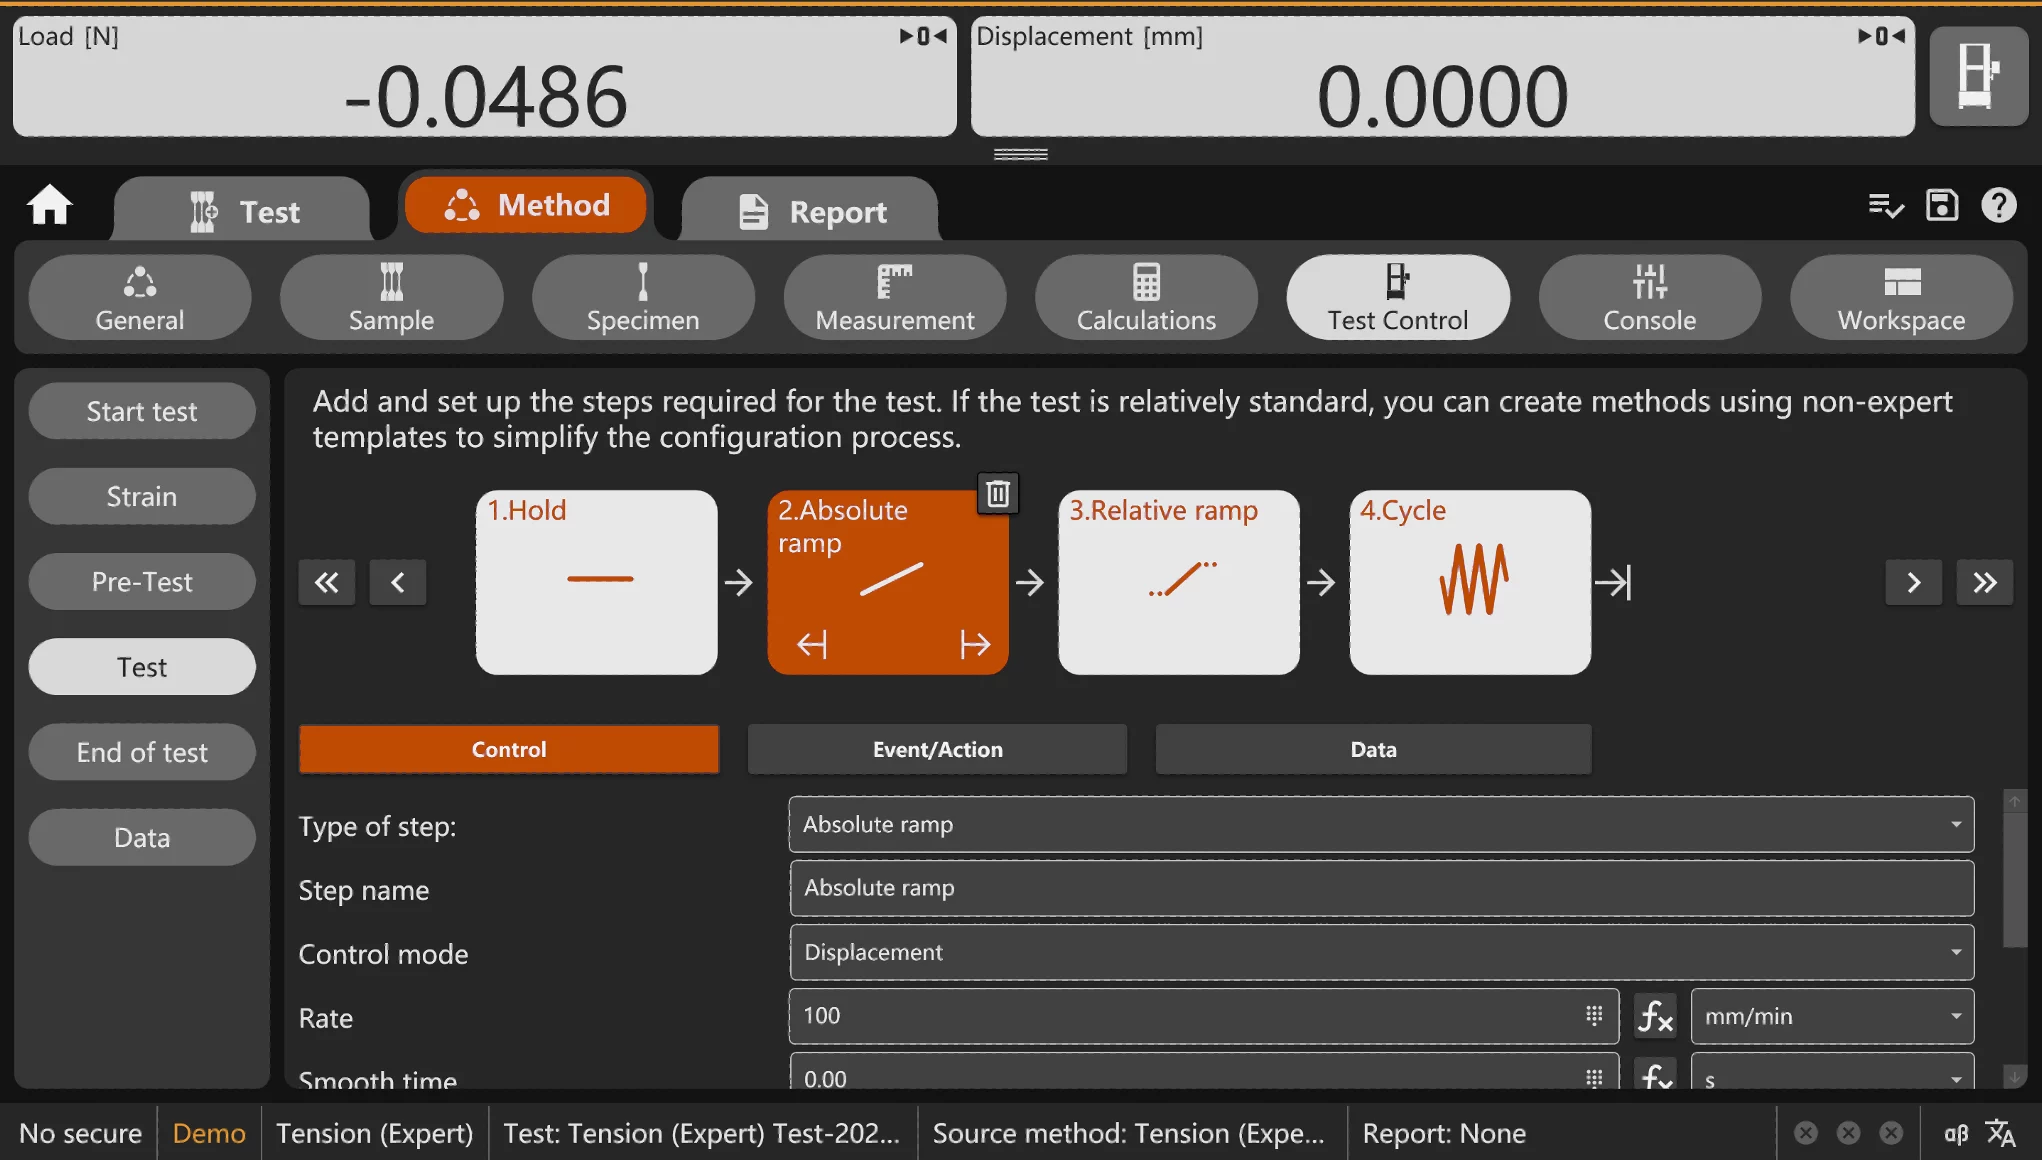
The newly updated testing software features a streamlined and intuitive layout, offering a logical arrangement of functions, consistent interface design, and clearly structured navigation. It supports both horizontal and vertical screen orientations, with automatic resolution scaling based on the display settings of the host computer. A broad set of preloaded testing protocols is included, covering widely used standards such as GB/T, ASTM, ISO, and EN. These methods are organized into modular test groups based on application type, allowing users to efficiently select appropriate configurations for different industries and materials. In addition to standard methods, the software enables full customization of test procedures and standards to accommodate unique testing scenarios. An integrated modular accessory management system links accessory configurations directly with the test workflow, allowing seamless interaction between the software and connected components. The platform supports a wide range of external devices, including video extensometers, temperature controllers, analog gauges, fully automatic extensometers, thermal chambers, pneumatic grip controllers, and strain measurement sensors, ensuring maximum adaptability across complex test setups.
- Interface Design: Employs a simplified, flat UI conforming to modern design standards. Optimized font display enhances readability and aesthetic coherence, improving the operator experience significantly.
- Layout and Touch Optimization: Supports both horizontal and vertical display layouts; a numeric keypad is integrated for streamlined touch-based input under operational constraints.
- Demonstration Mode: Enables simulation of tests, allowing familiarization with the software interface without physical specimen interaction.
- Recalculation: Post-test recalculation allows users to modify parameters and reprocess results efficiently.
- Test Standards: Preloaded with built-in test methods compliant with GB/T, ASTM, ISO, and EN standards, organized modularly for streamlined selection.
- Method List: Intuitive display and keyword filtering of test procedures facilitate rapid method identification and selection.
- Quick Test Method: Optimized for tensile and compression tests with minimal configuration steps.
- Data Export: One-click raw data export streamlines post-test processing.
- Test Progress Visualization: Real-time tracking of test steps, cycles, control modes, and duration provides operational transparency.
- Test Graph: Multi-mode interaction with graphs (e.g., touch, keyboard, zoom, and axis panning). Advanced plotting options support complex data visualization needs.
- Function Key Customization: Allows tailored UI controls for specific test methods, maximizing testing efficiency.
- Test Log Recording: Records comprehensive metadata including parameter inputs, system states, and abnormal events for traceability.
- Pre-test Parameter Verification: Enforces parameter validation prior to execution to eliminate procedural errors and reduce waste.
- Sample Protection Mechanism: Prevents premature damage by controlling the clamping sequence and forces.
- Real-Time Data Display: Supports up to 12 configurable channels with customizable layout, units, time formats, and refresh intervals.
- Multifunction Operation Panel: Consolidates manual control functions for connected accessories and core equipment.
- Basic Templates: Pre-configured test method templates support rapid onboarding and expert-level customization.
- Unit System: Includes metric and imperial units; conversion is automatic per selected method or test item.
- Expression Generator: Allows construction of advanced test expressions using logic or variable inputs.
- Measurement Function: Supports multi-channel data collection and live result synthesis.
- Calculation Function: Provides a suite of pre-programmed algorithms for dynamic and static calculations.
- Rounding Function: Permits configurable rounding logic in processed data to ensure result uniformity.
- Test Control: Supports step-based sequencing (ramp, hold, waveform) with customizable trigger events and acquisition strategies.
- Voice Broadcasting Function: Configurable voice prompts guide users through critical testing stages and events.
- Accessory Connection: Broad compatibility with extensometers, chambers, and other peripheral testing hardware.
- Accessory Action Control: Granular control of peripheral device behavior across the test sequence timeline.
- Data Acquisition Strategy: Customizable interval settings prevent data loss during rapid measurement changes.
- Automatic Fixture Pressure Setting: Pressure automatically adjusts based on force thresholds to prevent sample damage.
- Test Report: Full customization of report content and export format, including watermarking and formatting templates.
- Multi-language Switching: Real-time language changes without system reboot enhance international usability.
- Data Analysis: Enables inter-test and inter-batch statistical comparisons for deeper analytical insight.
- Maintenance Reminder: Intelligent system tracking prompts timely servicing to optimize hardware lifespan.
- Permission Configuration Management: Tiered access rights improve operational control and accountability.
- Safety Performance: Covers multi-dimensional safety metrics including electrical, overload, and thermal protections with real-time monitoring.
Overall Dimensions and Working Area Diagram
FAQs
NextGen Material Testing offers a comprehensive range of high-precision grips and fixtures specifically designed for use with NG-EML Series Universal Testing Machines. These accessories enable accurate and repeatable tensile, compression, flexural, shear, peel, and puncture testing across a wide range of materials, including metals, plastics, composites, rubber, and wood.
The available solutions include:
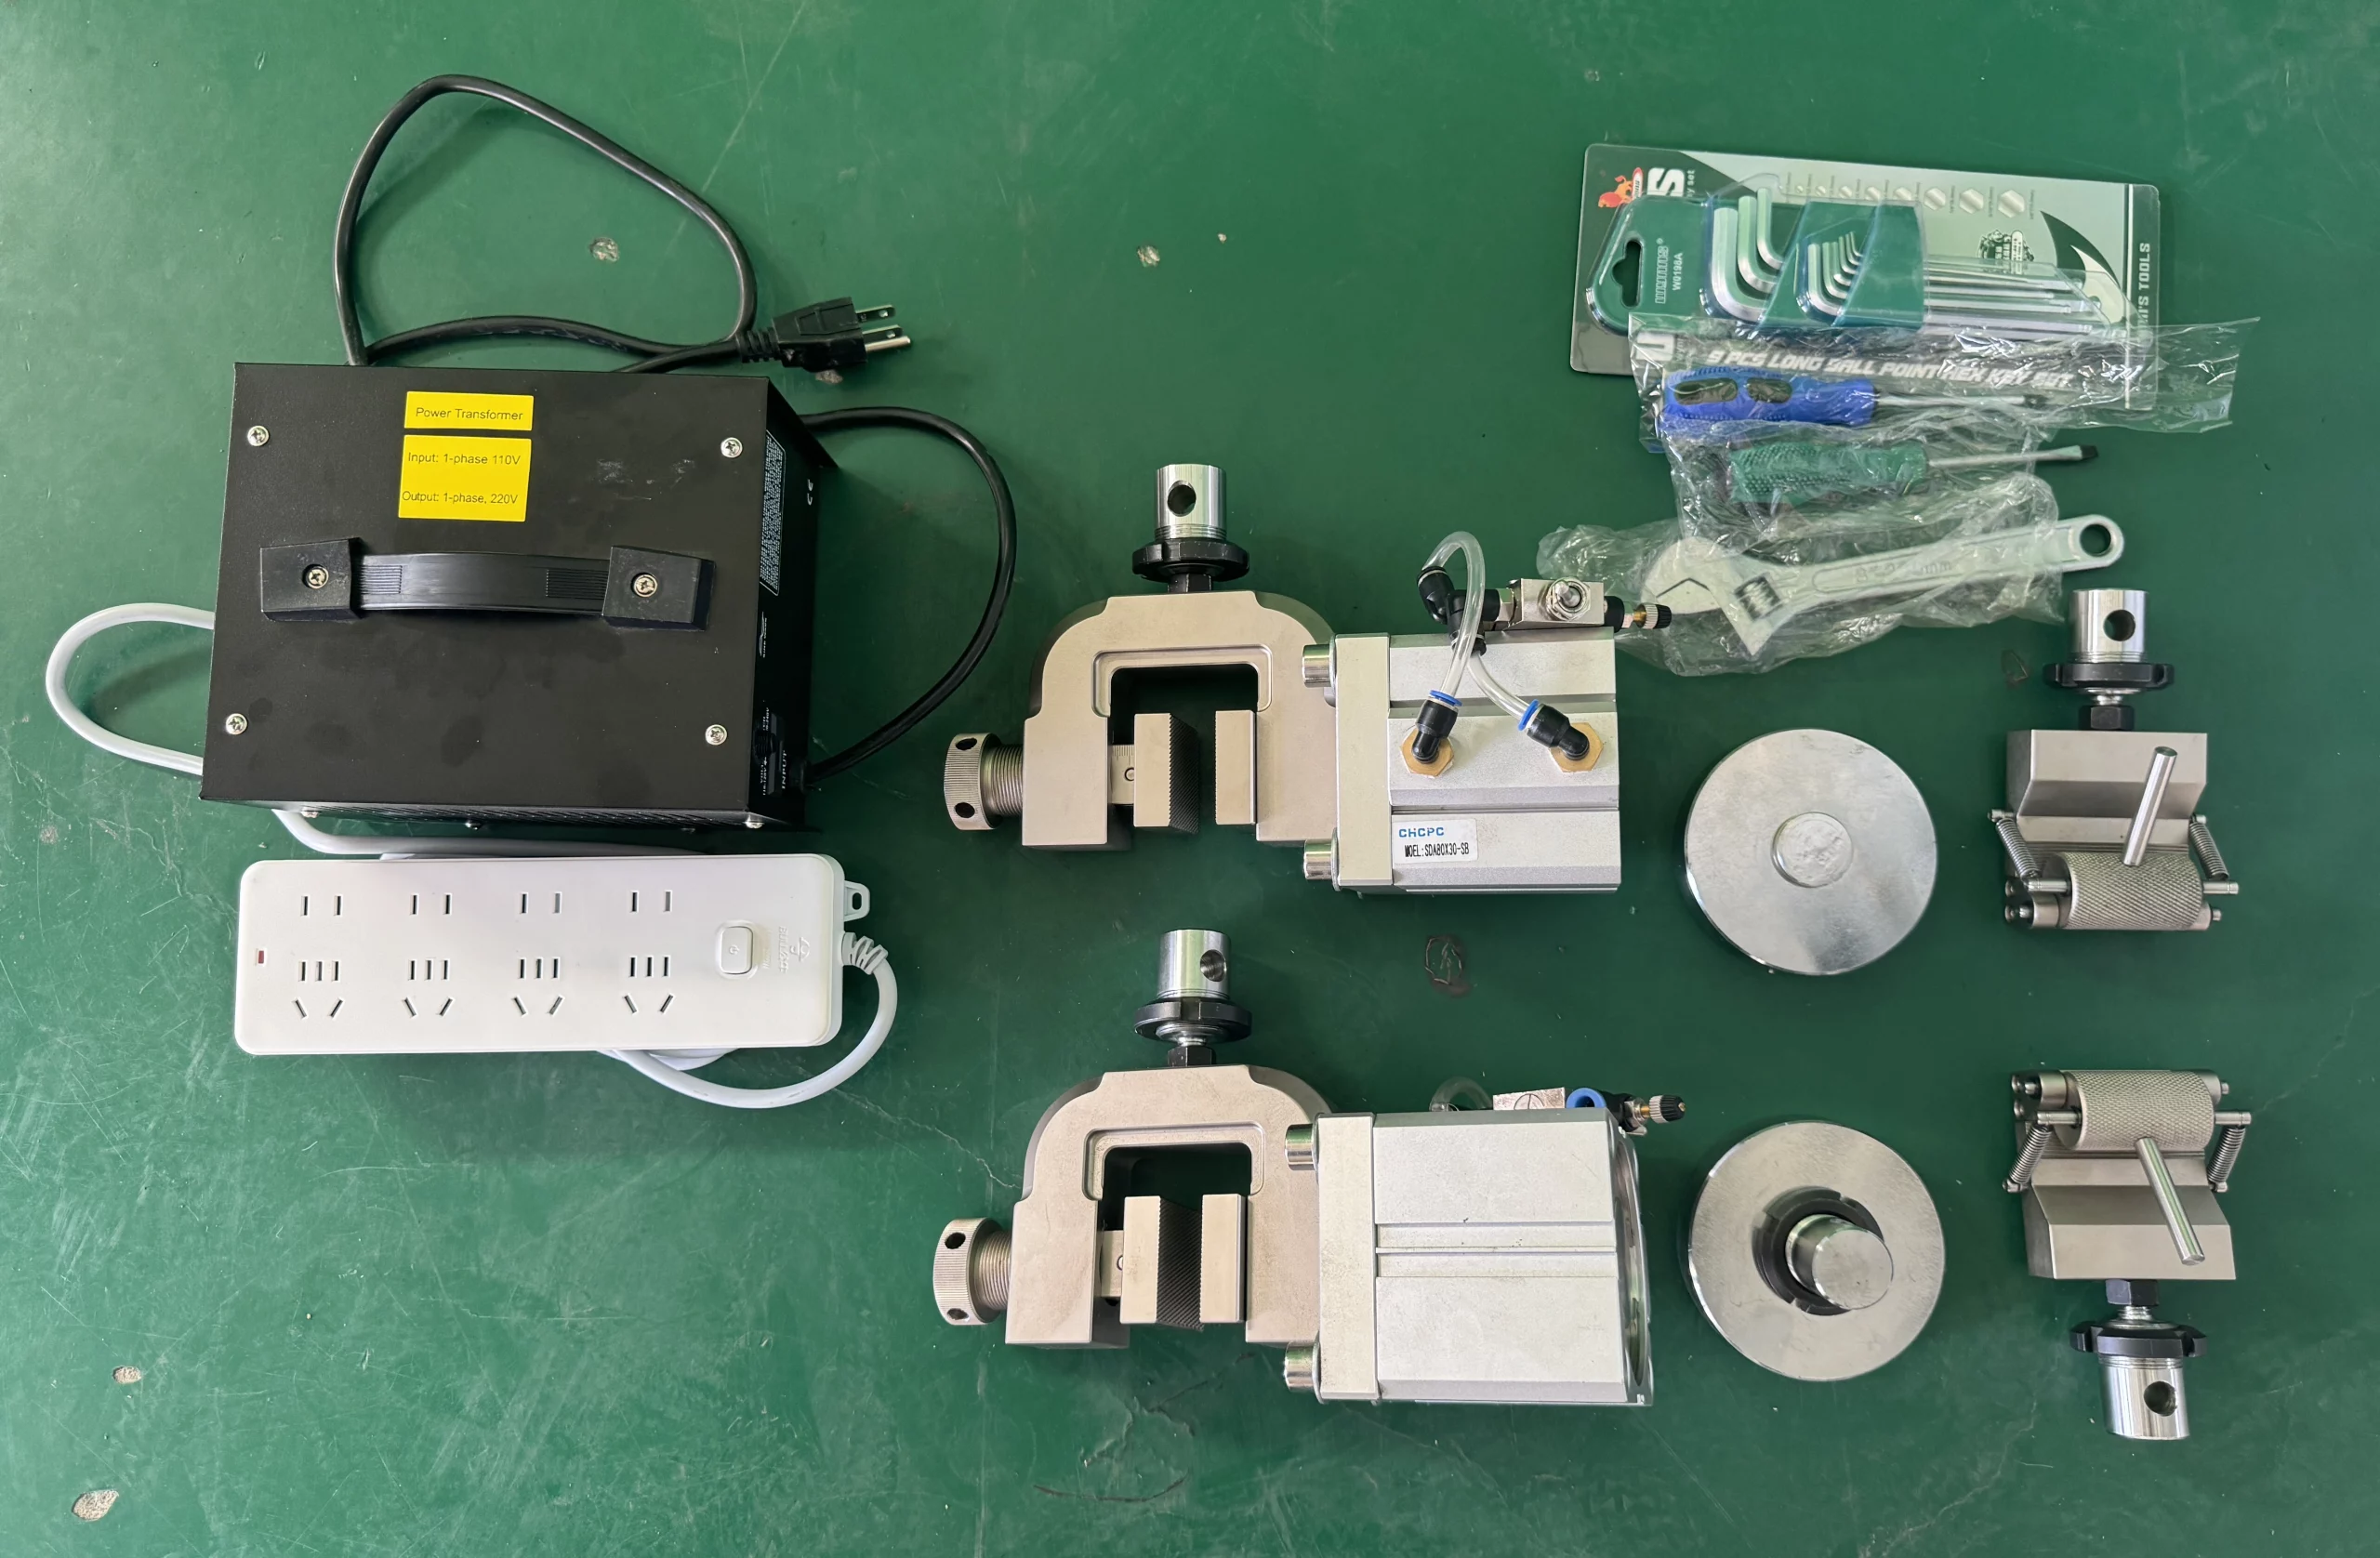
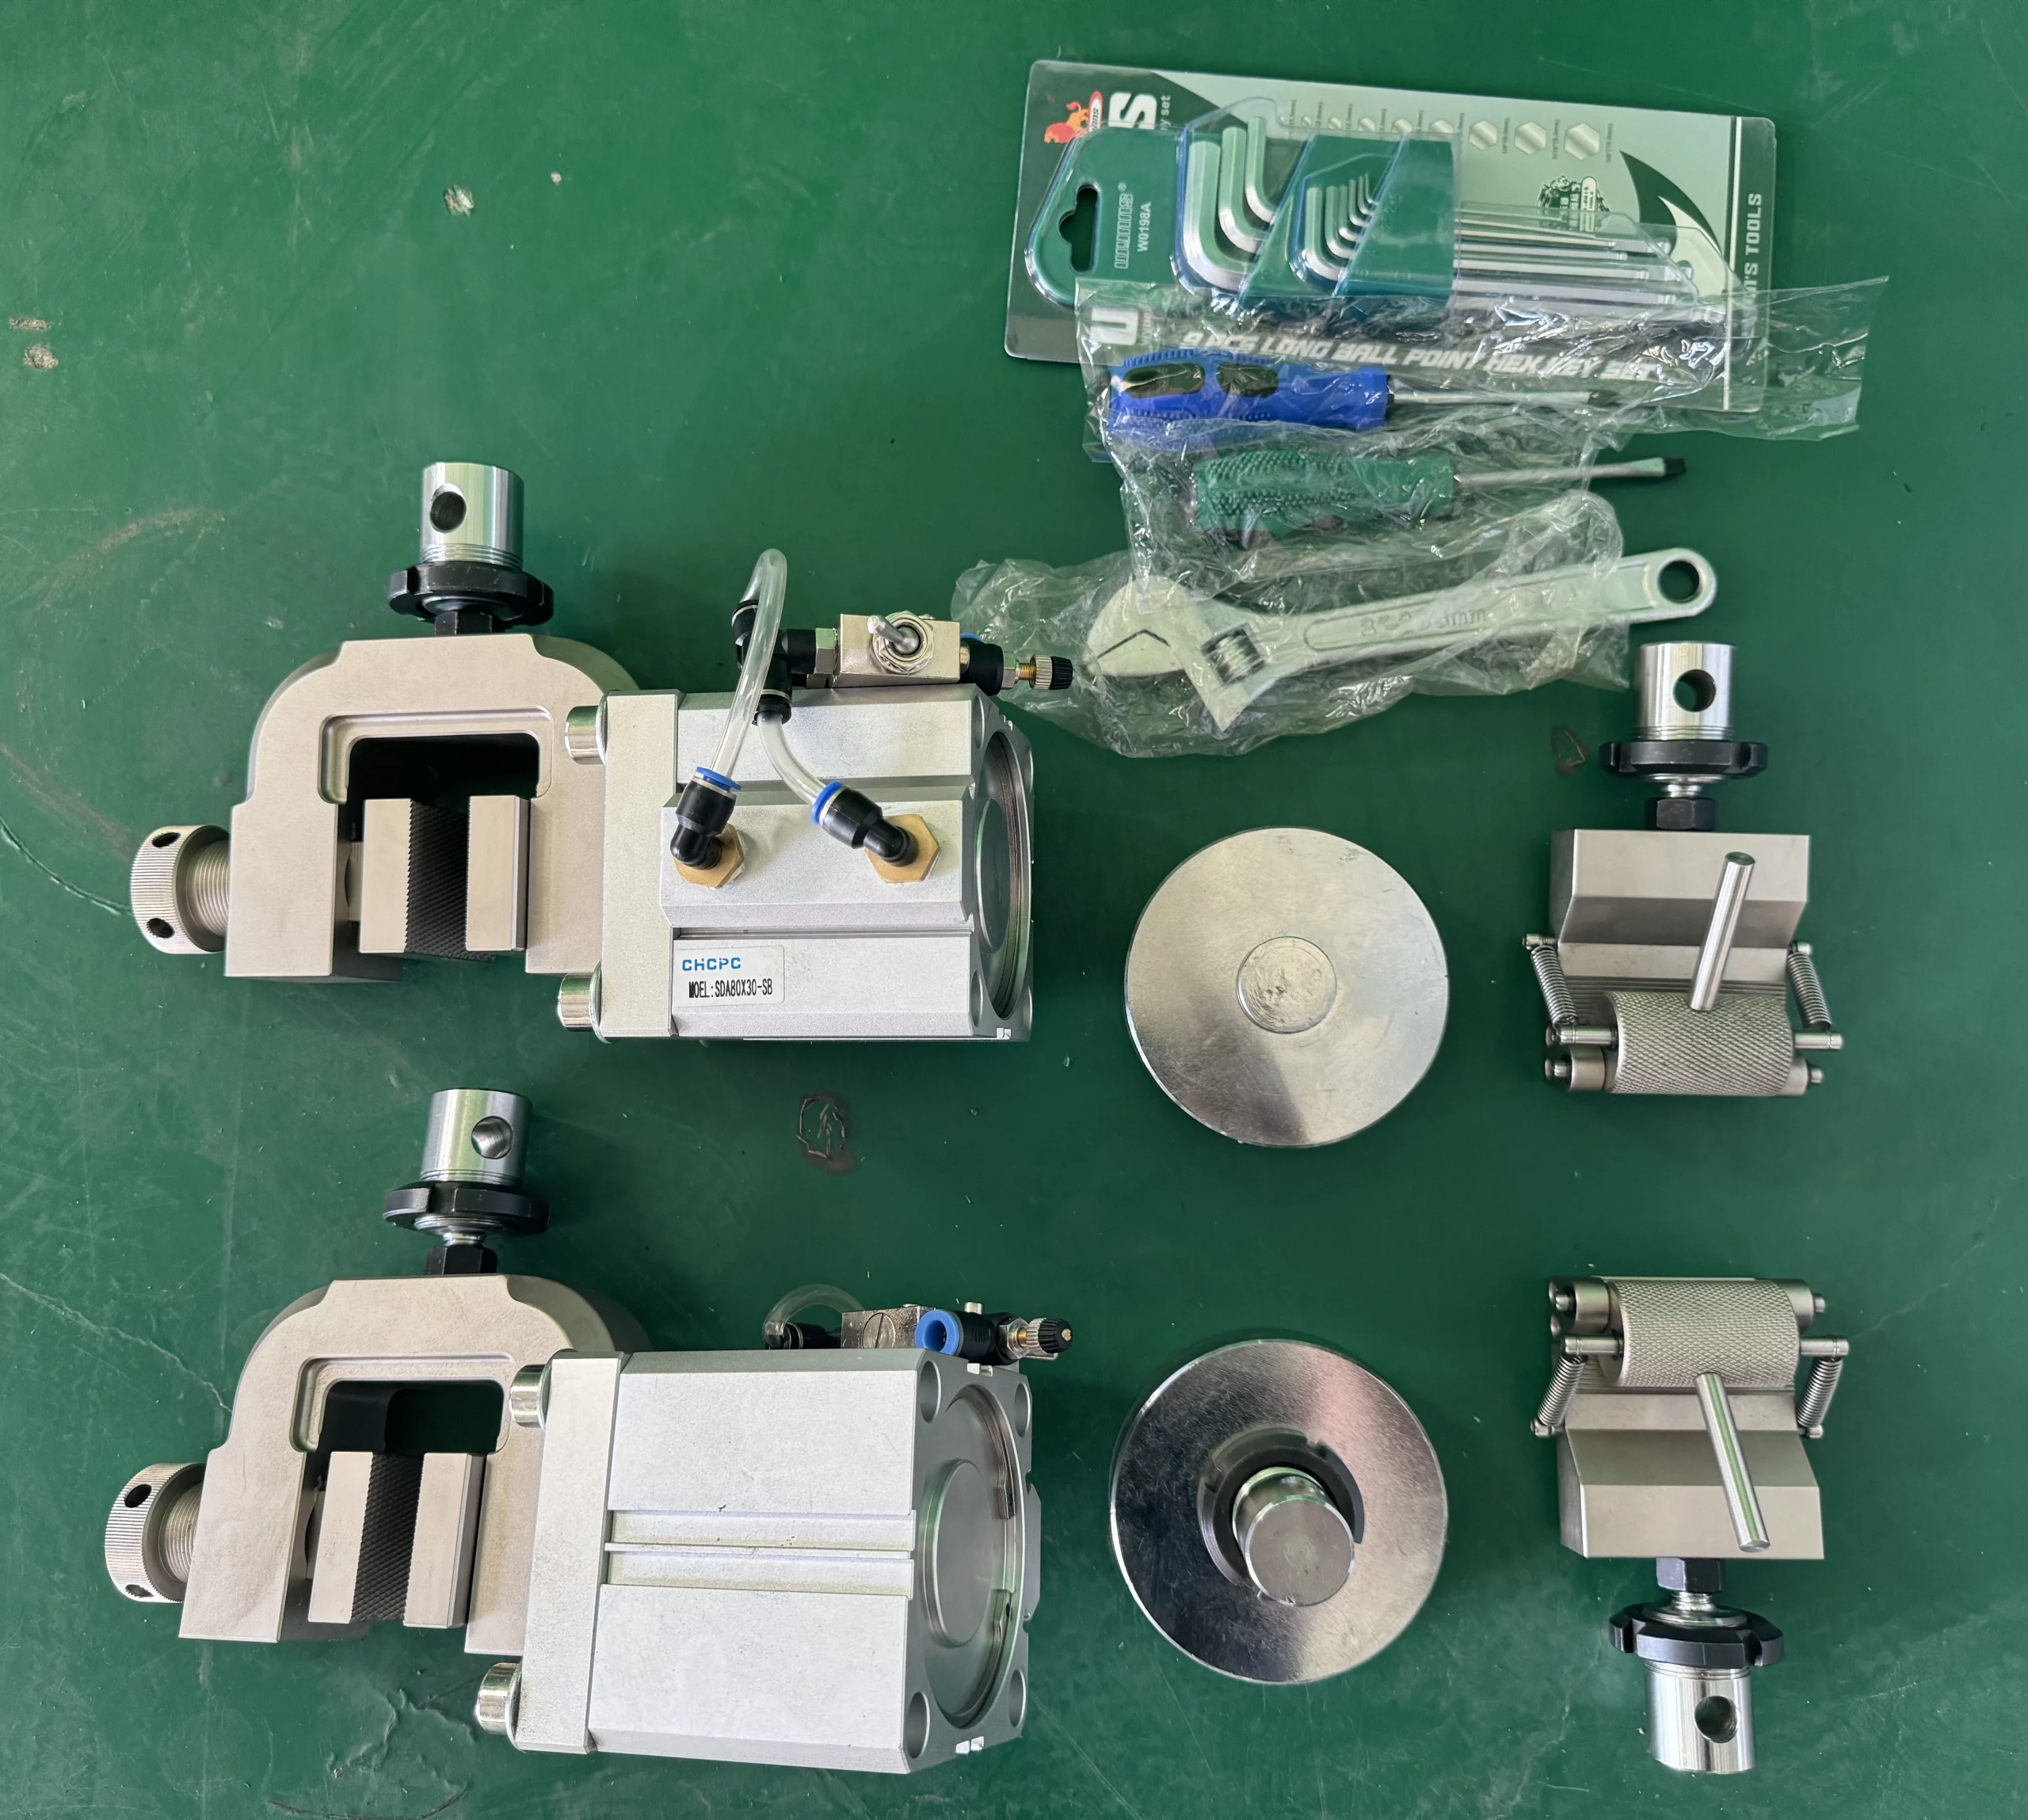
- Wedge grips for high-load metal and composite testing (ASTM E8, ISO 6892)
- Pneumatic grips for fast, repeatable clamping of soft and flexible specimens
- Side-action grips with interchangeable jaw faces for general-purpose applications
- Self-tightening and eccentric roller grips for deformable or low-friction materials
- Flexural fixtures for 3-point and 4-point bending (ASTM D790, C393, D6272)
- Compression platens and cages for ASTM D695 and other compression tests
- Snubbing grips for cable and wire testing using the capstan method
- Threaded grips for bolt and nut tensile verification (ASTM F606)
- Specialized fixtures for tear, peel, puncture, delamination, and wood testing (ASTM D143, D2344, D3167, etc.)
Each fixture is engineered for optimal load alignment, high-strength durability, and full compliance with ASTM, ISO, and other global testing standards. From basic clamping to advanced high-capacity or component-specific testing, these fixtures are designed to support consistent performance across all NG-EML Series UTM configurations.
Yes, NextGen Material Testing Inc. offers professional calibration services for all NG-EML Series Universal Testing Machines, including Series A, B, C, and D. These services are designed to maintain compliance with international standards such as ASTM E4, ISO 7500-1, ASTM E8, and ISO/IEC 17025:2017.
As a general industry requirement, universal testing machines must be calibrated annually to ensure ongoing accuracy and traceability. Our calibration services are performed by certified technicians and qualified engineers, either during initial installation or as part of routine equipment servicing.
Calibration includes:
- Verification of force measurement systems
- Accuracy checks of extensometers and displacement systems
- Issuance of traceable calibration certificates aligned with ASTM and ISO standards
Alongside calibration, we also provide on-site installation and training, including system setup, mechanical and electrical checks, operational testing, and software introduction for up to three users.
Yes, all NG-EML Series UTMs from NextGen Material Testing Inc. are designed to comply with key international standards, including ASTM E4, ISO 7500-1, ASTM E8, and ISO 6892. These standards ensure that the systems meet the highest levels of accuracy, repeatability, and reliability for force measurement and material testing.
Additionally, NextGen offers full certification and calibration services for both in-house and third-party testing equipment. We work closely with ISO/IEC 17025:2017-accredited partners to support certification under a wide range of international standards such as:
-
ASTM E4 – Force verification for universal testing machines
-
ISO 7500-1 – Verification of force-measuring systems in tension/compression testing
-
ASTM E83 and ISO 9513 – Calibration of extensometers and strain measurement devices
-
ASTM E1012 – Alignment verification for load frames
-
ANSI/NCSL Z540-1-1994 – Calibration system accuracy and traceability
-
NADCAP – For aerospace/defense sector certification (with alignment fixtures available to meet NASM 1312B and ASTM E1012 coaxiality requirements)
All NG-EML Series machines are powered by GenTest™ – an advanced data acquisition and control software platform engineered for precision mechanical testing across a wide range of materials and applications.
Key features include:
-
Preloaded test methods compliant with ASTM, ISO, GB/T, EN, and DIN standards, organized by application type for quick selection
-
A modern, intuitive interface with real-time graphing, live data acquisition, and streamlined navigation for both new and experienced users
-
Advanced analysis tools, such as recalculation, zoomable charts, curve overlays, and multi-batch comparisons
-
Full support for modular accessories, including extensometers, thermal chambers, strain sensors, and pneumatic grips
-
Customizable test reports, automated result calculations, and export options in Excel, PDF, CSV, and image formats
-
Real-time sample protection logic, voice-guided testing prompts, multilingual support, and remote demonstration mode
-
Integrated expression builders, step-based sequencing, waveform generation (e.g., ramp, hold, sine), and automated fixture control
GenTest makes sure that all NG-EML models are fully compliant, easy to use, and give accurate data output, whether they are used in quality control labs or research and development settings.
If you would like to learn more about this software, please visit the official GenTest™ software page.
Yes — NG‑EML Series machines are supported by a robust stocked consumables and spare parts program designed for maximum uptime:
- We maintain an extensive inventory of critical consumables — including grips (manual, pneumatic, hydraulic), extensometer accessories, load cells, bearings, belts, seals, and electronic modules — tailored to bench-top and floor-standing UTM platforms.
- Spare parts are NIST‑traceable, factory‑calibrated, and ready for quick shipment, eliminating extended lead times.
- For higher‑wear items like seal kits or grips, we offer bulk reorder options, making them easy to stock in your lab.
- All parts are plug-and-play compatible with GenTest™ equipped systems, ensuring a hassle-free installation—no technician visit required.
- Replacement orders are filled from regional warehouses, guaranteeing fast delivery worldwide and keeping your machines operational.
- If a rare or specialized component is needed, NextGen will expedite sourcing and shipping, so you're never left waiting.
This guarantees that you can quickly and easily get the parts you need for your UTM investment, exactly when you need them.
Each NG-EML Series machine comes backed by NextGen's Lifetime Product Support Advantage, ensuring long-term technical assistance for the lifetime of the system. From pre-sale consultation to post-installation support, our goal is to provide comprehensive service that aligns with your needs.
NextGen offers both remote and in-person technical support:
-
Over 95% of technical issues are resolved remotely through guided troubleshooting, reducing downtime and eliminating the need for service visits in most cases.
-
If on-site assistance is required, NextGen coordinates with certified local partners in your region. These partners work under our direct guidance to resolve the issue quickly and effectively.
-
Our equipment is supported globally, and its standardized design allows qualified labs familiar with material testing systems to service the equipment with ease.
If you’d like to learn more, feel free to contact us directly or request a quote for a technical support inquiry.
The NG-EML Series Universal Testing Machines are designed with ultimate user-friendliness in mind, making them suitable for both experienced professionals and first-time operators. Every model—whether bench-top or floor-standing—comes equipped with an intuitive, icon-driven interface via the GenTest™ software. This platform supports:
-
Preloaded test method templates (ASTM, ISO, GB/T, EN) to reduce setup time
-
Step-by-step test configuration with guided prompts
-
Real-time graphing and visual feedback for easy monitoring
-
Multilingual interface and voice-guided operation, minimizing the learning curve
-
Handheld touchscreen remote controller (3.5”) with jog wheel and core control functions like start/stop, return-to-origin, and grip actuation
-
Optional industrial touchscreen PC for fully independent control without a computer
In addition, the system allows for rapid accessory changes through a plug-and-test interface, eliminating the need for manual calibration or setup when switching grips or extensometers.
Whether installed in a production lab or research environment, NG-EML machines deliver a seamless and straightforward testing experience for any user level.
Related Products
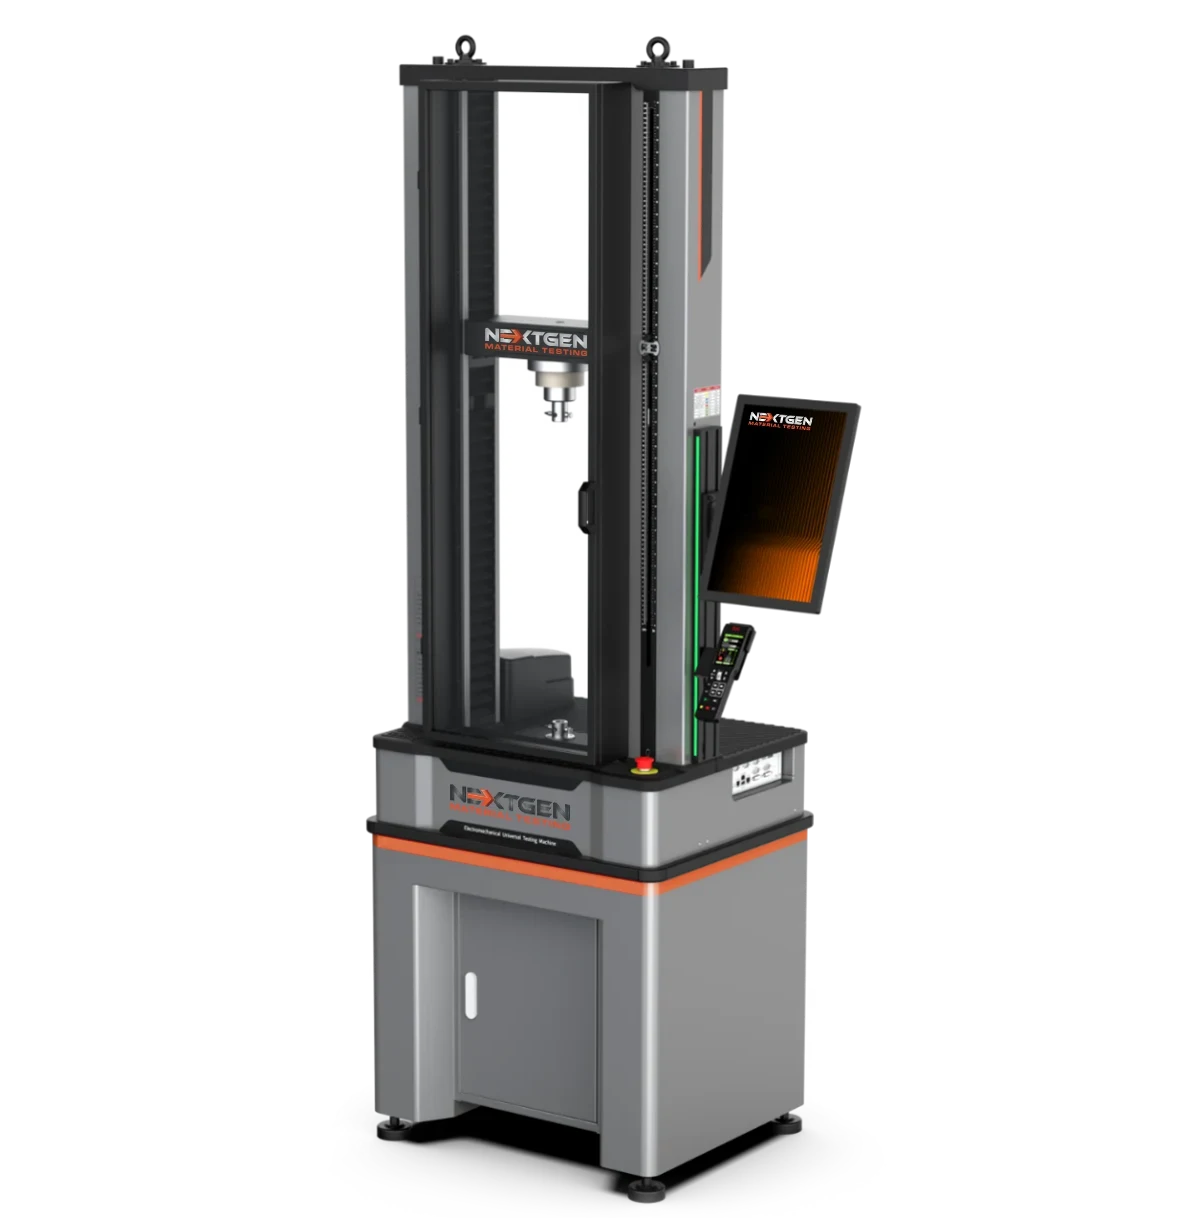
NG-EML Series B – Dual Column Bench Top Universal Testing Machine (100 N – 10 kN)
NG-EML Series B is a dual-column benchtop electromechanical universal testing machine for precision testing from 100 N to 10 kN. Built for research and industrial labs, it supports tension, compression, flexural, and component testing of composites, high-strength metals, polymers, films, foams, and rubber. Its compact rigid frame, advanced control accuracy, and GenTest software help deliver repeatable results in limited lab space.
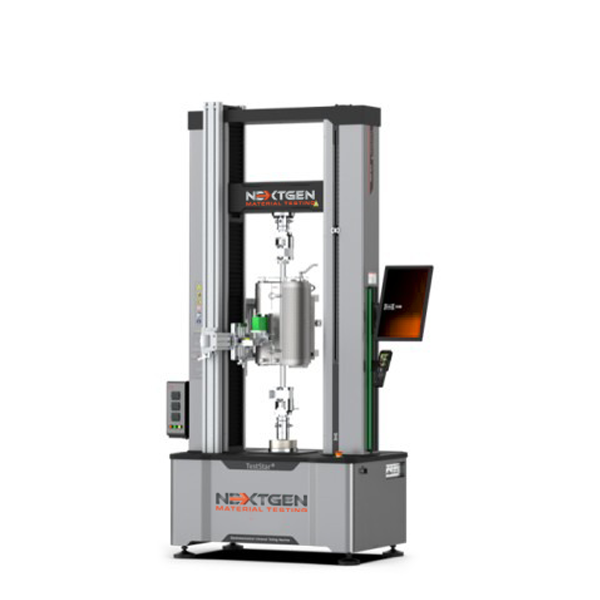
NG-EML Series C – Dual Column Bench Top and Floor Standing Universal Testing Machine (5 kN – 50 kN)
NG-EML Series C is a dual-column electromechanical universal testing machine available in bench-top and floor-standing formats from 5 kN to 50 kN. Built for tension, compression, flexural, shear, and peel testing, it combines Class 0.5 accuracy, a servo direct-drive system, high-rigidity frame, touchscreen control, and GenTest software to support precise testing of metals, composites, rubber, plastics, and polymers.
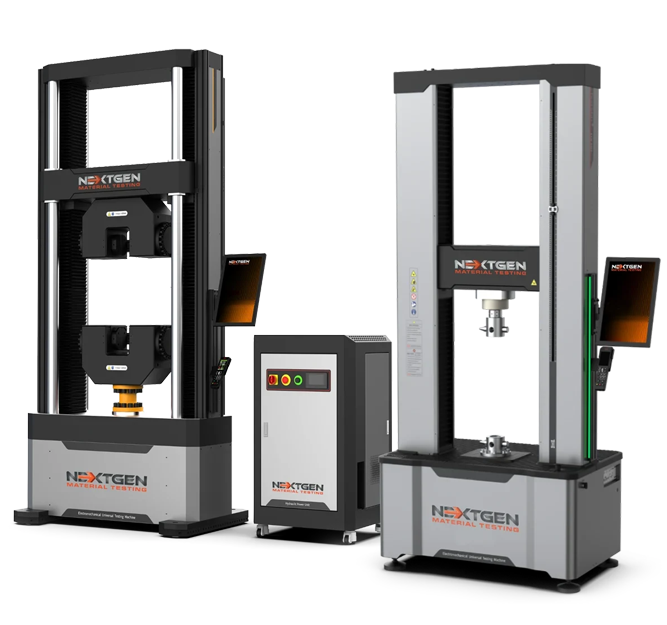
NG-EML Series D – Floor Standing Universal Testing Machine (50 kN – 1000 kN)
NG-EML Series D is a heavy-duty floor-standing electromechanical universal testing machine for high-capacity tensile, compression, and flexural testing. Available from 50 kN to 1000 kN, it is built for high-strength steels, advanced composites, alloys, and challenging research materials. Its rigid dual-column frame, servo direct-drive system, closed-loop control, safety protections, and GenTest software support stable, accurate testing.
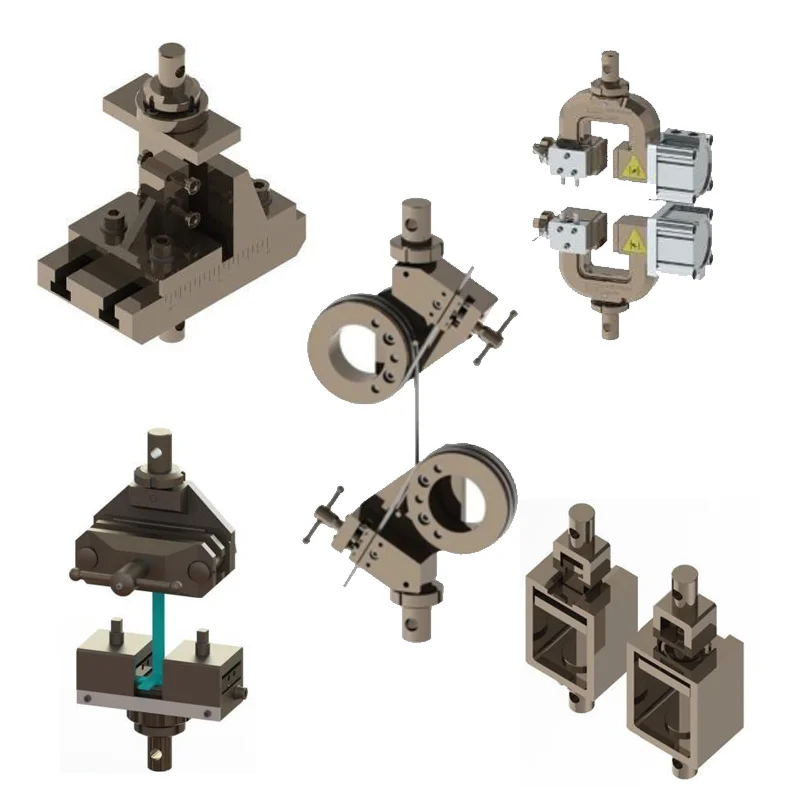
Grips and Fixtures for NextGen Universal Testing Machines (UTMs)
Grips and fixtures for NextGen universal testing machines expand UTM capability across tensile, compression, flexural, shear, peel, puncture, and specialized material tests. Compatible with electromechanical and servo-hydraulic frames, the range includes wedge, pneumatic, self-tightening, side-action, compression, snubbing, and bending solutions. Interchangeable jaws, alignment-focused construction, and ASTM/ISO support help laboratories reduce slippage, improve repeatability, and configure testing around specific specimens.

GenTest – Advanced UTM Testing Software
GenTest is NextGen’s advanced UTM testing software for electromechanical universal testing machines, managing test setup, live control, data acquisition, calculations, curves, and reporting from one method-driven environment. Preconfigured ASTM, ISO, DIN, EN, and BS templates help operators load the correct control mode, speeds, gauge length, formulas, and result fields for tensile, compression, and flexural tests.
