In this brief post, we are going to talk about weld sample preparation processes. After reading this post, if you have questions to ask and need to consult with an expert, you can direct those questions to NextGen Material Testing, Inc., which is an industry leader for supplying equipment and consumables for welding.
You can also inquire with NextGen if you need metallography equipment like grinders, polishers, etchers, etc. and about the techniques and procedures one should use for specific materials.
The company also offers weld measurement software, which is a powerful tool that enhances the ability to immediately measure critical welding features such as fillet welds, leg lengths, and penetration.
Specimen Preparation Process
Let’s go over the main steps:
Sectioning
First, we have sectioning. This is where we generate a cross-section of the material. If you are looking at the surface or anything else, this step is obviously not necessary. Sectioning is used in material testing to provide a smaller piece for analysis.
In sectioning, the most common type that we have is abrasive cutting. You can have 10- or 12-inch abrasive cutting equipment with a cutting capacity of 4-inch solid stock.
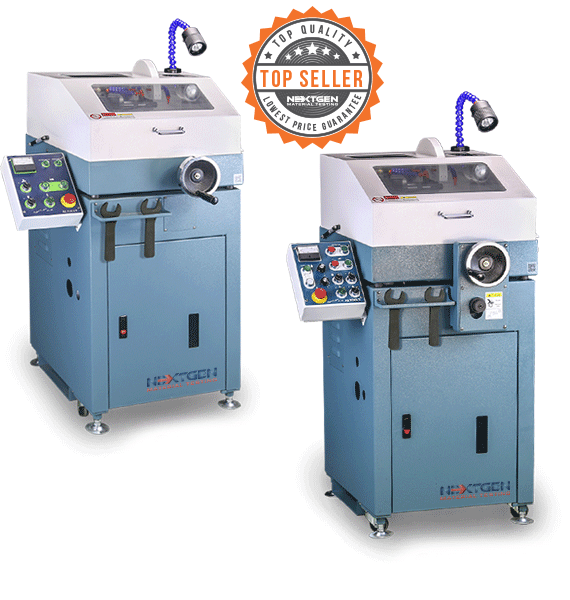
Depending on your application, you can use abrasive cutting blades in different thickness. The blades that have the smoothest cuts are those with densely-packed teeth.
Other consumables used in sectioning include plasma and oxy-fuel equipment, wafering blades, and cutting fluid in various quantities and sizes.

Precision Cutting
Alternatively, precision cutting equipment is used for sectioning where the area of interest is very small. Otherwise abrasive cutting is employed.
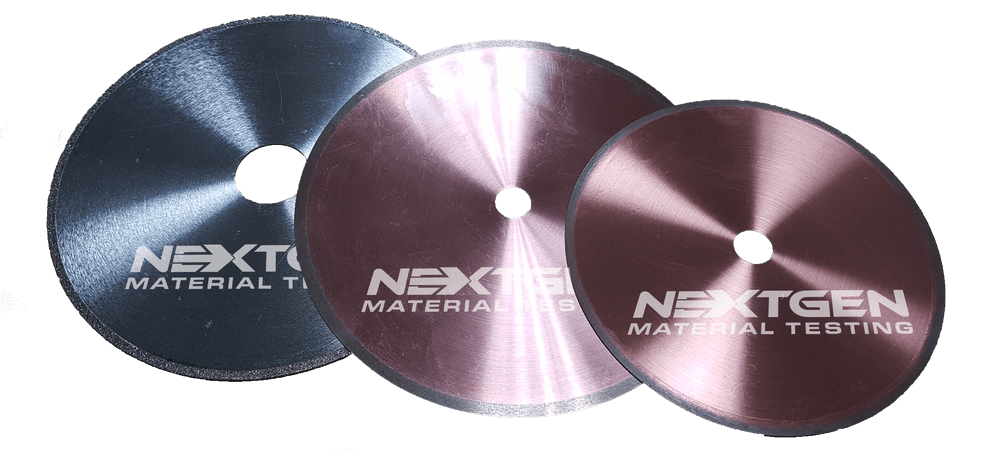
In place of abrasive blades, the cutting consumables used in precision cutting are diamond cutting blades, and other available consumables to use for this application are water-based, diamond-cutting, anti-corrosion fluid, and diamond wafering blade.
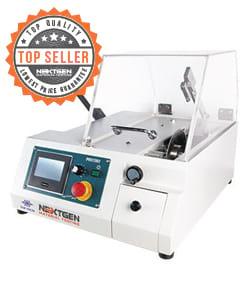
When choosing a diamond saw for a higher precision cut, you should consider getting one with touch controls and has a wide range of compatibility with available blades. NextGen offers precision cutting machines that fit 3-inch to 7-inch cutting blades.
To reiterate, this step uses a diamond saw, which is a more precise tool than the abrasive cutoff cutter, but in terms of design, it is very similar to the abrasive machine.
One of the salient differences is the use of a cutting wheel for precision cutting. The cutting wheel has an edge consisting of small diamond particles. So basically it has diamond put onto a metal wheel instead of Silicon Carbide used in the abrasive cutting method. Here, however, we have a much lower rotational speed.
In terms of specimens, precision cutting is well-suited for brittle materials such as ceramics. In terms of thickness of material, a diamond saw is well-suited for generating a very thin specimen.
Pneumatic Mounting
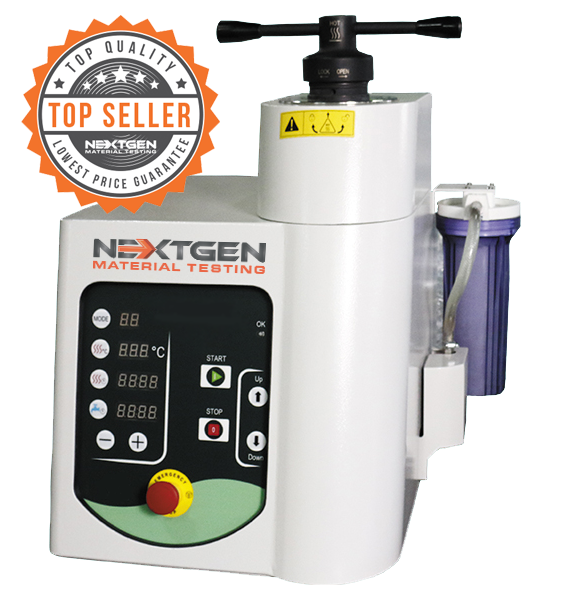
Specimen mounting is the process of embedding specimen into some type of regular shape. This step is not absolutely necessary, but it allows you to do the next steps more easily. The general idea here is to make a nice shape that is also easy to handle. The resulting shape can be helpful in applying a lot of automated processes.
A pneumatic mounting press features molds ranging from 1 inch to 2 inches in diameter. The machine is quite expensive. If you want to avoid the initial cost of a press, you can opt for castable mounting instead.
Castable metallographic mounting is accomplished by casting the castable plastic material and subjecting it under appropriate temperature and pressure.
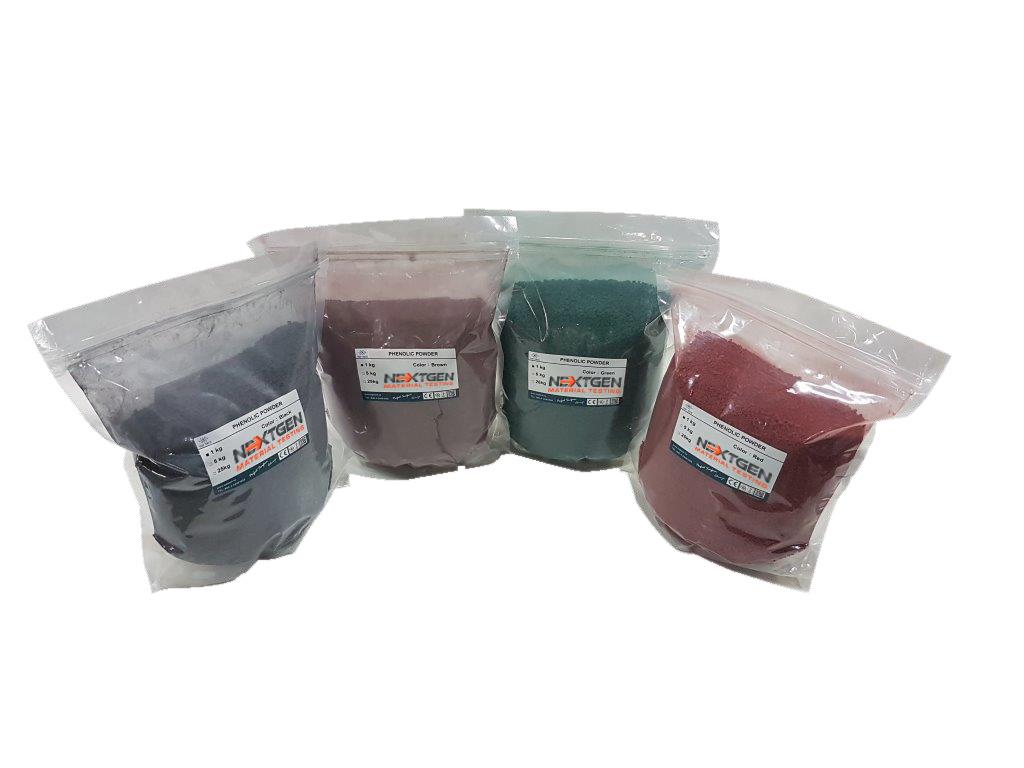
The accompanying consumables for press are phenolic resin, interchangeable mold and intermediate spacer.
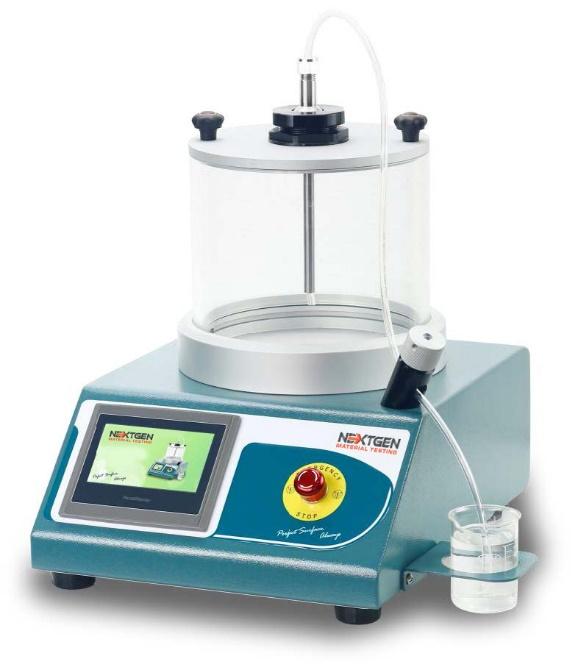
Grinding and Polishing
The next step in the sequence is grinding and polishing and here we are going to use a metallographic polisher and grinder. This is the step where the specimen generated by sectioning is flattened, and damage caused by the previous steps is removed. This is done by grinding.
We then continue by polishing, the part where the sample surfaces are made free from scratches. We want to get rid of scratches with polishing.
Here is the goal for this particular step:
- Grinding – To remove damaged or deformed surface material. The goal is a plane surface with minimum damage that can be easily pulled out by polishing.
- Polishing – Diamonds are used to accomplish the speediest deformation removal and achieve the best possible planeness. No abrasives can produce similar results. Because diamonds are extremely hard, they can cut very well through all materials and phases.
For polishing, you can use a semi-automated polisher, preferably a polisher for 8-inch and 10-inch wheels with variable speeds ranging from 100 rpm to 1000 rpm.
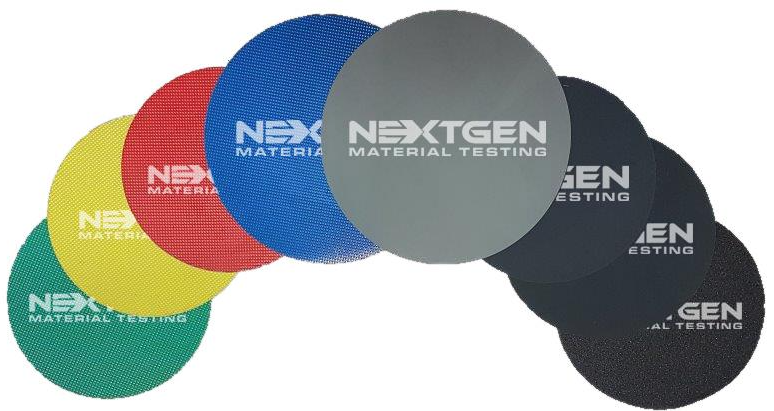
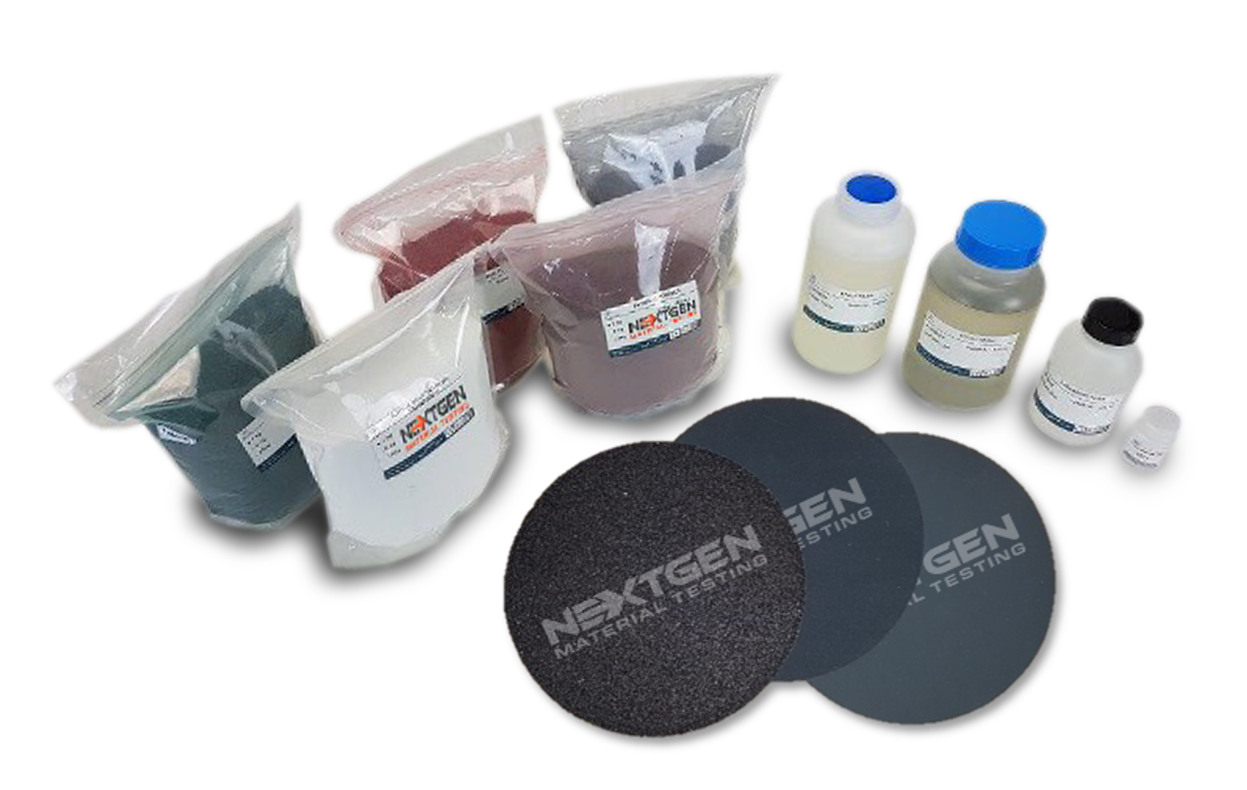
Accompanying consumables include anodized aluminum working wheel, SiC grinding paper, polishing paper, and etchant. Etchant is an acid or corrosive chemical used in etching.
You may check NextGen for their manual polishers that come with common grits of 240, 600, 800, and 1200. Their etchant consists of a mixture of 2% Nitric Acid and 98% denatured alcohol, which is ideal for weld treated or non-heat treated steel.
No matter what the preparation requirements are, the overall goals for sample preparation are the following:
- Structural elements must be retained.
- Surfaces must be free from deformation and scratches.
- The specimen’s surfaces must contain any foreign matter.
- The specimen must be as plane as possible, and must be highly reflective.
- Optimal price per sample should be obtained.
- Reproducibility of all preparations must be 100%.
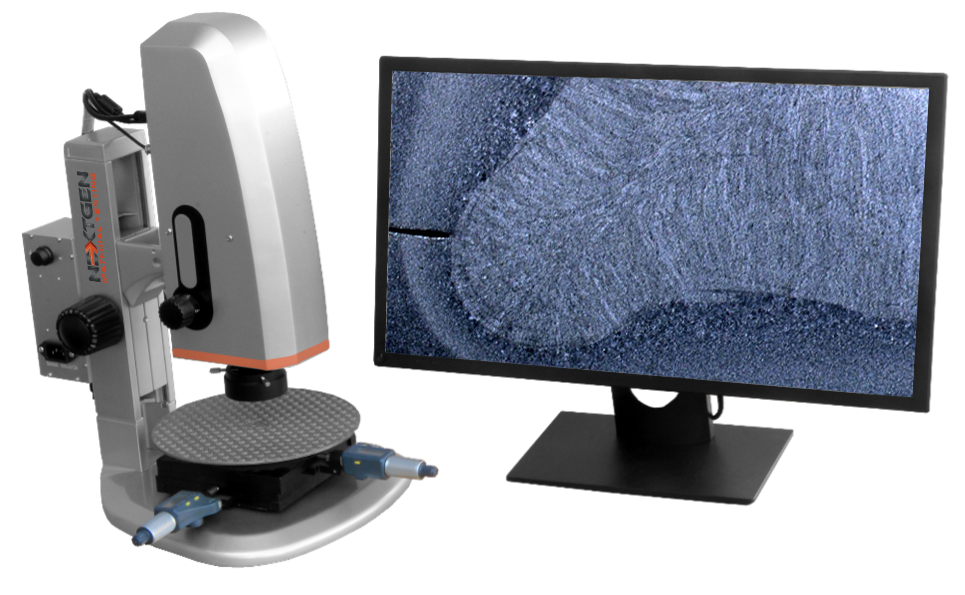
Stereo Microscope and Measurement Software
A stereo microscope is a useful tool to use before grinding and polishing. It is an optical microscope that is designed for low magnification observation of a sample and is often used for studying surfaces of solid specimens or carry out close work such as fracture surfaces and forensic engineering.
A stereo microscope that has a magnification power ranging from 7X to 45X is ideal for measuring depth of weld penetration, cracks, and other structural features. LED light source, Fiber Optic light source, and C-mount camera adapter are some of the accessories that are used when using stereo microscopes.
Another useful tool for sample preparation is weld measurement software. It can give accurate details about the following:
- Distance – gives measurements from the fillet’s foot to the face’s (or throat’s) center; and from the root to the connection point between the weld’s exposed surface and the base metal
- Root penetration and angles of penetration
- Area and depth of heat affected zone (HAZ)
- Phase counting
- Joint penetration, etc.
Many people are familiar with a standard stereo microscope with external light sources and camera. Combine this with NextGen’s Weld Check software for accurate measurements and reports on various features of the weldment.
General Best Practices
Effective practices for most accurate results include:
- It is necessary to measure and control both friction and speed applied to the material. Consult the manufacturer for recommendations on RPM for safe usage. Ask them about the right consumables to use based on the material and the disc size.
- Do not remove a huge section from the parent material, because doing so may result to poor arc control throughout the entire process of welding.
- Check the abrasiveness of the product, because too much abrasiveness can leave deep marks and allow impurities to penetrate deep into the work piece. This error can lead to costly rework.
- Consumables for ferrous and non-ferrous specimens should be kept separated. This prevents contamination. You can also prevent cross-contamination if you always use clean products. Store abrasive products in clear plastic containers/bags where they can be kept visible, as well as protected from dust contamination.
- Establish a day-to-day cleaning regimen. Regular cleaning will pay off because it lowers the risk of contamination.
To learn more, contact our qualified consultants today or call (888) 332-3582 ext. 1