What is Metallography?
Metallography is the analysis of a material’s microstructure. Its main goal is to determine if it was properly processed. It is vital in identifying its reliability and troubleshoot any related problems.
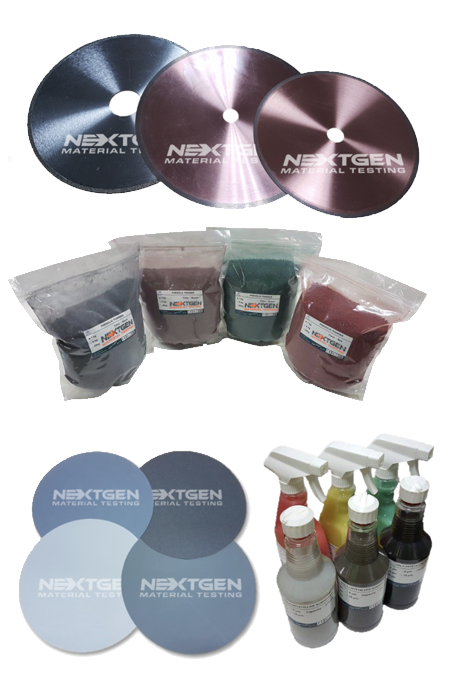
Technical Information on Metallographic Consumables
As polishing is a mere part of metallography, below are details on each of its phases:
Phase 1: Cutting and Mounting
Locating the area of analysis is the first step in metallography. To do this, cutting or sectioning is the most common technique used. To cut such specimen, there are two types of cutting consumables:
To cut ductile materials, an abrasive blade must be used. Examples include rubbers, metals, metal matrix composites, polymer matrix composites, and plastics.
For delicate or precise samples, it requires the use of a wafer blade. Aside from diamond blade, cubic boron nitride (CBN) is another alternative.
In addition to these two types of abrasives in the form of blades, cutting fluid is also a good alternative. It is a type of coolant designed for metallography.
After cutting the samples, they are mounted to hold them in place. There are two types of mounting consumables available:
To mount many samples at the same time, you’ll need a tool called castable mounting. This works by using castable resin as a hardener or catalyst for polymerization. Polymerization is where small molecules combine to form a network molecule called polymer. Examples of resins used in castable mounting include acrylic, epoxy, and polyester.
Another mounting technique is compression mounting. Compared to castable mounting, compression mounting retains more specimen edge. For a successful procedure, consider the mounting machine’s highest heating temperature. Also, take note of the water and heater cooler’s connection to the mold assembly. The closer they are, the better. Examples of resins used include acrylic, conductive, diallyl, epoxy, and phenolic resins.
Phase 2: Grinding or Lapping
For the next step, the specimen must be free from any damage caused by cutting. Phase 2 is the grinding stage. However, note that grinding can do more damage than the cutting phase if the latter isn’t done precisely.
Typical grinding papers are made of alumina, diamond, silicon carbide (SiC), or zirconia. Below is a more detailed description of each material.
Alumina is usually used in final polishing due to its high durability and hardness. Compared to SiC, alumina easily breaks down with colloidal or submicron particles.
Known as the hardest material to man, diamond is ideal for coarse grinding. However, its price makes it impractical except on hard ceramics and non-ferrous metals. Diamond disks are used to complete the grinding process using this material.
A combination of silica and carbon, silicon carbide (SiC) is ideal for cutting and grinding. This is due to its sharpness and hardness. Since it’s quite brittle, it often produces new sharp edges. This unique feature is called “self-sharpening.” SiC is excellent for minimizing damage while maximizing the specimen’s cutting rates.
A less common abrasive used in coarse grinding is zircon. Although it is not as sharp or as hard, this material can last a long time. However, its below-average features need higher pressures to see the effects.
Phase 3: Rough Polishing
Before a specimen can undergo analysis, it must go through the polishing process. This process completely removes all damage done by the previous phases.
There are four types of consumables for rough polishing. These are polishing cloths, polishing pads, monocrystalline diamond, and polycrystalline diamond.
Polishing cloths vary depending on the height of their fibers (known as nap), and stiffness. For rough polishing, preferred fiber cloths are stiffer, lower nap, and non-woven.
For faster changing and storage, magnetic metallographic polishing pads can be used. This works by putting the polishing pad on the MAGNETON-based working plate. To remove the pad, simply pull and remove it.
Although synthetic diamond is more common, monocrystalline diamond is another option. It works by applying beads of diamond and extender to make the polishing pad damp.
The last rough polishing material is polycrystalline diamond. Compared to its earlier variety, this has higher removal rates and better finishes.
Phase 4: Final Polishing and Analysis
During the final polishing, small clean-ups are done to remove any remaining blemish. However, this must be done with care. Too much polishing can result in inclusion pull-out, smearing, edge rounding, and relief. There are only two varieties of materials in this process. These are alumina and colloidal silica.
After the four phases are completed, the specimen is ready to undergo analysis.
How to Lessen the Wear and Tear of the Polishing Consumables
The polishing process can be efficiently done by following the tips below:
Reduce the damage done during the cutting or sectioning phase
As mentioned, the less damage done during the cutting, the less work will be needed on the polishing.
Use the finest abrasives available for the grinding or lapping process
To achieve the abovementioned tip, only the finest materials must be used. Using fine abrasives will achieve higher accuracy compared to coarse or brittle alternatives.
For the polishing, use flat base plates
While the first two tips are obvious, this tip is usually overlooked. If the specimen doesn’t lay flat on the polishing plate, a differential pressure might occur. Hence, it can further result to “polishing relief.” Polishing relief is the term for ripples that form in a polished surface.
The Bottom Line
To complete a metallographic process, each of its phases must be done with accuracy. This is why investing in high-quality metallography consumables that do the job is a good start. With the right materials and specimen-handling skills, metallography can be a breeze.
You may request your metallography consumables catalogue from North American industry leaders such as NextGen Material Testing, Inc.
 Flexural (Bend) Testing Explained: 3-Point vs 4-Point, Standards, and SetupFlexural (bend) testing explained: what it measures, three-point vs four-point setups, the standards for plastics, metals, composites and concrete, and how to choose the right fixtures and...Read the articleGenTest Software Setup Guide for NextGen NG-EML Universal Testing MachinesGenTest setup affects the full UTM testing workflow: method storage, PC-to-controller communication, user permissions, simulation files, live data acquisition, and report output. This guide follows the GenTest setup video step by step for NextGen NG-EML electromechanical universal testing machines. It covers installation, license activation, workspace configuration, UTM controller connection, safety and peripheral setup, user management, DEMO Mode, simulation files, Control Panel setup, Quick Test, and test method creation. GenTest is the software layer where the test method, machine connection, operator input, live data, calculated results, and report output come together. For operators, service teams, QA/QC labs, and R&D users, the goal is to...Read the articleMetallography Sample Preparation Equipment: How to Improve Accuracy from Cutting to Final AnalysisAccurate metallographic analysis starts before the specimen reaches the microscope. Cutting, mounting, grinding, and polishing all influence whether the final surface reflects the material’s true structure or carries preparation-related damage. Excess heat, weak edge support, inconsistent pressure, poor abrasive progression, and unstable polishing conditions can all introduce artifacts that affect interpretation. Well-matched metallography sample preparation equipment helps control these risks across the full workflow. By improving sectioning control, mounting stability, and grinding and polishing repeatability, labs can produce more consistent specimens and reduce the chance that preparation defects are mistaken for real material features. Why...Read the articleBrinell, Rockwell, Vickers, or Microhardness: Which Test Makes Sense for Your Application?Choosing a hardness test starts with the part itself. Material type, section thickness, geometry, surface condition, inspection purpose, and required testing speed all affect which method will produce a reliable result. Brinell, Rockwell, Vickers, and microhardness methods work differently, so they are not equally suitable for the same component or the same quality task. Brinell, Vickers, and Knoop are based on the size of an indentation, while Rockwell is based on indentation depth. That difference directly affects how the result is obtained and where the method fits best. In production and lab work, problems usually appear when the test method does not fit the application. A part may be too thin for the selected load, the surface may be too rough...Read the article
Machines Behind This Article
 ConsumablesMetallography ConsumablesMetallography consumables cover the materials needed for sectioning, mounting, grinding, polishing, etching, and cleaning specimens before microscopic examination....View product
 ConsumablesHardness Test Blocks, Indenters and AccessoriesHardness test blocks, indenters, and accessories support daily verification and reliable operation of metal hardness testing systems. The range includes certified...View product
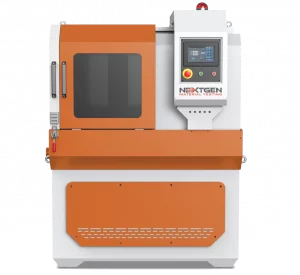 Abrasive Metallographic CuttingGenCut GL120XY – Multi-Function Abrasive Cut-Off SawGenCut GL 120XY is a multifunction abrasive cut-off saw for automated metallographic sectioning of metal specimens up to Φ120 mm. It features a fully automated XY...View product
 Abrasive Metallographic CuttingGenCut GL170XY – Multi-Function Abrasive Cut-Off SawGenCut GL 170XY is a large-capacity abrasive cut-off saw for automated metallographic sample cutting up to Φ170 mm. Its XY-axis movement, variable feed speed, large...View product
 Precision Metallographic CuttingGenCut GL100E – Low-Speed Precision Metallographic CutterGenCut GL100E is a low-speed automatic precision cutter for metallographic preparation of small and delicate specimens. Designed for metals, composites, ceramics,...View product
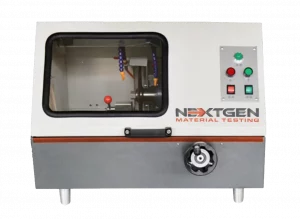 Precision Metallographic CuttingGenCut GL100M – Manual Metallographic Cutting MachineGenCut GL100M is a precision manual metallographic sample cutting machine for clean, controlled preparation of metal specimens. It supports cutting sections up to...View product
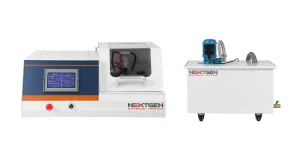 Precision Metallographic CuttingGenCut GL200E – High-Speed Precision Metallographic CutterGenCut GL200E is a high-speed automatic precision metallographic cutter for accurate sectioning of metals, ceramics, biological specimens, and other materials up to...View product
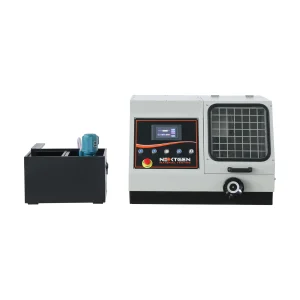 Precision Metallographic CuttingGenCut GL350 – Metallographic Cutting MachineGenCut GL350 is a precision metallographic sample cutting machine for larger laboratory and industrial specimens. With automatic and manual work modes, a maximum...View product
 Precision Metallographic CuttingGenCut GL80A – Precision Metallographic Cutting MachineGenCut GL80A is a precision metallographic sample cutting machine for preparing metal specimens with a cutting capacity up to Φ80 mm. Designed for simple,...View product
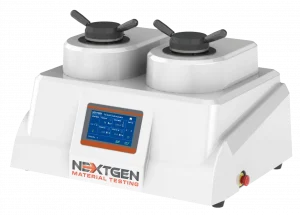 Mounting Press System for MetallographyGenPress MFA Dual HYD – Fully Automatic Dual Hydraulic Mounting PressGenPress MFA Dual HYD is a fully automatic dual hydraulic mounting press for higher-throughput metallographic sample mounting. It can produce up to four samples per...View product
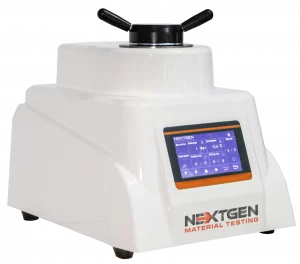 Mounting Press System for MetallographyGenPress MFA HYD – Fully Automatic Hydraulic Mounting PressGenPress MFA HYD is a fully automatic hydraulic mounting press for preparing metallographic samples before grinding, polishing, and microscopic inspection. It...View product
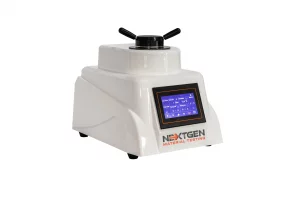 Mounting Press System for MetallographyGenPress MFA MOT – Fully Automatic Motorized Mounting PressGenPress MFA MOT is a fully automatic motorized mounting press for compression mounting of metallographic samples before grinding, polishing, and microscopic...View product