Introduction
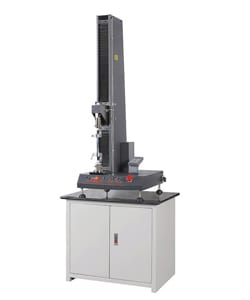
A tensile test is a scientific test process involving the application of tension to a specimen until it fractures. It is an important type of test for determining a material’s tensile strength, yield strength and ductility. These standardized tests are often performed on electromechanical tensile tester machines.
Specimen and Equipment
To begin the preparation, ready a sample for tensile testing.
Tensile test specimens, in general, are shaped like long dumbbells that are made of aluminum alloy, carbon alloy, or other types of metal and plastic. The standard appearance of a test specimen features a small cross-section or gage length with two large ends that are called shoulders. The entire tensile test will focus on the gage length, while the shoulders will be firmly gripped by the tensile tester machine.
Tensile testing samples are usually materials of common industry standard. ASTM, ISO, EN, IDN and JIS are some of the standardized products used in tensile test machines.
When choosing a specimen, take note of the shape, size and dimensions, as well as the grips at the ends. These are important factors to consider before performing tensile testing.
Avoid the possibility of the material fracturing in the gripped area. Any possible fractures should only occur within the gage length. Use a standard shape, and mark the cross-sectional area at the cylindrical test region to guarantee a fracture in the right place. This way, the increasing tension will be focused within the gage length.
The choice of grips and faces in the tensile test greatly contributes to the success of the test. If the equipment is incompatible with the specimen, the gripped area and the areas outside of the gage length will become prone to unexpected breakage or slippage. As much as possible, try not to let the tensile clamps damage the gripped area. It is also not a good idea to use serrated faces on tensile test samples that easily bend.
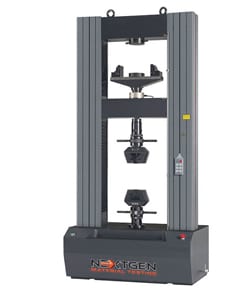
On another note, the tensile strength machine’s grips and faces should be well adjusted to the tensile test sample. There is a decent array of grips and faces made available for specimens of all kinds. Two of the most common grips are the serrated grips and pinned grips.
Do not forget to draw distance marks of regular intervals across the gage length. This will help determine the behavior of the sample throughout the tensile testing.
Tensile testing machines are also known as universal testing machines. These machines hold your specimen with the use of grips or crossheads that firmly hold each end. One grip keeps the material in place, while the other grip will pull until it eventually breaks. Tensile strength testers also come in different sizes and force capacities. The variety serves to analyze other forms of measurement other than tensile tests.
All tensile testing machines have main capabilities for test specimens, such as maximum force capacity, speed, precision and accuracy. Force capacity is the machine’s capability to produce enough force to break the material. The machine should be able to control the speed at which it applies force. Most importantly, the machine should be able to measure the length and strain with precision and accuracy.
Data gathering software is required during the tensile strength testing. This software will help the tensile testers acquire accurate information and results. The data will record and display what significant changes that occur during the tensile stress test.
Tensile Test Procedure
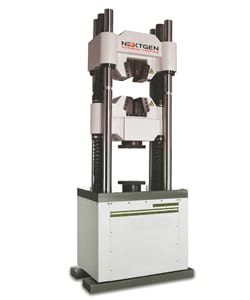
- Before starting the test for tensile strength, use a Tensile Preparation ASTM E8 and mold the sample material. Once the mold is whole, the sample will take on the shape of a slim dogbone or dumbbell. For more accurate results, make an exact copy of the sample with the same marked intervals, and set it aside for later.
Before choosing materials, the tester must determine how appropriate the specimen is to the grips and faces being used. The quality and choice of test materials need to coincide with the purpose, specification, and method of the test.
For example, serrated faces are only applicable to rigid substances with low ductibility, but can prove to be damaging on plastic materials. On the other hand, pinned grips can assure the specimen’s safety, as long as the tester is mindful of the threads’ distance. - Position the lower and upper clamps in their proper position to accommodate the length of the test sample. Next, place the material between the tensile clamps. Vertically align the sample from the upper clamp (the fixed grip) to the lower clamp (the grip in charge of applying tension). This alignment will ensure that the specimen will avoid side loading or bending during the test.
The alignment should be given much of the tester or technician’s attention, as it is the most critical part of the process. The tester’s skill, as well as the type of grips used for the test takes a vital role. Specimens made of fragile or brittle substances require the utmost care and caution during tensile tests. Mishandling specimens with the wrong equipment can threaten the process and negatively affect the results. It may even cost the specimen and may require a redo of the entire process. - After securing the sample, attach the extensometer to its length. While it undergoes testing, the extensometer will be monitoring and measuring any changes in the material. After the extensometer is placed, double check the other equipment to make sure they are in their correct positions.
- To begin the tensile stress test, slowly separate the tensile clamps at a constant speed. Depending on the size and shape of the material, the tensile tester machine can pull at a maximum speed of 20 inches per minute. The tensile testing would often take five minutes or less for the material to fracture.
- During the test, the specimen will slowly elongate with the standardized speed. The data gathering software will present the material’s test parameters, as well as the changes in the gage length. It will monitor the force placed upon the specimen and display the stress-strain curve. The stress-strain curve is helpful in analyzing the specimen’s behavior throughout the test.
- While the substance undergoes tension, the tester can observe how much elongation is occurring in the process. The change in length brought about by the pulling forces is a measurement called “strain”. There are two kinds of strain: engineering strain and true strain.
Known as the most basic expression of strain, engineering strain is the comparison between the material’s post-test length to its pre-test length. While similar to engineering strain, true strain is the measurement of the immediate length of the substance during the test. - Eventually, the specimen will begin to deform in the middle of its length. Changes in the stress-strain curve will begin to appear during this phase. Once the specimen breaks, the tensile testing has officially ended.
- After the fracture, unlatch the specimen piece from the tensile clamps. The tensile testers or technicians will calculate the tensile strength, yield strength and ductility of the material. After taking the final measurements, the broken specimen will be compared to the undamaged copy made before the test.
- The tensile strength will determine the material’s maximum tensile stress. Yield strength, otherwise known as breaking strength, is the stress measured from the moment the material begins to permanently deform. Ductility is the measure of the strain during and after the moment of fracture. By analyzing the results of the tensile test, these three quantitative measurements can gauge the strength and durability of the specimen.
Tensile Test Results
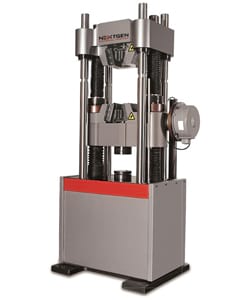
The results of a tensile test can give out valuable information regarding the substance used. While the specimen undergoes constant stress, a tensile tester can gather full data on its tensile properties. These results are highly dependent on the moment of failure or when the specimen fractures. However, the process before the fracture is just as important.
The results of a tensile test can prove beneficial to industrial businesses and science laboratories. Once a material’s information is recorded, you can easily predict how the substance will behave when it is used in varying intensities of force. It can also offer a basis or data for functions that need quality assurance.
Summary of Procedure and Conclusion
Although the test for tensile strength is simple, many errors can occur if the tester becomes impatient with the process or if he or she rushes it altogether. In order to gain valid results and information from the test, patience and attention to detail is absolutely necessary, especially in the preparatory stage.
The tensile testing preparation is a key part of the entire procedure. In this phase, the tester must guarantee that the tensile testing equipment is compatible with the specimen being used. Before the test begins, the chosen materials should be in the appropriate dimensions.
The tester or should also familiarize himself with the tensile test machines and the data gathering software. A technician should be available to assist the tester throughout the process and ensure that the test runs smoothly and without error.
Submit request today and our quality control consultants will match you with the correct tensile testing machine.
Keep Reading in Electromechanical Universal Testing Machines for Plastic Testing
See the Electromechanical Universal Testing Machines for Plastic Testing range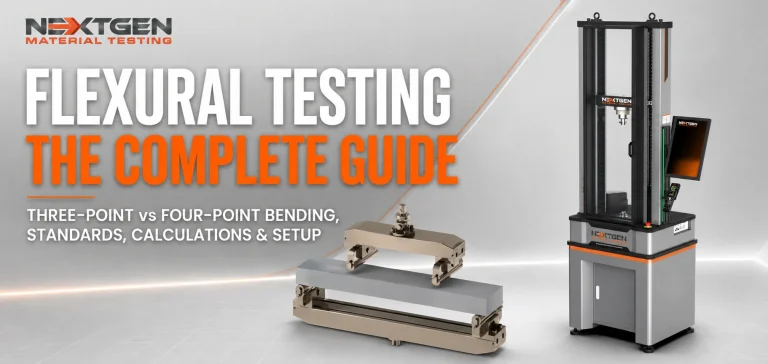 Flexural (Bend) Testing Explained: 3-Point vs 4-Point, Standards, and SetupFlexural (bend) testing explained: what it measures, three-point vs four-point setups, the standards for plastics, metals, composites and concrete, and how to choose the right fixtures and...Read the articleMeet the New NG-EML Series Electromechanical UTMs from NextGenLooking for a reliable electromechanical universal testing machine that fits your lab’s needs – whether compact and precise or built for heavy-duty performance? At NextGen Material Testing, we’ve just relaunched our NG-EML Series – a refined family of electromechanical UTMs designed to support everything from everyday quality control to advanced materials research. The updated NG-EML lineup brings better control, wider force ranges, improved user safety, and smarter software integration — all in one cohesive platform. In this article, we’ll walk you through what’s new, what each model offers, and how these systems can support your team’s testing workflow. If you’re curious about what’s possible with our newest generation of UTMs, keep reading....Read the articleVicat Testing and What Cement Setting Time Really Tells YouVicat setting time is a standardized cement paste measurement used for specification compliance and quality control. It identifies when a paste prepared under defined conditions reaches the initial and final set criteria of the selected method. It does not directly predict concrete haul time, cold joint formation, finishing time or field workability, because those depend on the complete mixture: water content, admixtures, aggregates and temperature. This guide covers what Vicat setting time measures, how the apparatus produces the number, which test conditions make results drift, and what separates a manual instrument from an automatic one. Setting Time Is Not Early Strength Initial and final set describe the stiffening of a standardized cement...Read the articleHow to Choose the Right Universal Testing Machine for Plastic TestingChoosing a universal testing machine for plastic testing often sounds easier than it really is. Many buyers start with force capacity, frame size, or the idea of buying extra room for future work. That may seem like a safe decision, but it can push a lab toward a system that costs more, takes up more space, and does not match daily testing needs. The challenge comes from how broad plastics testing can be. One lab may focus on tensile testing for rigid molded specimens, another may run flexural tests on semi-rigid components, while others may handle thin films, sheets, reinforced plastics, or a wider mix of quality control and development work. Once applications vary, the machine can no longer be chosen by force range alone. A better decision starts...Read the articleBrinell, Rockwell, Vickers, or Microhardness: Which Test Makes Sense for Your Application?Choosing a hardness test starts with the part itself. Material type, section thickness, geometry, surface condition, inspection purpose, and required testing speed all affect which method will produce a reliable result. Brinell, Rockwell, Vickers, and microhardness methods work differently, so they are not equally suitable for the same component or the same quality task. Brinell, Vickers, and Knoop are based on the size of an indentation, while Rockwell is based on indentation depth. That difference directly affects how the result is obtained and where the method fits best. In production and lab work, problems usually appear when the test method does not fit the application. A part may be too thin for the selected load, the surface may be too rough...Read the articleSpecimen Size Effects in Charpy Testing: What Engineers Need to KnowCharpy V-notch testing remains widely used because it offers a standardized and efficient way to evaluate impact behavior in metallic materials. In production, qualification, and failure analysis work, it is often used to compare toughness response across temperatures, material conditions, and product forms. The standard Charpy specimen measures 10 × 10 × 55 mm, but that geometry is not always available in practice. Thin sections, weld zones, heat-affected zones, and limited extraction volumes often make full-size specimens impractical. ISO 148-1 addresses this directly by permitting sub-size specimens when a standard specimen cannot be produced, including reduced-thickness options such as 7.5 mm, 5 mm, and 2.5 mm. That change affects more than the...Read the article
Machines Behind This Article
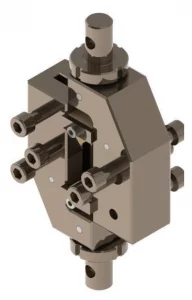 Electromechanical Universal Testing MachinesComposite Grips and Fixtures for Tensile and Shear TestingComposite grips and fixtures are engineered for tensile, compression, shear, bending, peel, and delamination testing of fiber-reinforced plastics, carbon...View product
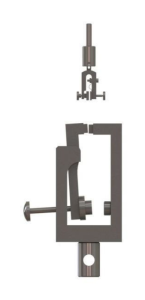 Electromechanical Universal Testing MachinesSide-Action Tensile GripsSide action tensile grips provide quick, secure clamping for films, thin sheets, textiles, fine wires, polymer strips, and other flexible specimens on universal...View product
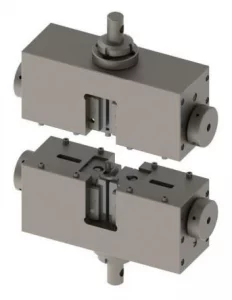 Electromechanical Universal Testing MachinesWedge Tensile Grips for Metals and CompositesWedge tensile grips are built for high-load tensile testing of flat and round specimens made from metals, composites, and plastics. Their wedge-action mechanism...View product
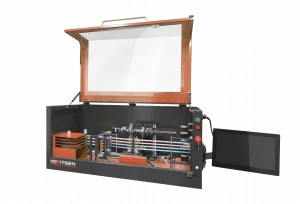 Metal TestingNG-AutoPol – Automatic Longitudinal Polisher for Tensile SpecimensNG-AutoPol is an automatic longitudinal polishing system for metallic tensile and fatigue specimens. It removes machining marks, grinding stress, and residual...View product
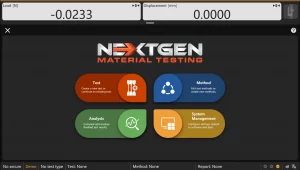 Electromechanical Universal Testing Machines for Plastic TestingGenTest – Advanced UTM Testing SoftwareGenTest is NextGen’s advanced UTM testing software for electromechanical universal testing machines, managing test setup, live control, data acquisition,...View product
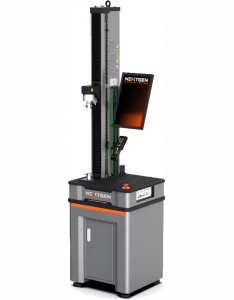 Electromechanical Universal Testing Machines for Plastic TestingNG-EML Series A – Single-Column Universal Testing Machine (50 N – 5 kN)NG-EML Series A is a compact single-column benchtop universal testing machine for low-force tensile, compression, and flexural testing. Covering 50 N to 5 kN...View product
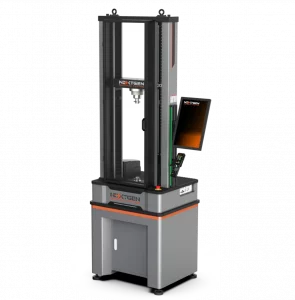 Electromechanical Universal Testing Machines for Plastic TestingNG-EML Series B – Dual-Column Universal Testing Machine (100 N – 10 kN)NG-EML Series B is a dual-column benchtop electromechanical universal testing machine for precision testing from 100 N to 10 kN. Built for research and industrial...View product
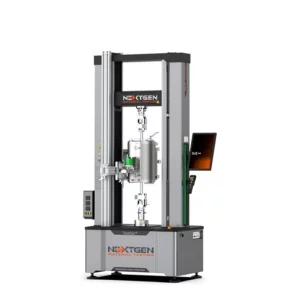 Electromechanical Universal Testing Machines for Plastic TestingNG-EML Series C – Dual-Column Universal Testing Machine (5–50 kN)NG-EML Series C is a dual-column electromechanical universal testing machine available in bench-top and floor-standing formats from 5 kN to 50 kN. Built for...View product
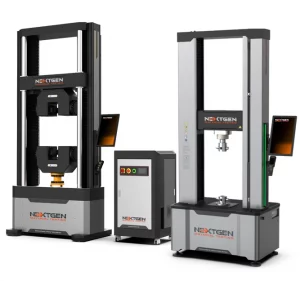 Electromechanical Universal Testing Machines for Plastic TestingNG-EML Series D – Floor-Standing Universal Testing Machine (50–1000 kN)NG-EML Series D is a heavy-duty floor-standing electromechanical universal testing machine for high-capacity tensile, compression, and flexural testing. Available...View product
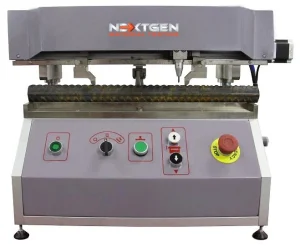 Universal Testing Machines for Metal TestingGenMark 500 – Automatic Gauge Length Marking MachineThe GenMark 500 is a full-automatic gauge length marking machine for metal bar, rebar and wire rod, applying the reference marks used to determine elongation after...View product
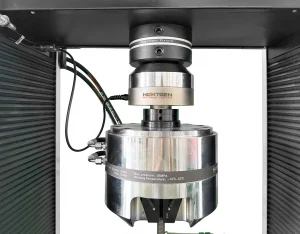 Universal Testing Machines for Metal TestingAlignment Device – NADCAP-Ready Precision FixtureThe Alignment Device is a NADCAP-ready precision fixture for verifying and correcting load-frame alignment on universal and fatigue testing machines. Designed to...View product
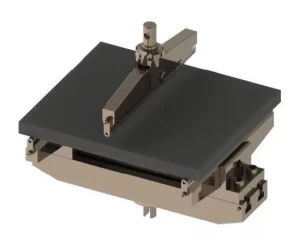 Electromechanical Universal Testing Machines3-Point Bending Fixtures for Flexural TestingThese bending fixtures support standard 3-point flexural testing of plastics, composites, metals, ceramics, alloys, and construction materials. Designed for use...View product