Ever had tensile testing queued up, only to watch the schedule slip because specimen prep became the slow step? The TensileMill CNC MINI was built for that exact reality.
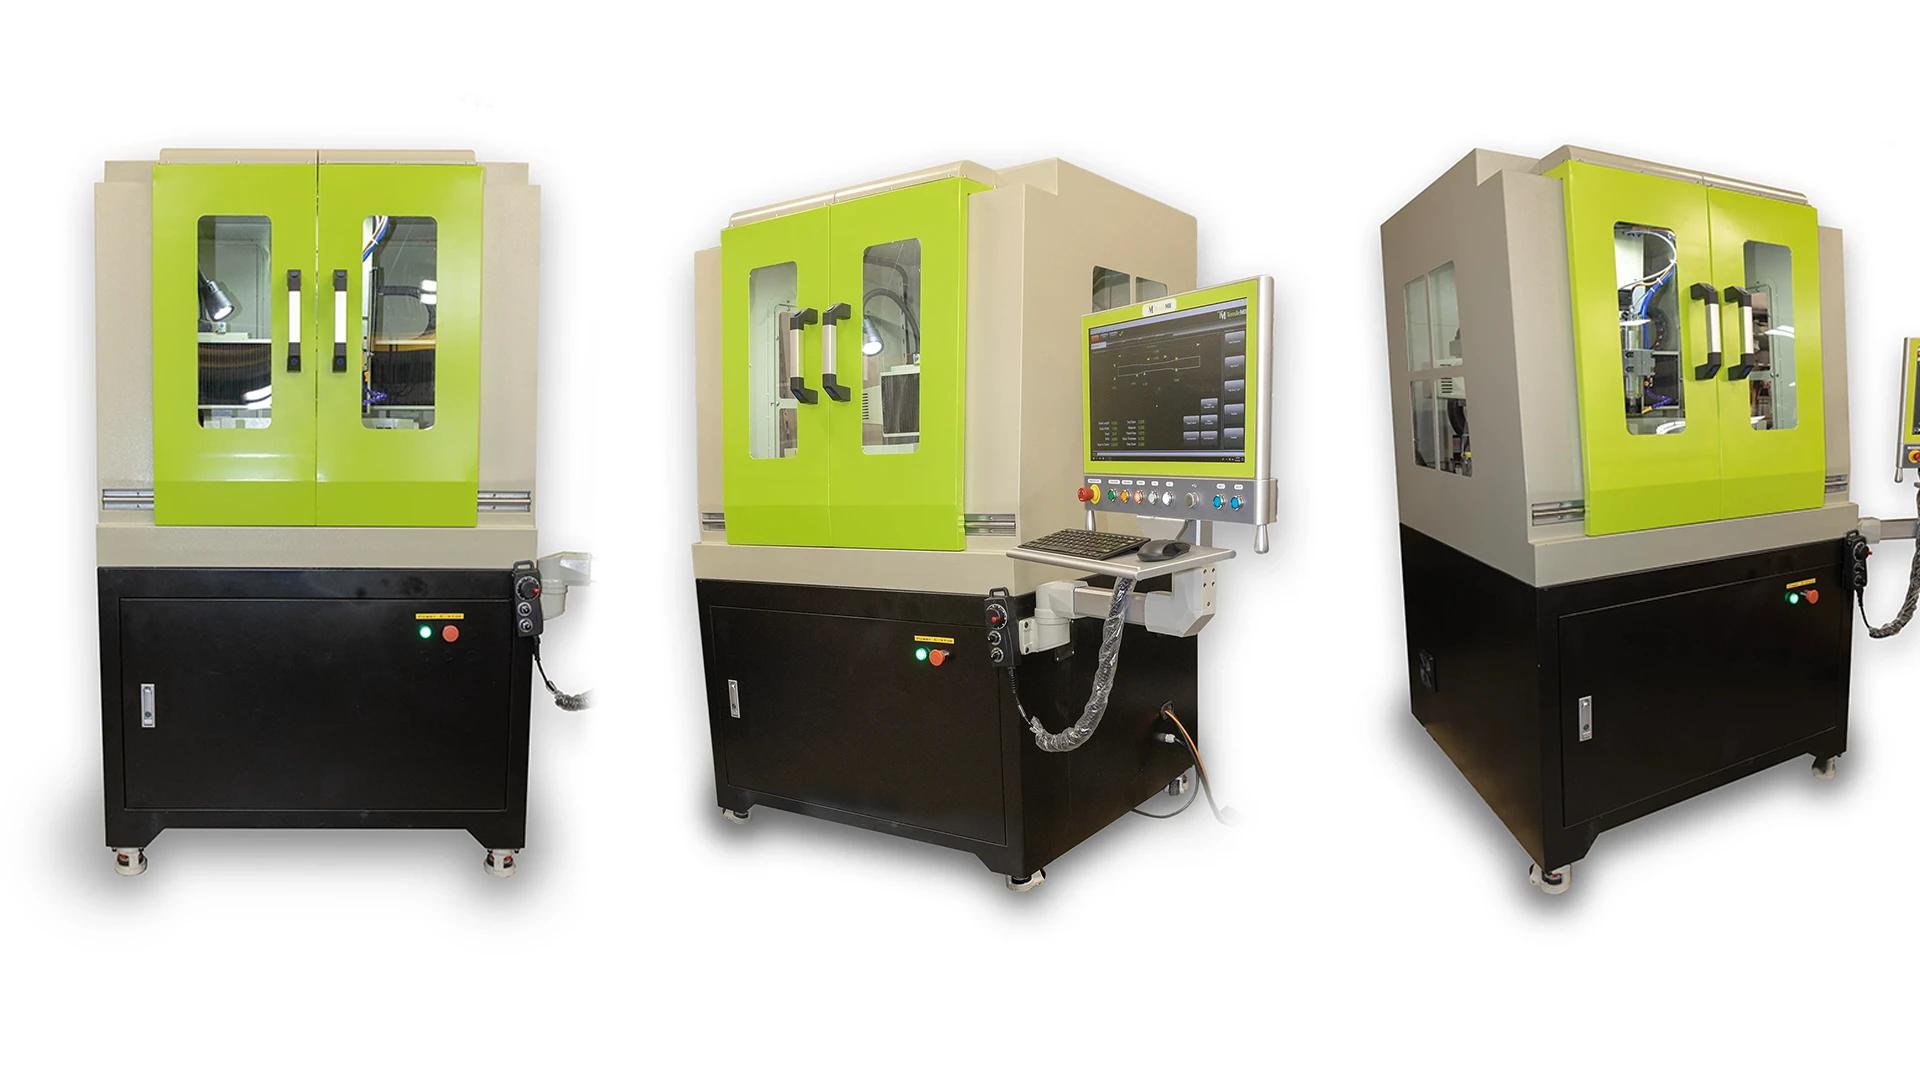
At NextGen, we offer the TensileMill CNC MINI in partnership with TensileMill CNC as part of our tensile sample preparation equipment lineup. It is a compact, purpose-built system designed to produce standardized flat tensile test specimens for quality control labs, production environments, and training settings where reliable results matter.
Instead of relying on a full CAD/CAM workflow, the MINI uses a guided touchscreen interface where operators select a specimen profile or enter dimensions aligned with common standards such as ASTM E8, ISO 6892-1, DIN 50125, and JIS Z2201. In practice, it helps teams move faster from blank stock to ready-to-test specimens without rebuilding the process each time.
If your team needs a practical way to bring flat tensile specimen preparation in-house, reduce rework, and keep testing moving, this compact system is worth a closer look.
Meet The TensileMill CNC MINI: What It Does And Who It’s For
 The TensileMill CNC MINI is a dedicated system for preparing standardized flat tensile specimens. That sounds simple, but it matters. In many labs, specimen prep ends up being done on whatever equipment is available, often a general-purpose CNC or a shared machine that was never meant to be a repeatable, day-to-day specimen workflow. The MINI is different because it is built around one job: producing flat tensile test specimens with a process that is practical and easy to repeat.
Think of it less as “a small mill” and more as a specimen preparation workflow you can run on demand. Operators work from a guided interface built for tensile specimen geometry. Instead of building programs from scratch every time, the goal is to move quickly from raw stock to a finished specimen profile that matches the standard or the project requirements. That shift from programming-first to workflow-first is where dedicated systems tend to pay off, especially when specimen prep is frequent and deadlines are tight.
The MINI is a strong fit for quality control labs that need predictable turnaround, production environments that want specimen preparation close to the line, and training or teaching labs where multiple users rotate through the equipment. If your team has ever had “one person who knows how to do it” become the unofficial bottleneck, you already understand the value of a process that works the same way regardless of who is on shift.
A general CNC can absolutely produce tensile specimens, but it often brings extra steps and extra risk. Programming time adds up. Setup can vary from one operator to the next. Small differences in how the job is prepared can turn into rework, wasted material, or inconsistent output. A dedicated specimen system narrows that variability. It speeds up the transition between common geometries and reduces the chance of mistakes at the start of a run.
In short, the TensileMill CNC MINI is for teams that want flat tensile specimen preparation to feel like a controlled, repeatable part of testing, not a separate project every time a new sample shows up.
How The MINI Workflow Works: From Blank Stock To Ready-To-Test Flat Specimens
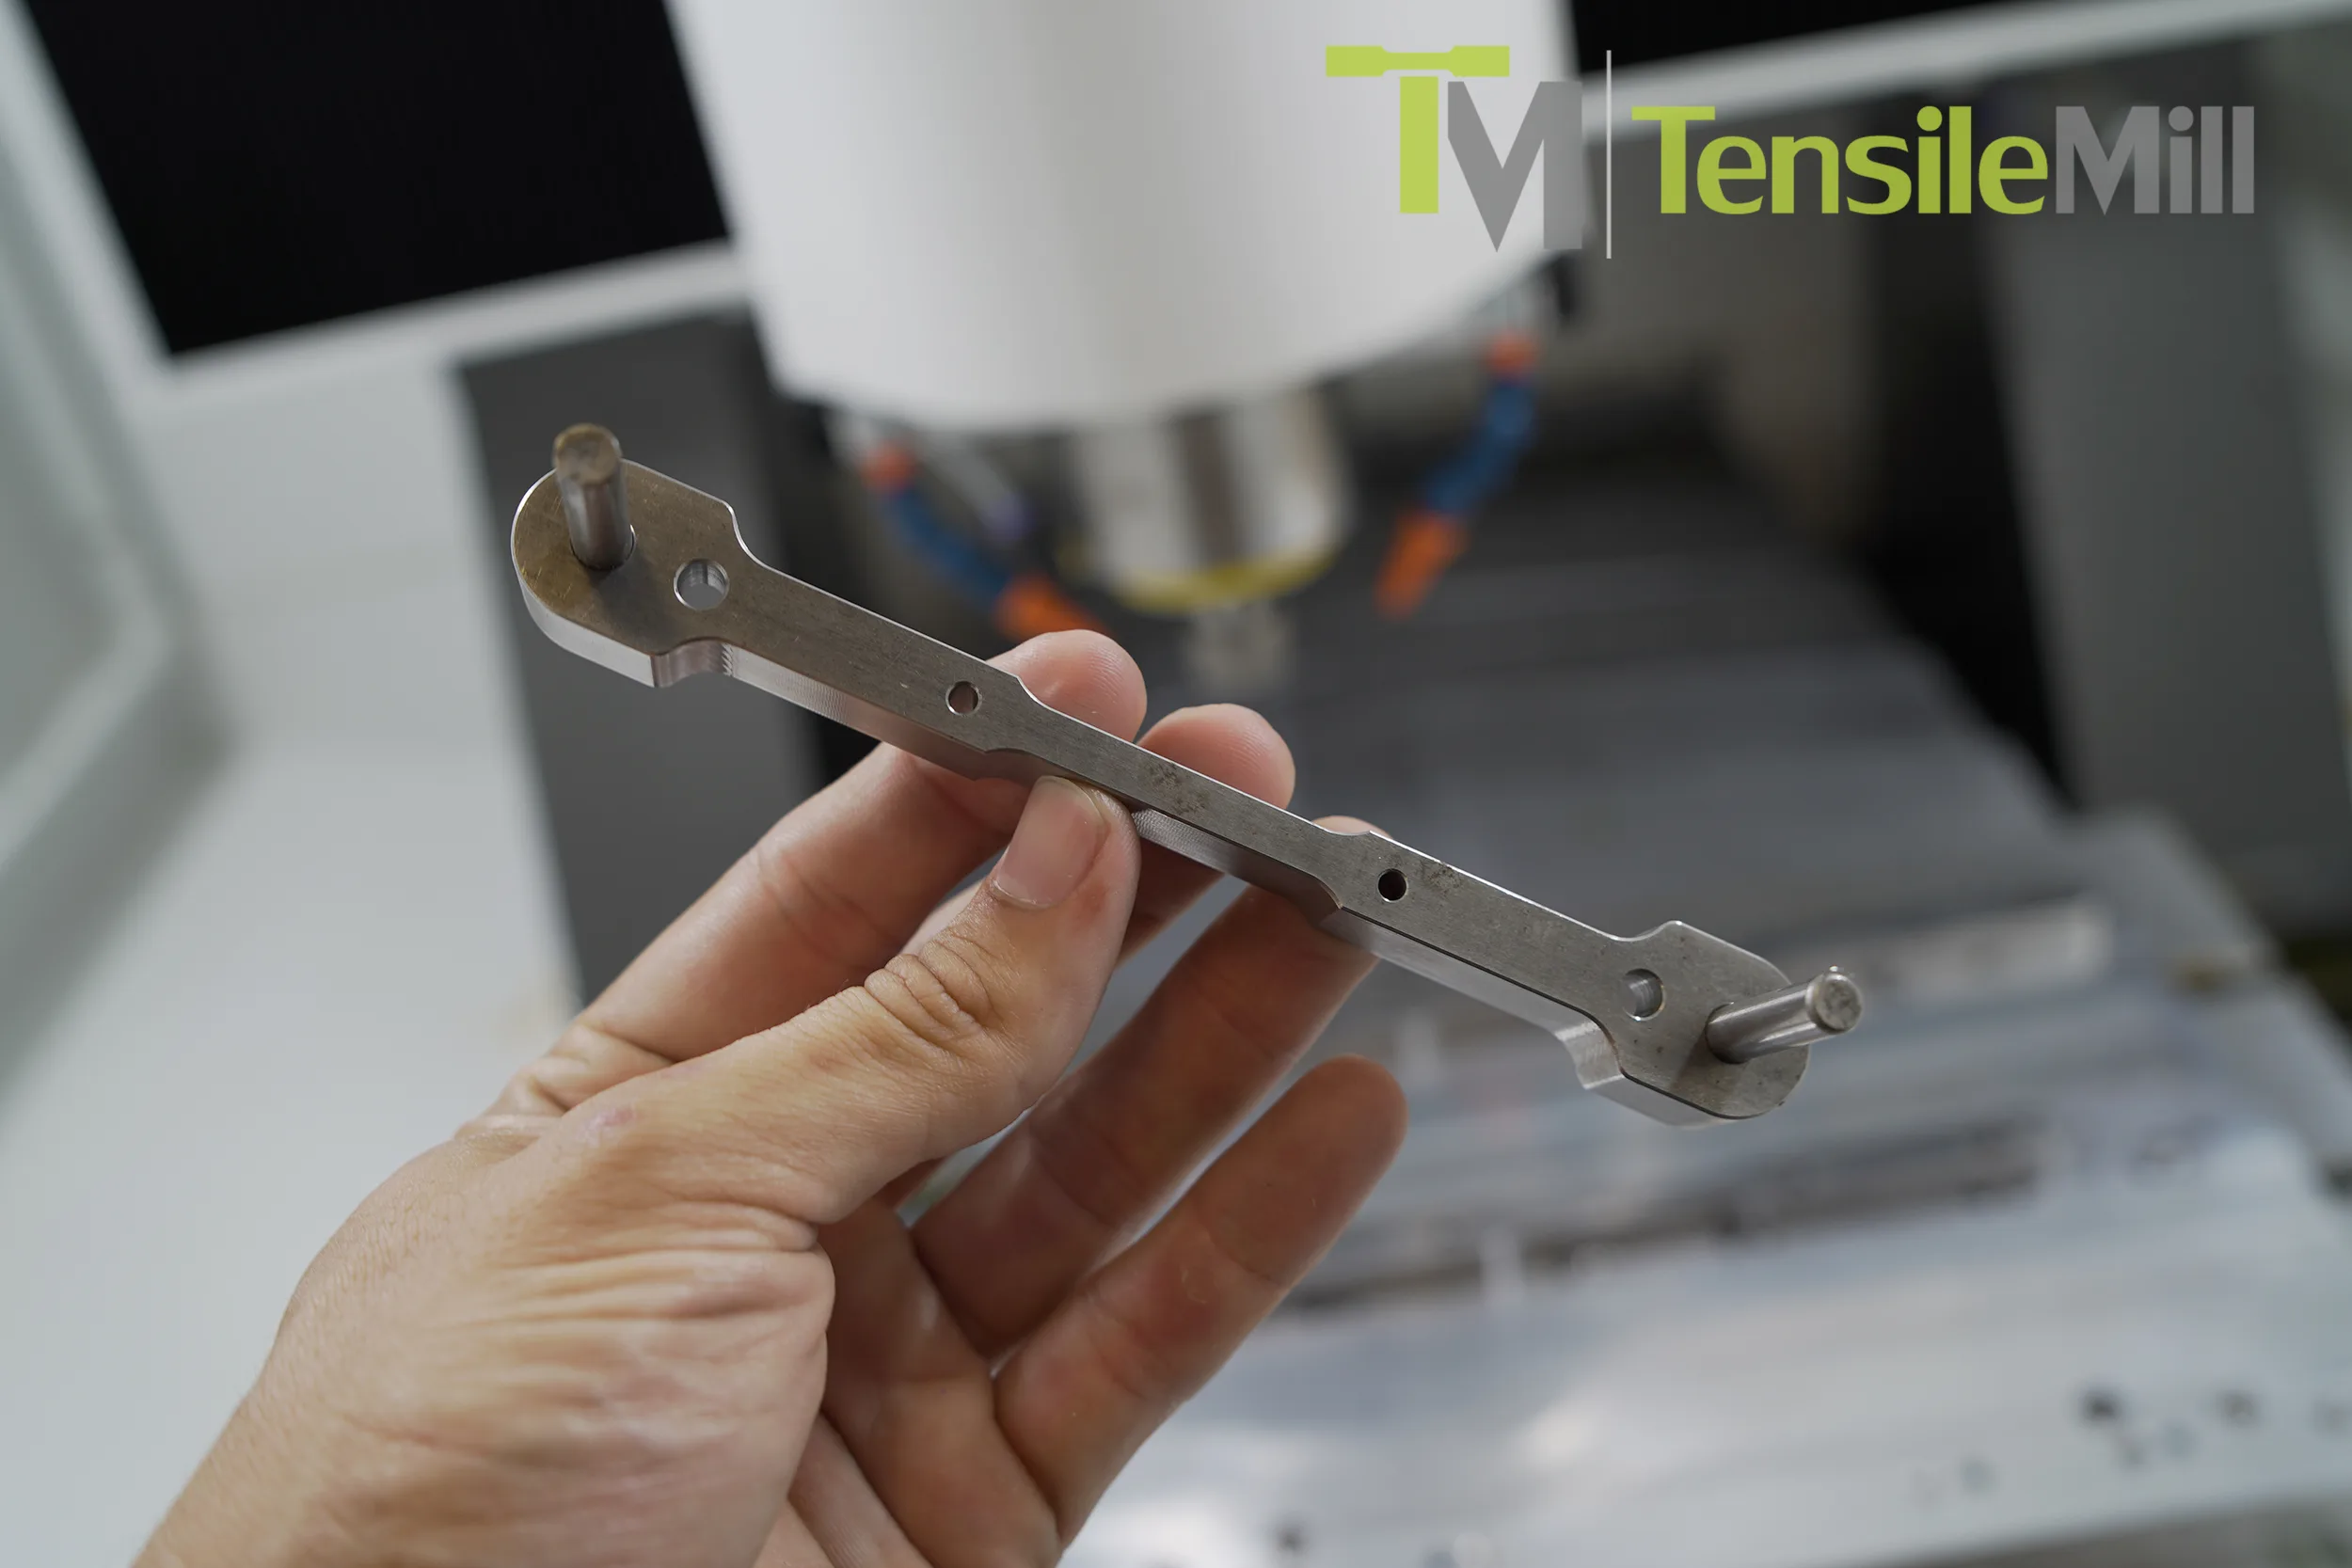
Specimen prep usually starts the same way. A blank is on the bench, the tester is booked, and someone is asking when the next run can start. This is the moment the TensileMill CNC MINI is meant for. It is a compact, guided workflow for turning flat stock into ready to test tensile specimens without turning every job into a programming exercise.
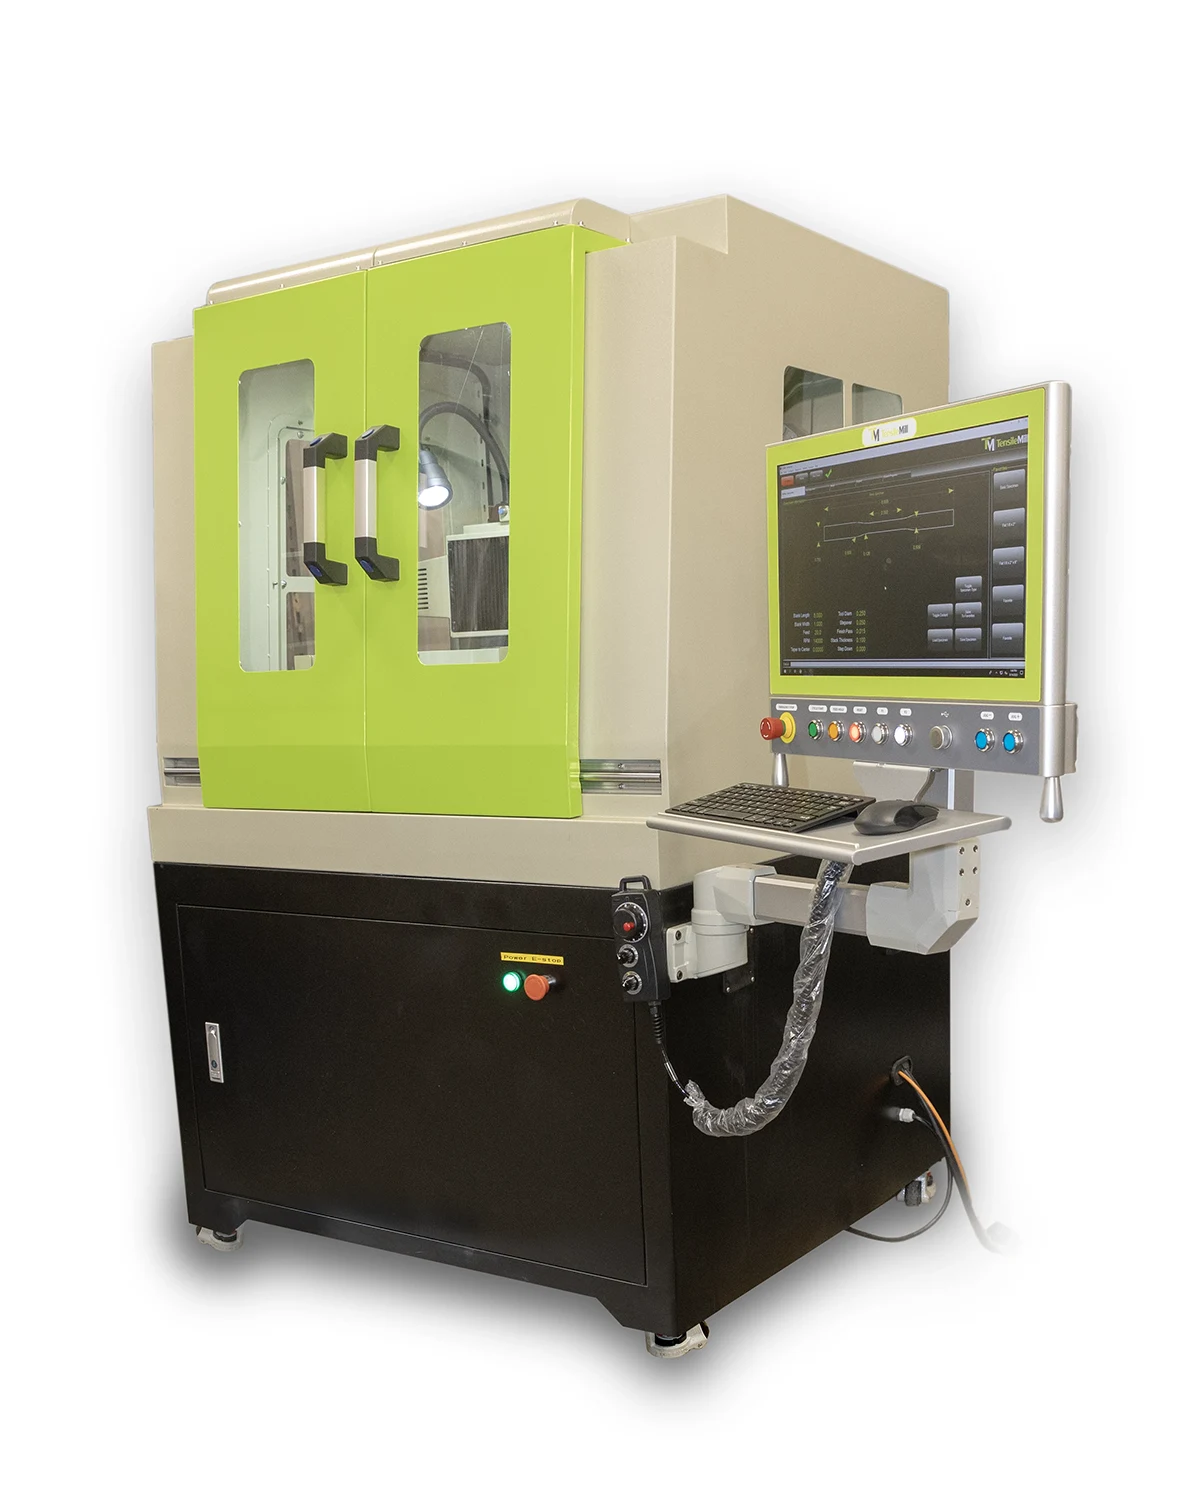
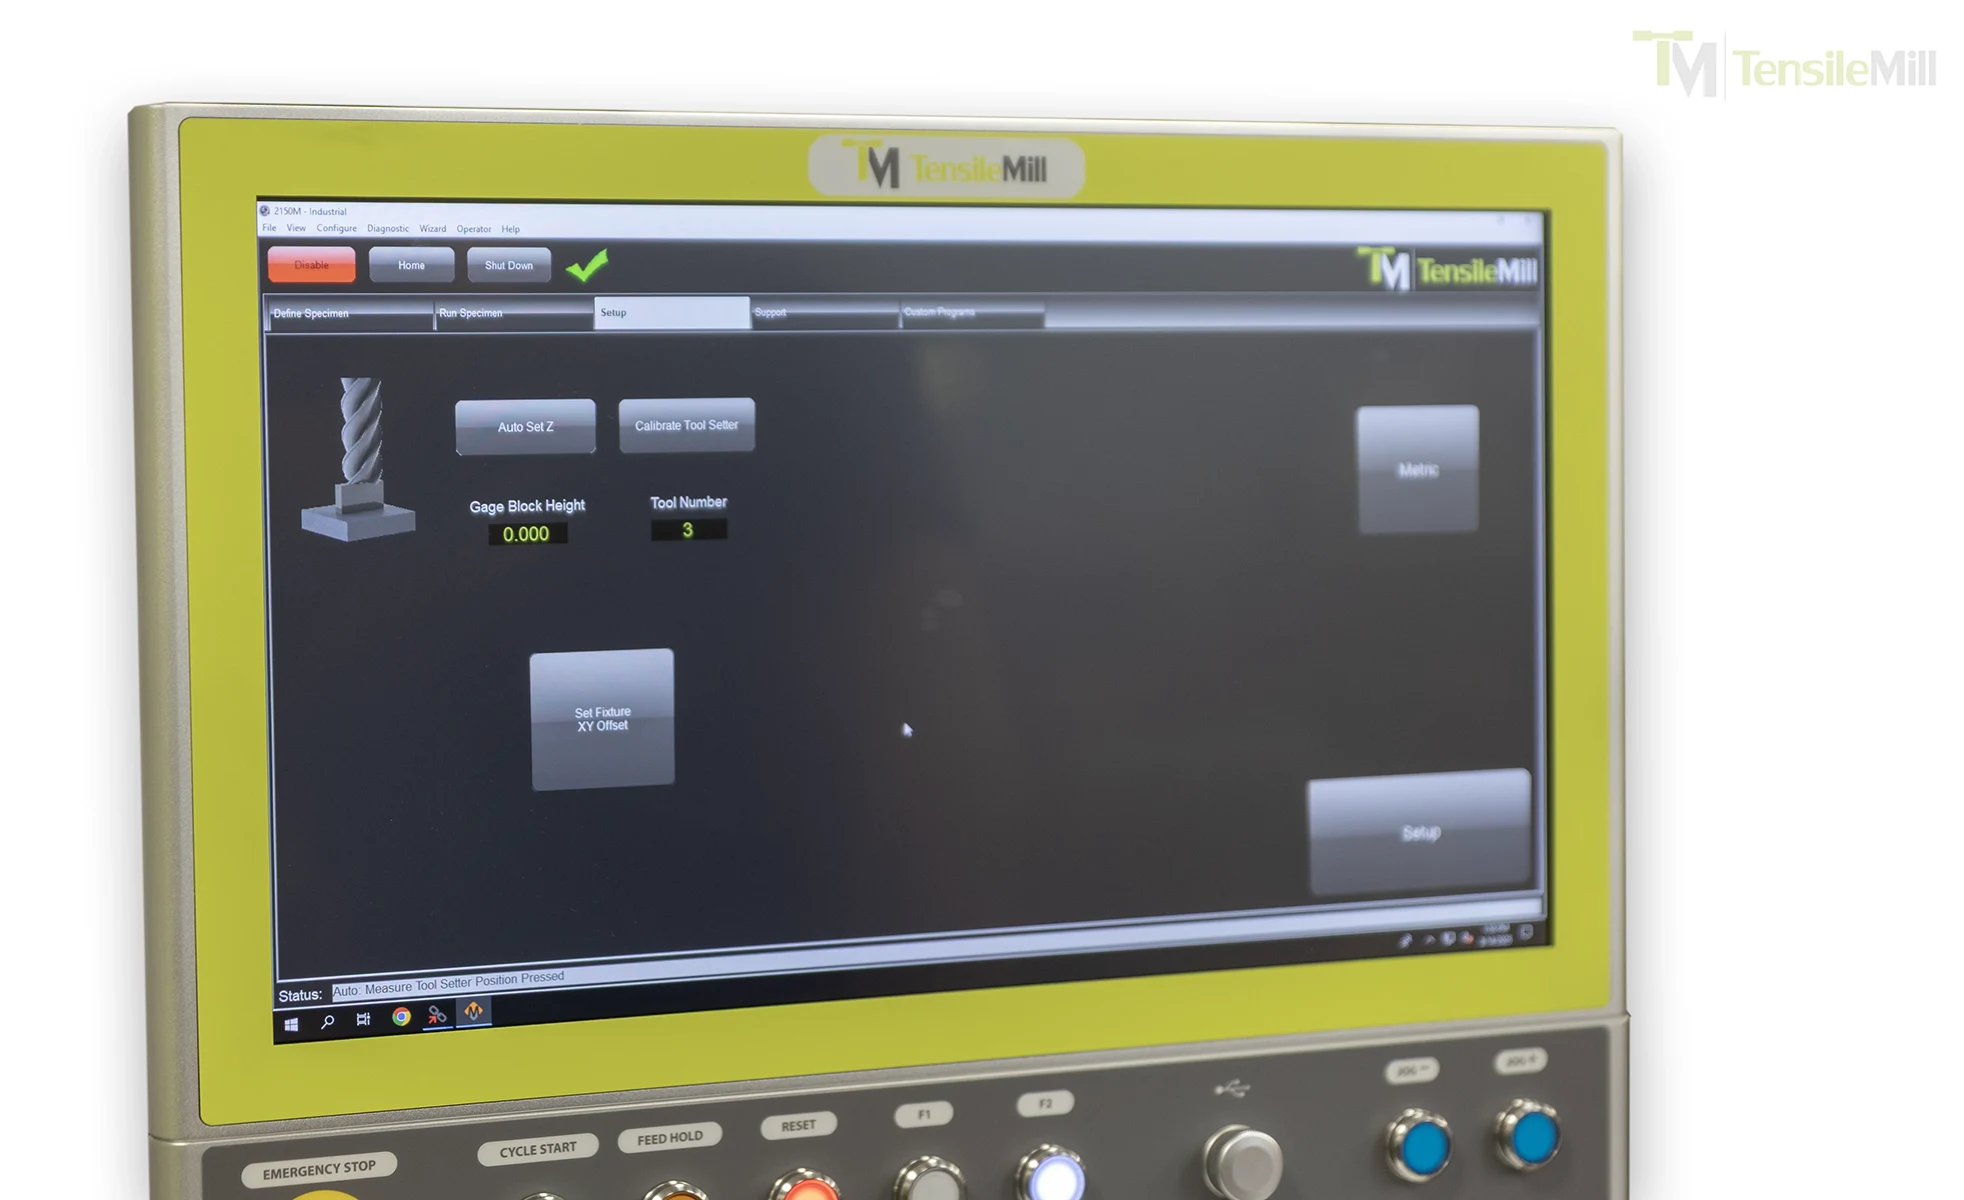
On the MINI, setup begins at the touchscreen. In TensileSoft, you can choose from a library of preprogrammed flat specimen profiles or enter your dimensions directly based on the standard your lab follows. If you repeat the same specimen types across projects, the interface also makes it easy to pull up previously used sizes so you are not retyping dimensions every time.
A Quick Look At The Workflow, Step By Step
First, the operator selects the target specimen geometry and confirms the key dimensions. Then the blank is fixtured and clamped. After that, the milling cycle runs, and the finished specimen is checked before it heads to testing. That is the basic story, but the details are where repeatability is won.
- Select a standard profile or enter dimensions for your project
- Fixture and clamp the blank using a repeatable reference approach
- Run the guided milling cycle
- Verify geometry and edge condition
- Apply a simple finishing routine when your internal practice calls for it
 Fixturing is the part many teams underestimate, especially when multiple people run the same workflow. Flat specimens depend on stable clamping and positioning. That is why the MINI is typically paired with a dedicated tensile clamp fixture for common standards. Once your clamp position and reference points are consistent, the rest of the prep tends to stay consistent too.
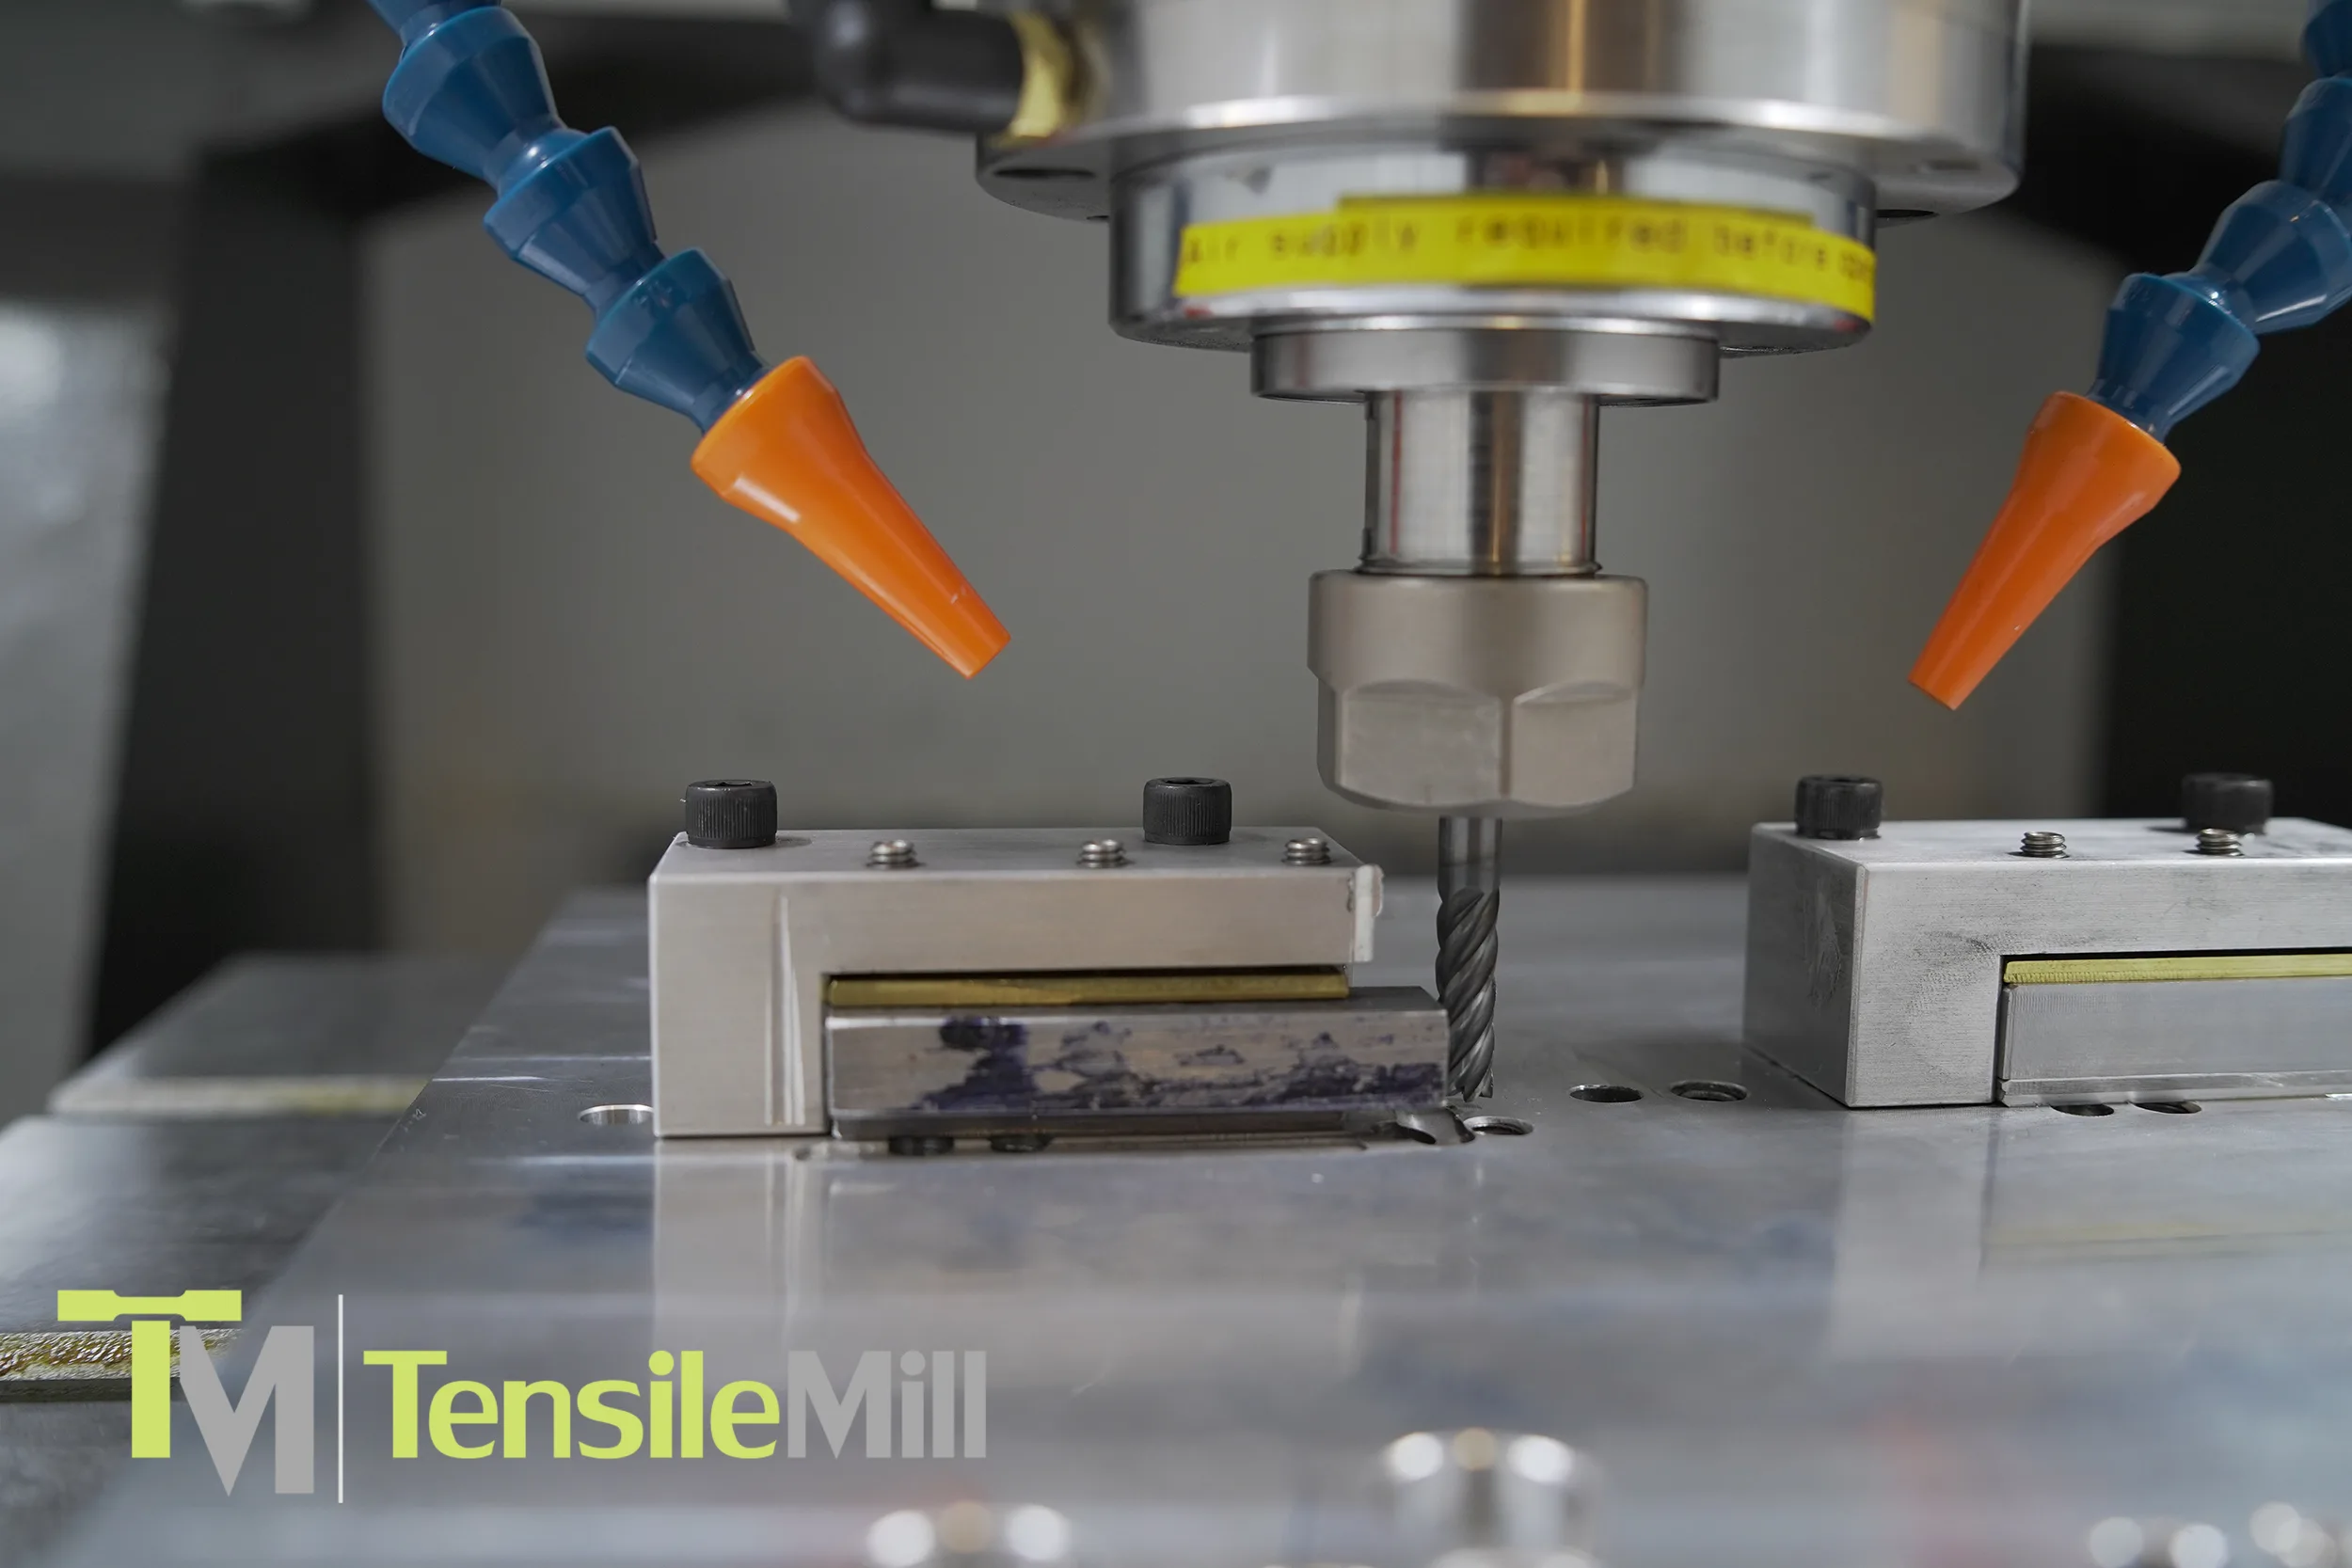
Now the milling cycle becomes the easy part. The operator confirms the input, starts the program, and the system runs the same path each time. Under the hood, the MINI is built around a rigid cast iron frame with linear rails and servo driven motion. You do not need to think about those details while you run it, but you will notice the result in how predictable the output feels from specimen to specimen.
So what happens after the part comes off the fixture? Most labs stick to a quick verification routine. It does not need to be complicated, but it should be the same every time. You might check width and thickness, take a quick look at the gauge section, and confirm the edges look clean. If your workflow depends on results across shifts, this is where you protect that consistency.
Surface and edge finish is the last piece, and it is worth treating it as a standard step rather than an afterthought. Depending on your material and internal practices, teams may do a light deburr or a quick cleanup to remove sharpness and minor tool marks. The goal is not to turn specimen prep into hand finishing. The goal is to reduce the chance of surprises during testing.
What Teams Standardize To Keep Prep Consistent
Every lab has its own habits, but the strongest workflows usually standardize a few common items. If you already do some of these, you are on the right track.
- Blank preparation rules, including cut size and any orientation notes
- Fixture and clamp placement, including reference points on the table
- A saved library of common specimen sizes in TensileSoft
- Tooling selection and replacement intervals for edge quality
- A short post mill check for width, thickness, and visual edge condition
- A simple finish routine, such as deburring, with clear acceptance criteria
- Basic documentation, such as a traveler sheet or run log, for traceability
- Routine cleanup of workholding surfaces before each new run
Standards And Software: TensileSoft™ Setup and Custom Dimensions
 When a lab says, “We run to ASTM” or “We follow ISO,” the standard is only part of the story. The other part is whether every specimen is prepared the same way, every time. In practical terms, good specimen preparation is supposed to support the test, not quietly steer it. Many testing organizations and equipment manufacturers make the same point in different ways: the way you machine and finish a specimen should not change the material or create artifacts that show up later in the stress strain curve.
This is where the TensileMill CNC MINI fits well. In our lineup at NextGen, we position it as a workflow tool, not a general machining platform you have to “make work” for specimen prep. TensileSoft is built around common flat tensile specimen geometry, so your starting point is a known profile, not an empty screen and a blank CAM project.
In day to day use, TensileSoft helps teams stay consistent in two simple ways. First, it gives you a library of preprogrammed specimen profiles, so operators can start from a recognized shape instead of reinventing the same setup. Second, it supports quick access to previously entered specimen sizes, which matters more than people think. If you make the same few specimen types every week, being able to recall those inputs reduces retyping and reduces small input mistakes that lead to scrap and rework.
A quick question to ask yourself: what does “working to the standard” look like in your lab, on a Tuesday afternoon, with a different operator on shift? Most teams end up standardizing a few practical steps.
Here are a few that tend to make the biggest difference:
- Using the same saved specimen profiles for recurring jobs
- Keeping a consistent naming method for stored sizes and programs
- Defining a basic post-mill check, like width and thickness, before testing
- Setting a simple rule for edge cleanup based on material and internal practice
Of course, real projects are not always one standard profile. Custom dimensions come up all the time, especially in R and D, supplier studies, or internal methods that do not match a preloaded geometry. The MINI workflow still supports that reality, because operators can enter custom dimensions directly rather than forcing a workaround.
Custom dimensions are most common when you are:
- Running non-standard gauge lengths or widths for development work
- Matching internal specs or customer-specific drawing requirements
- Comparing material conditions where you want the same “house geometry” across tests
The goal stays the same either way. Whether you are selecting a standard profile or entering a custom one, the software driven workflow helps keep specimen preparation controlled, repeatable, and easier to manage across people and shifts.
Key Engineering Features Of The TensileMill CNC MINI
Repeatability in specimen prep is not a buzzword. It is the difference between a process you can trust on a busy week and a process that quietly drifts depending on who is running it, how the blank was clamped, or what material showed up next. The MINI is built to make the “same input, same output” expectation realistic in daily QC work, and the engineering choices behind it are pretty straightforward.
Here is what that looks like in practical terms.
- A Heavy Cast Iron Frame For Cutting Stability: A rigid cast iron base helps the machine stay stable during cutting. In specimen prep, stability translates into more predictable results across repeated runs, especially when you are producing the same geometry all day rather than doing one-off CNC jobs.
- Linear Rails For Smooth, Controlled Motion: All axes ride on linear rails, which supports smoother travel and more consistent tool movement. That matters when you want the gauge section and transitions to come out the same way across multiple specimens, not just “close enough.”
- Servo Driven Motion With Precision Ballscrews: The MINI uses servo motors and a precision ballscrew drive mechanism. That combination is aimed at controlled positioning and repeatable travel, the foundation for routine specimen production where you do not want to chase small dimensional variation.
- Position Repeatability Spec For QC Confidence: The published position repeatability accuracy is 0.01 mm (0.0003 in). In plain language, this spec is about the machine’s ability to return to the same position reliably, which is exactly what labs lean on when they are trying to standardize specimen preparation across shifts.
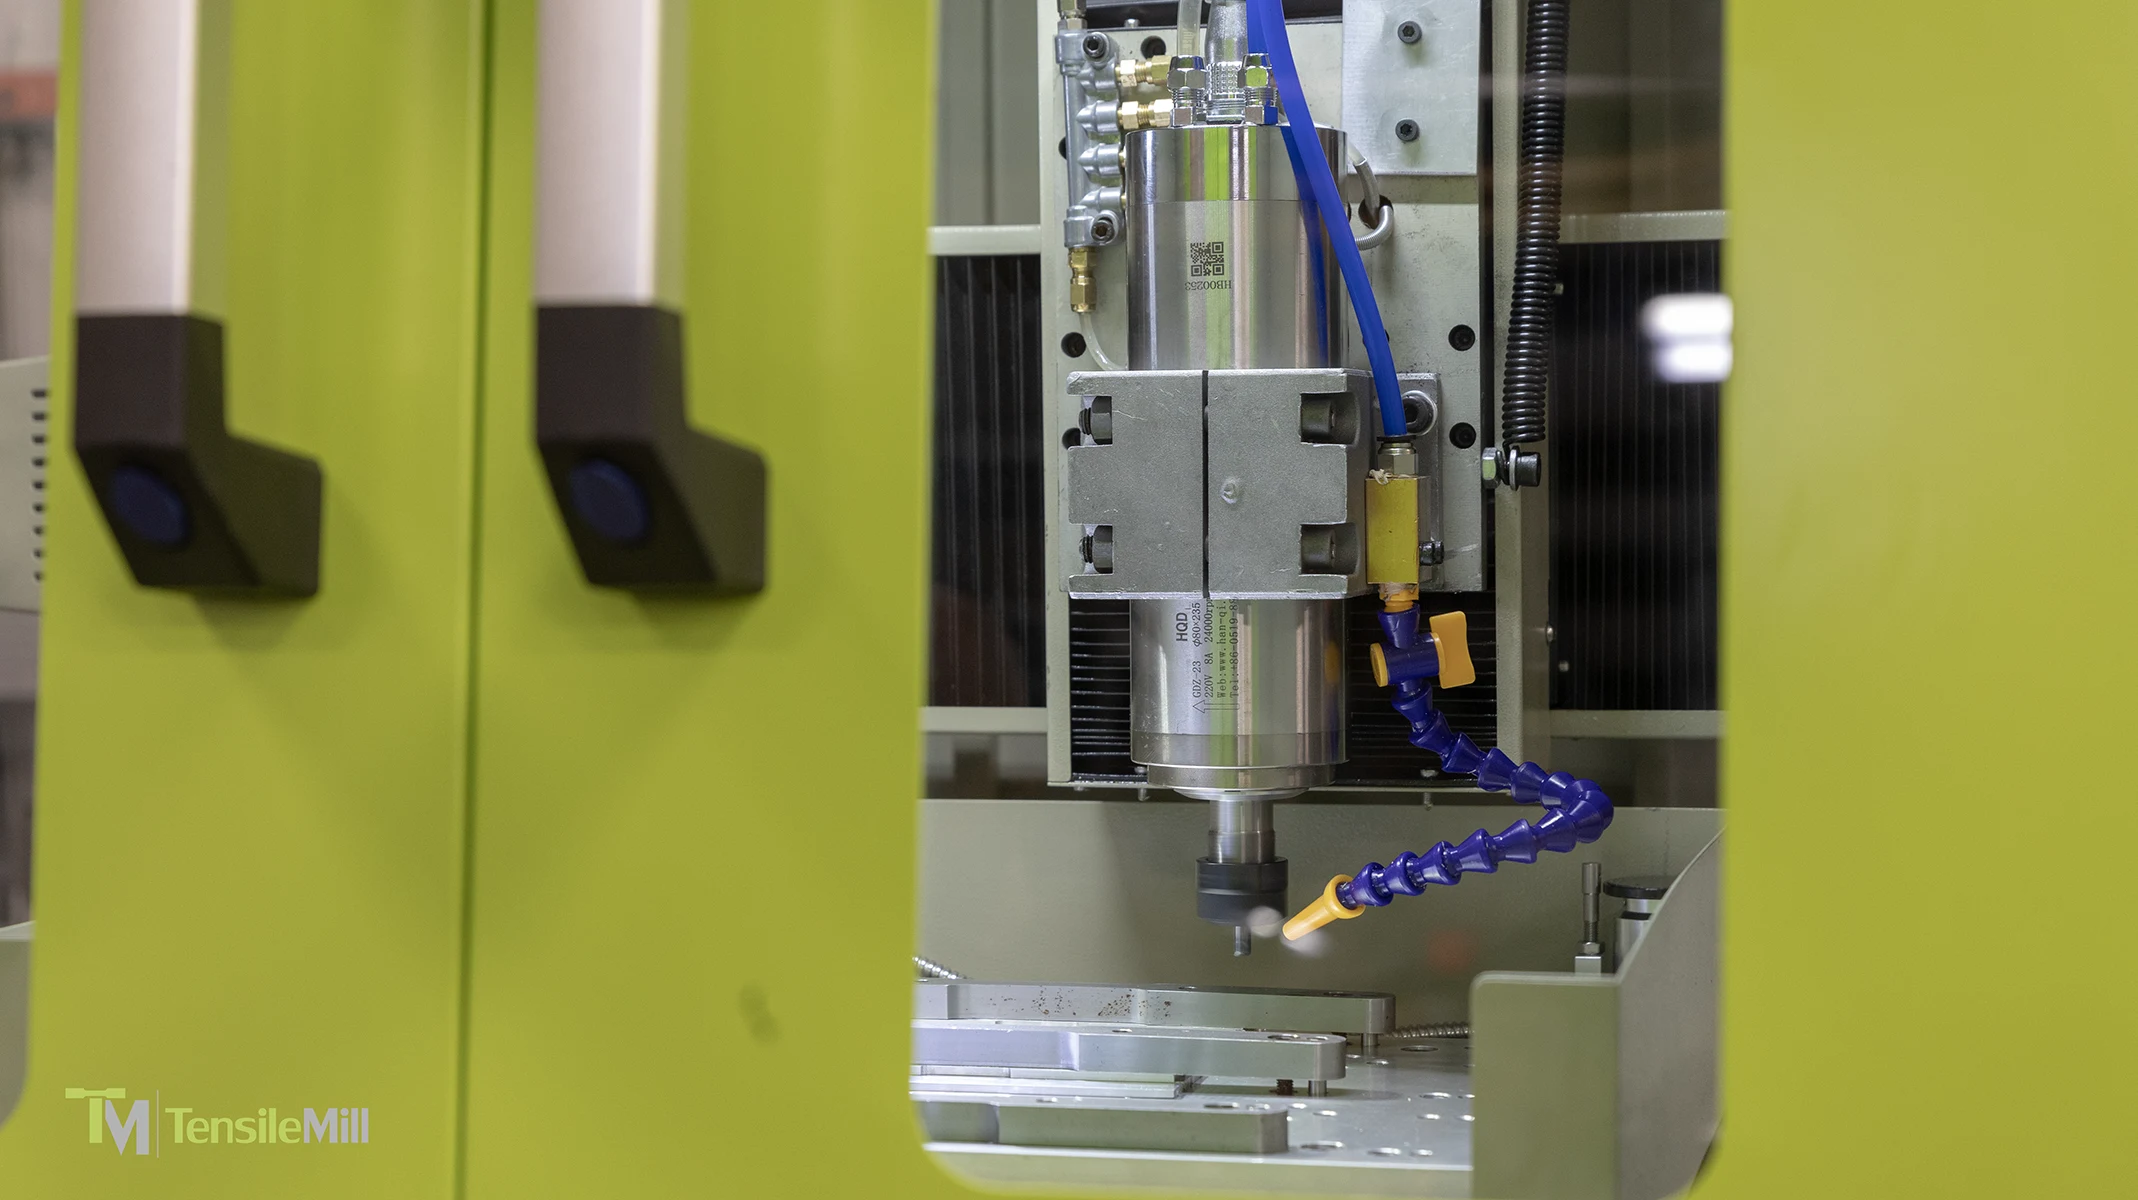
- High Speed, Water Cooled Spindle For A Range Of Materials: The spindle is a 2.2 kW (3 hp) water cooling spindle rated up to 24,000 rpm. In specimen prep, a high speed spindle helps support clean, controlled cutting across common lab materials, and TensileMill CNC also positions the MINI for tougher alloys, including Inconel, when paired with appropriate tooling.
- Tool Holding Options That Match Common Prep Tooling: The taper is listed as ER20 collet, with ISO20 optional. That gives flexibility for typical specimen-prep tooling setups and makes it easier to stay consistent across jobs.
- Compact Does Not Mean Small Working Capacity: The working and traveling area is 400 mm x 400 mm x 200 mm (15.75 x 15.75 x 7.87 in). That is the usable space that supports workholding and repeatable setups, even when the machine is installed in a smaller lab footprint.
- Workholding Friendly Table Features: The table uses a 12 mm (0.472 in) T-slot size, a practical detail that supports common fixturing approaches for flat specimen preparation.
- Facility Friendly Power Requirements: Input voltage is 220 V, single phase, with listed total power of 3.3 kW (15 Amps). That is the kind of requirement labs usually want to confirm early when planning installation.
- Optional Pneumatic Connection: The connection requirement is listed as pneumatic (optional), which can matter depending on how your lab standardizes fixtures and chip management.
Materials And Use Cases: QC Throughput, Training Labs, And Tough Alloys
The MINI makes the most sense when specimen prep is not an occasional task, but a steady part of how your team runs testing. If you are cutting flat tensile specimens every week, the real question is not whether you can make them. It is whether you can make them consistently, quickly, and without turning prep into a separate project each time.
 One common fit is incoming inspection. When new material arrives, teams often need fast, repeatable specimens to confirm properties before a batch moves forward. A dedicated flat prep workflow helps keep that confirmation step moving, especially when schedules are tight and multiple materials are arriving at once.
Another everyday scenario is routine production QC. This is where throughput and consistency matter most. If specimens are prepared on an ad hoc basis, small delays and small variations tend to pile up. With a repeatable prep routine, the lab can focus on testing and reporting rather than reworking specimens or troubleshooting setup differences between shifts.
For manufacturers with a large supplier base, supplier qualification and periodic requalification can become a repeating workload. You may be comparing incoming material from different vendors, different heats, or different processing routes. Consistent specimen preparation is what keeps those comparisons fair. It removes one more variable from the question you are trying to answer.
In R&D comparison testing, you often see a mix of standard and custom dimensions, plus frequent changes in materials. One week it is a baseline alloy, the next week it is a modified process or heat treatment. A guided workflow helps teams move between programs without living inside a full CAM pipeline for every iteration.
Finally, there is training and onboarding. QC departments are rarely static. People rotate, new operators join, and experienced staff get pulled into other priorities. A workflow that is easy to repeat helps teams train new users faster and keep results consistent across the group.
On the materials side, flat specimen prep is rarely one-material-only. Many labs cut a mix of common alloys and more demanding grades, including heat-treated steels and nickel-based alloys like Inconel. That matters because tougher materials tend to punish inconsistency. If the cutting approach changes from run to run, you are more likely to see variability in edge condition, finish, and the amount of cleanup required before testing.
Configuration Guide And Next Steps
Choosing the right MINI setup is mostly about being honest with how your lab works today, and where you want it to be six months from now. Some teams need a straightforward, guided specimen prep workflow that anyone can run. Others want the same core workflow, plus deeper CNC control for broader machining tasks. The good news is that the MINI is designed to support both approaches, so you can match the configuration to your reality instead of overbuying on day one.
The standard MINI workflow centers on the guided tensile milling interface, which is where most QC and production teams get immediate value. If your main goal is consistent flat specimen preparation and quick changeovers between common geometries, that baseline approach is often the right starting point.
The Carbon option is worth considering when your team wants more CNC flexibility. In practical terms, this upgrade opens up deeper control features and full G code capability, so the system can function as a hybrid. That tends to matter when you have in house machining needs beyond tensile specimens, when your team prefers to work in a more traditional CNC environment, or when you want advanced control tools available for specialized workflows.
There is also the 2026 MINI platform, which focuses on operational upgrades rather than changing what the machine is meant to do. The 2026 edition introduces a larger industrial touchscreen, a closed loop system aimed at improving motion stability, integrated diagnostic tools to streamline troubleshooting, and full G code compatibility included as standard. This version is most relevant for teams who want the newest control and motion platform from the start, who expect higher throughput, or who prioritize easier diagnostics and long term supportability.
For labs thinking beyond initial installation, TensileMill CNC also offers an available service plan and training support. The idea is simple. Preventative maintenance helps keep the system running predictably, and training or retraining can help standardize how different operators run specimen prep over time.
Before you request a quote, it helps to gather a few basics. It makes the conversation faster and the recommendation more accurate.
Here is a practical quote checklist:
- Standards mix you follow, such as ASTM, ISO, DIN, or JIS
- Materials you will be machining, including any tougher alloys
- Expected throughput, such as specimens per week
- Who will run the system, and how many operators will share it
- Whether you need the Carbon option or the 2026 platform
- Space and power constraints in your lab or production area
If you want more details, you can find additional specifications and options on the TensileMill CNC MINI product page on our site. When you are ready to discuss configuration, pricing, and lead time, you can request a quote through NextGen or contact our team directly.