What It Takes to do The Perfect Impact Test
The process of impact testing is used to study the various characteristics of materials. These include toughness, hardness, ductility and strength. It involves the sudden application of a load to a specimen in order to determine its impact value.
The impact value of a material can change based on temperature, size and the amount of plastic deformation it can absorb. This is why it is important to ascertain whether the material is tough or brittle.
Temperature can bring change to the impact value in a positive correlation. This means that, generally, the lower the temperature, the lesser the impact energy of the material. As the temperature rises, the impact energy of the material is increased.
Size is a factor that greatly affects the results from the Izod Impact Tester. The factor gives way for a number of imperfections to occur in the material. These can serve as stress risers that make the impact energy lower.
The toughness of a material indicates its ability to absorb energy during deformation. Materials with low toughness are often able to endure only a small amount of plastic deformation.
What are the Various Types of Impact Tests?
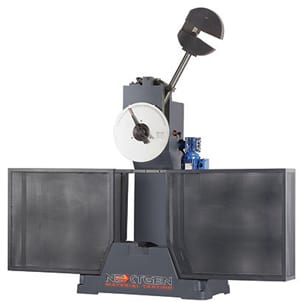
There are various tests used to determine the impact value of materials. Impact testing commonly consists of IZOD and Charpy impact testers.
IZOD Impact Tester
The Izod Impact Tester is otherwise known as the Pendulum Impact Tester where the impact resistance of specimens is measured through different standard test configurations. The test consists of the pendulum or a swinging hammer, the frame for support, and a measurement system with an angle of ninety degrees to measure the absorbed energy.
The notch impact in the test determines the behavior of the material specimen at higher deformation speeds. It measures the height of rise of the pendulum after impact in order to determine the impact energy absorbed by the material specimen until it breaks.
During the testing, the specimen will be supported as a cantilever beam. The striker must fit well in the hammer, and the latching position is set to ninety degrees.
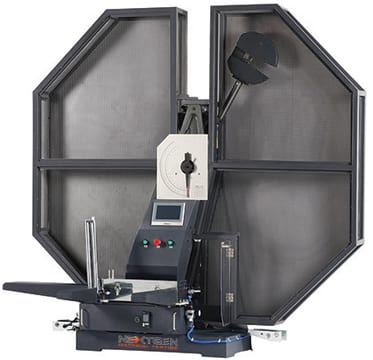
After the metal specimen is placed on the support with notch facing forward the direction of the striker and the hammer is released, the pointer will show the amount of energy consumed by the specimen based on its rupture.
This mode of testing involves a high strain-rate test to measure the impact value of certain specimens. These impact specimens are of standard dimensions and can be found in industry standards like ASTM E23, ASTM A370, EN 10045 Series and ISO 148.
Charpy Impact Tester
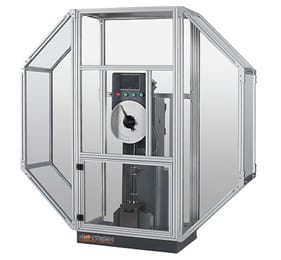
The Charpy Impact Tester is used on machines capable of measuring less than one foot-pound to three hundred foot-pounds at temperatures ranging from -320°F to over 2000°F. It is a high strain-rate test where a notched specimen is hit with a controlled weight pendulum swung from a set height.
This test measures the amount of impact energy absorbed by the specimen when it is hit by the pendulum and is considered as a good metal impact tester. It shows whether a specimen can be classified as ductile or brittle, especially ferritic steels.
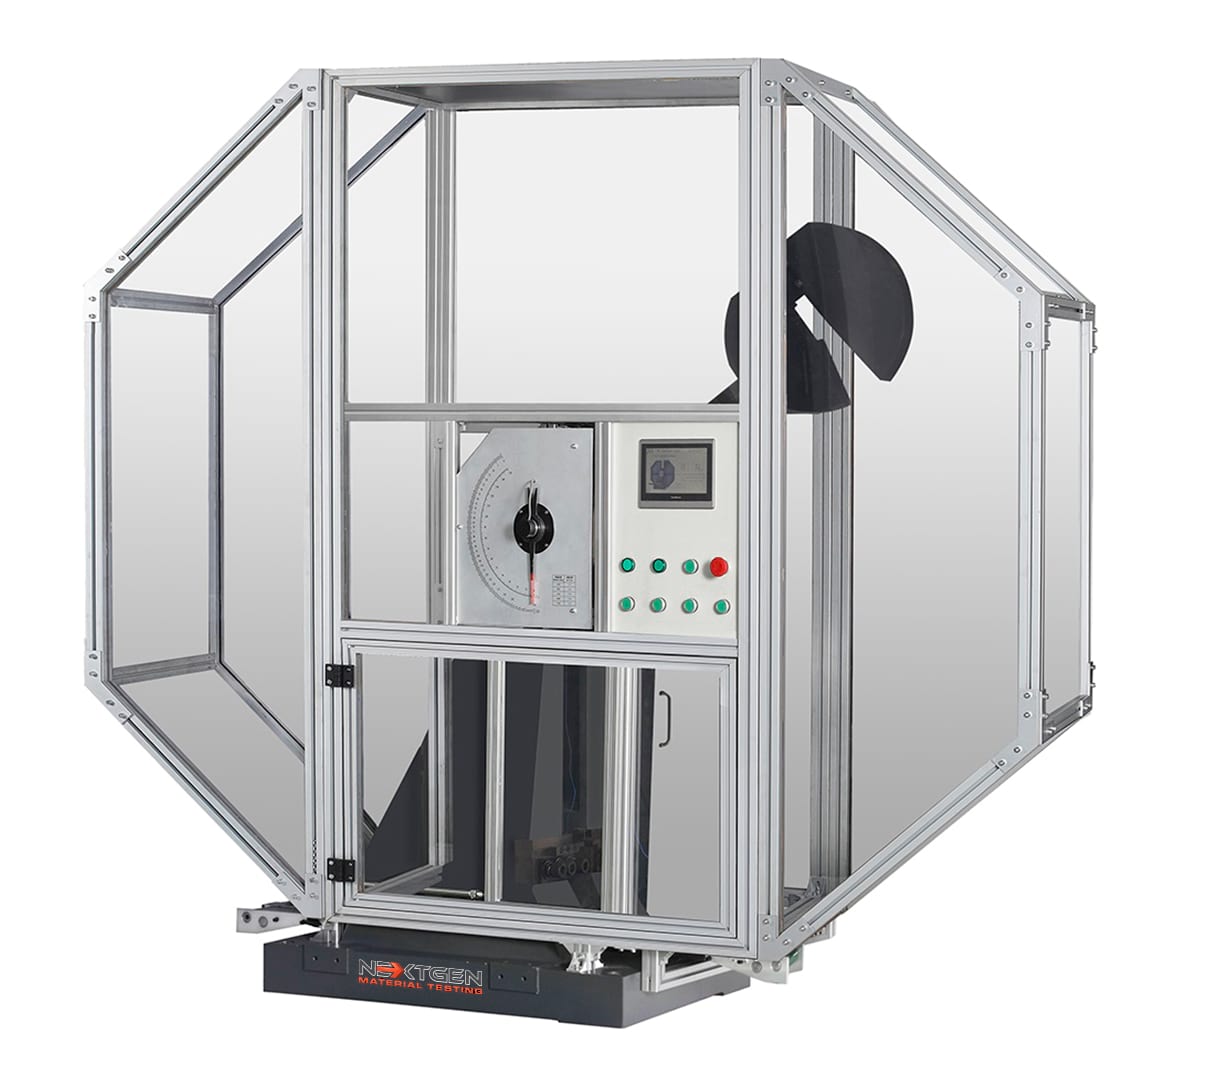
During metal impact testing, the metal specimen will be supported on both sides and the respective striker must be fit in the hammer. The latching position for the Charpy test is one hundred forty degrees.
After the metal specimen is placed on the support block and the hammer is released, the pointer will show the frictional losses or the amount of energy consumed by the metal specimen.
The specimen is struck by a “tup” attached to the pendulum and the metal specimen breaks at its notched cross-section, otherwise known as the V-notch Impact. Measurements are in Joules that give an indication of the toughness of the material.
Based on the results, a brittle metal absorbs a small amount of energy. On the other hand, a tough ductile metal absorbs a large amount of energy.

Aside from the impact energy absorbed, the fracture sustained by the metal specimen can also indicate its toughness. A brittle fracture is bright and crystalline, while a ductile fracture is dull and fibrous. The percentage crystallinity is determined by the amount of crystalline or brittle fracture on the surface of the broken metal specimen.
There are certain differences between the Izod and the Charpy test. These include the specimen position, the notch, and the hammer type.
The position of the specimen in the Izod method is always vertical. On the other hand, the specimen is always horizontal in the Charpy method because it is supported in both sides.
The notches in the Charpy method include the V-notch and the U-notch. The Izod uses only one type of notch that is facing the striker and fastened in a pendulum.
The striker used in the Izod method is a farming hammer. The one used in the Charpy method is a ball pin hammer.
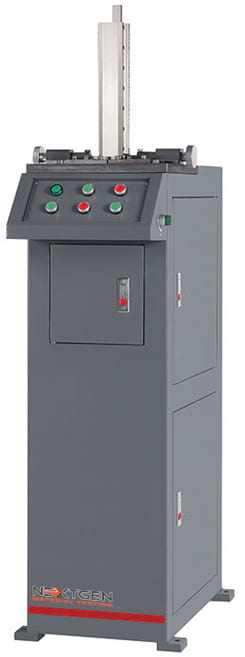
After the process of testing the specimens, whether by Izod or Charpy Impact Testing, the metals may now undergo broaching or notching. Broaching is the process of using a toothed tool to remove material or effect a cut. Notching, on the other hand, is a metal-cutting process used on thin metal or sheet metal through a shearing or punching process.
A broaching machine is used to handle thicker kinds of metals while a notching machine is used for slim type or thin metals. Both machines can also be merged into one that can produce two products simultaneously.
NextGen Material Testing, Inc. has your full scope of Impact Testing and Notching & Broaching Systems to meet your current and expanding impact testing needs.