Have you been searching for the right Vickers hardness tester? You’ve come to the right place. Choosing the right testing equipment is often the first step to ensuring reliable results, and we are here to help you make sense of the options available.
At NextGen Material Testing Inc., we provide a comprehensive selection of hardness testing instruments designed to meet different requirements. Our line of Vickers testers includes models that range from compact digital systems for precise Micro Vickers and Knoop evaluations to robust universal testers capable of handling multiple hardness scales.
In this article, we will walk you through our best Vickers hardness testing solutions, explain how they work, and highlight who benefits most from them. Whether you are involved in aerospace, automotive, medical device manufacturing, or metallurgical research, the right tester can make all the difference, and this guide will show you why.
Everything You Should Know About Vickers Hardness Testers
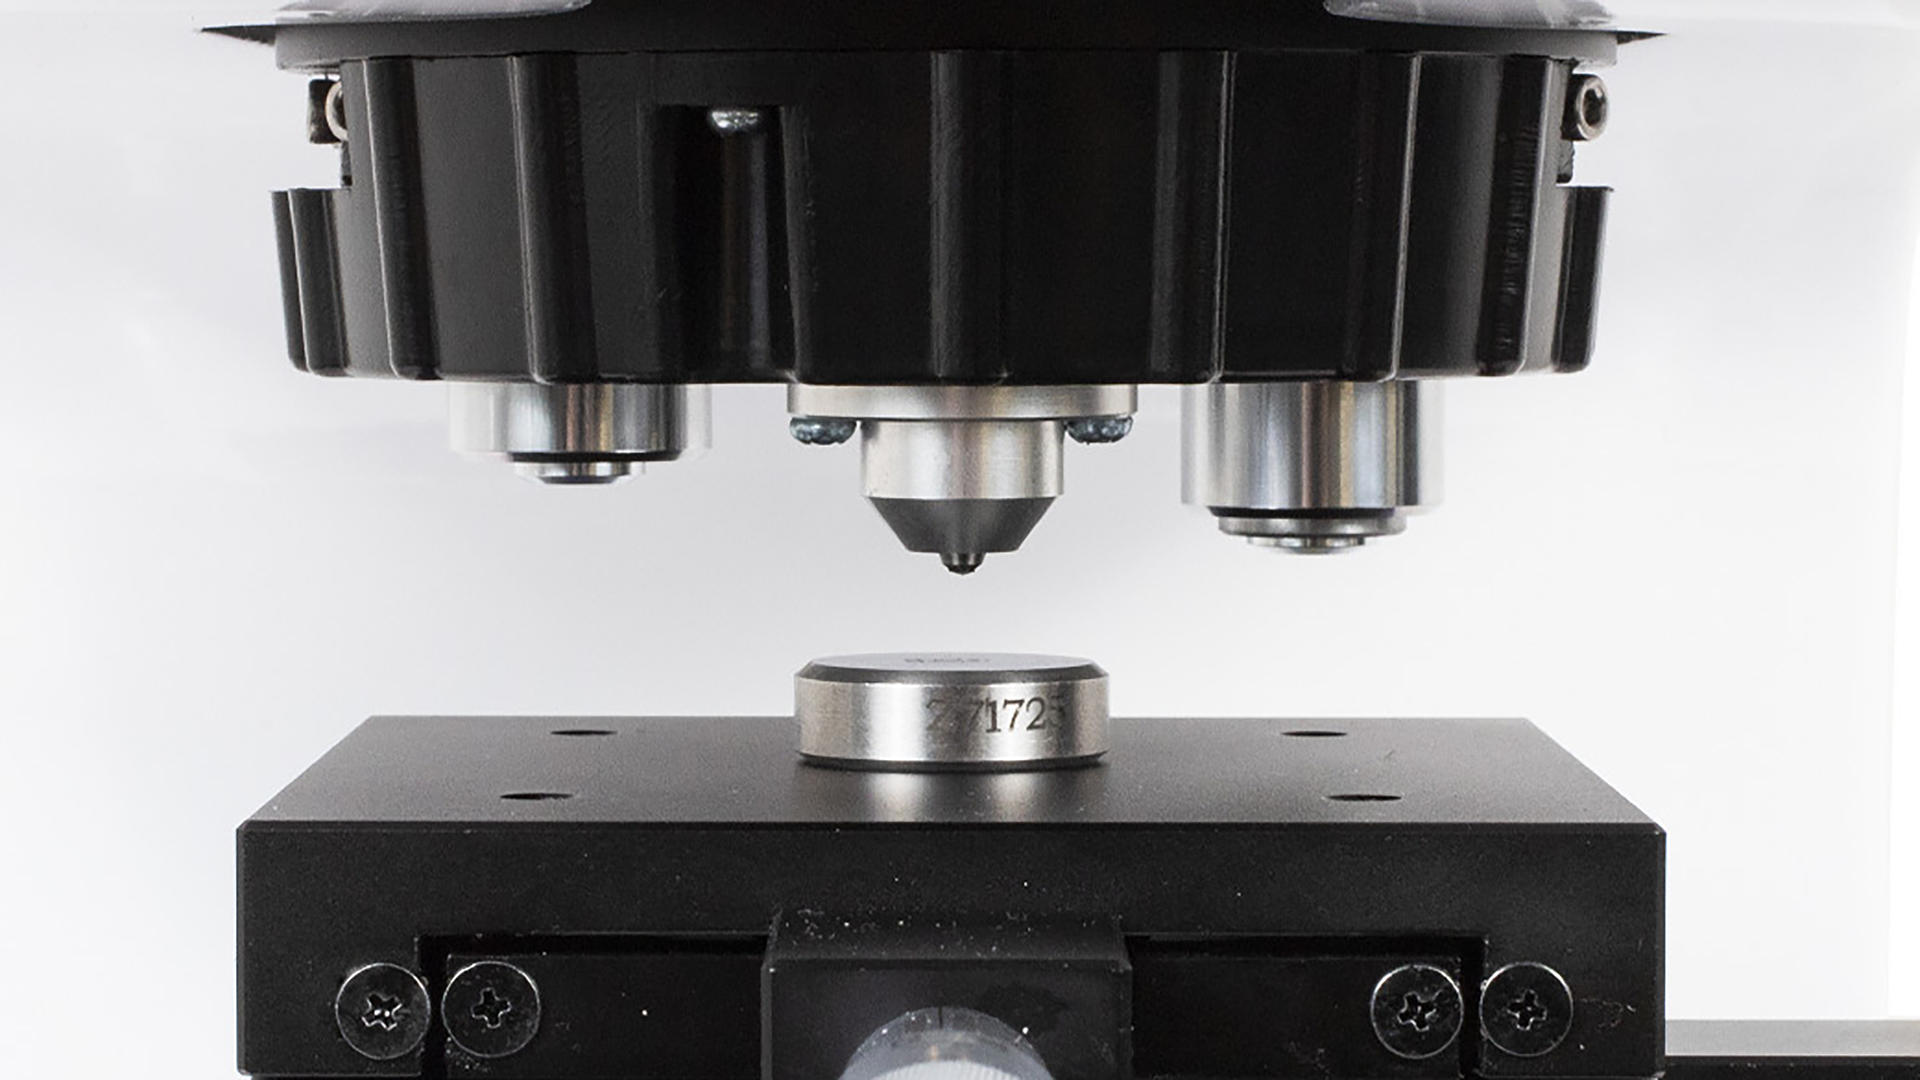
Vickers testing measures how a material resists a diamond pyramid pressed into its surface. The indenter has a square base with a 136° angle between opposite faces. After unloading, the two diagonals of the impression are measured, and from this the hardness value is determined. Results are reported as a number, the letters “HV,” the applied test force in kgf, and the dwell time if it differs from the usual range.
A proper test follows a simple rhythm: ramp the force to its setpoint within a few seconds, hold it briefly, then unload and measure. International guidance targets an application time of roughly 2–8 seconds and a dwell of 10–15 seconds. If a longer dwell is used, it should be included in the result, for example 610 HV 10/30.
Loads define the test “scale.” Micro Vickers uses light forces suited to thin layers and case depth work, typically ranging from 10 gf up to 1000 gf. Standard or “macro” Vickers covers higher forces for bulk sections, from about 1 kgf up toward 100 kgf depending on the method. ISO 6507 defines the overall range, while ASTM splits coverage between micro and standard-to-low-force methods.
Standards matter because they align machines, procedures, and reporting. The key references are ISO 6507 for Vickers and ASTM E92 for Vickers and Knoop on metallic materials. ASTM E384 has historically covered microindentation, and many labs still cite it for micro Vickers and Knoop practice.
When do you choose Knoop instead of Vickers? Knoop uses a rhombic indenter that makes a shallow, elongated imprint. It’s helpful for very thin coatings and brittle materials like ceramics where a Vickers impression might crack or be too deep. Its long diagonal is easier to read at low loads, which improves precision on tiny indents.
Industry-Leading Vickers Hardness Testing Solutions
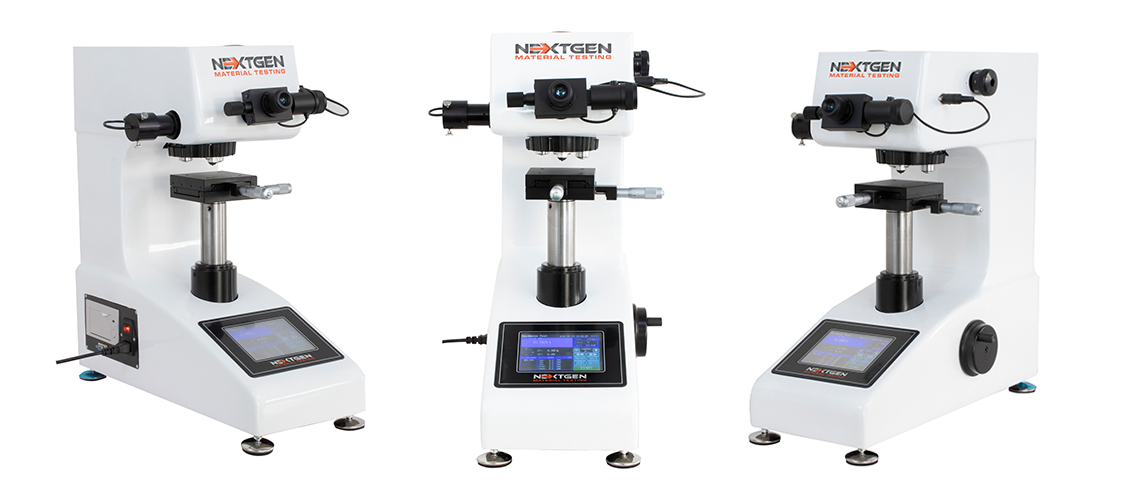
At NextGen Material Testing Inc., we focus on delivering practical and reliable equipment for hardness measurement. Over the years we have developed a broad portfolio that supports laboratories and production sites with precise testing solutions. Among this equipment, Vickers hardness testers stand out as one of the most requested tools for quality control and research.
Our product line is designed to cover a full spectrum of testing needs. From compact digital systems for microhardness analysis to advanced universal testers that combine Vickers, Rockwell, and Brinell methods in a single frame, our instruments address the challenges of different industries. Whether you require high-volume testing, case depth studies, or simple verification of parts on the shop floor, there is a configuration that fits.
Allow us to present our bestsellers, proven by laboratories worldwide, and show how they meet modern standards in hardness testing:
UniGen – Universal Hardness Tester for Vickers, Rockwell and Brinell
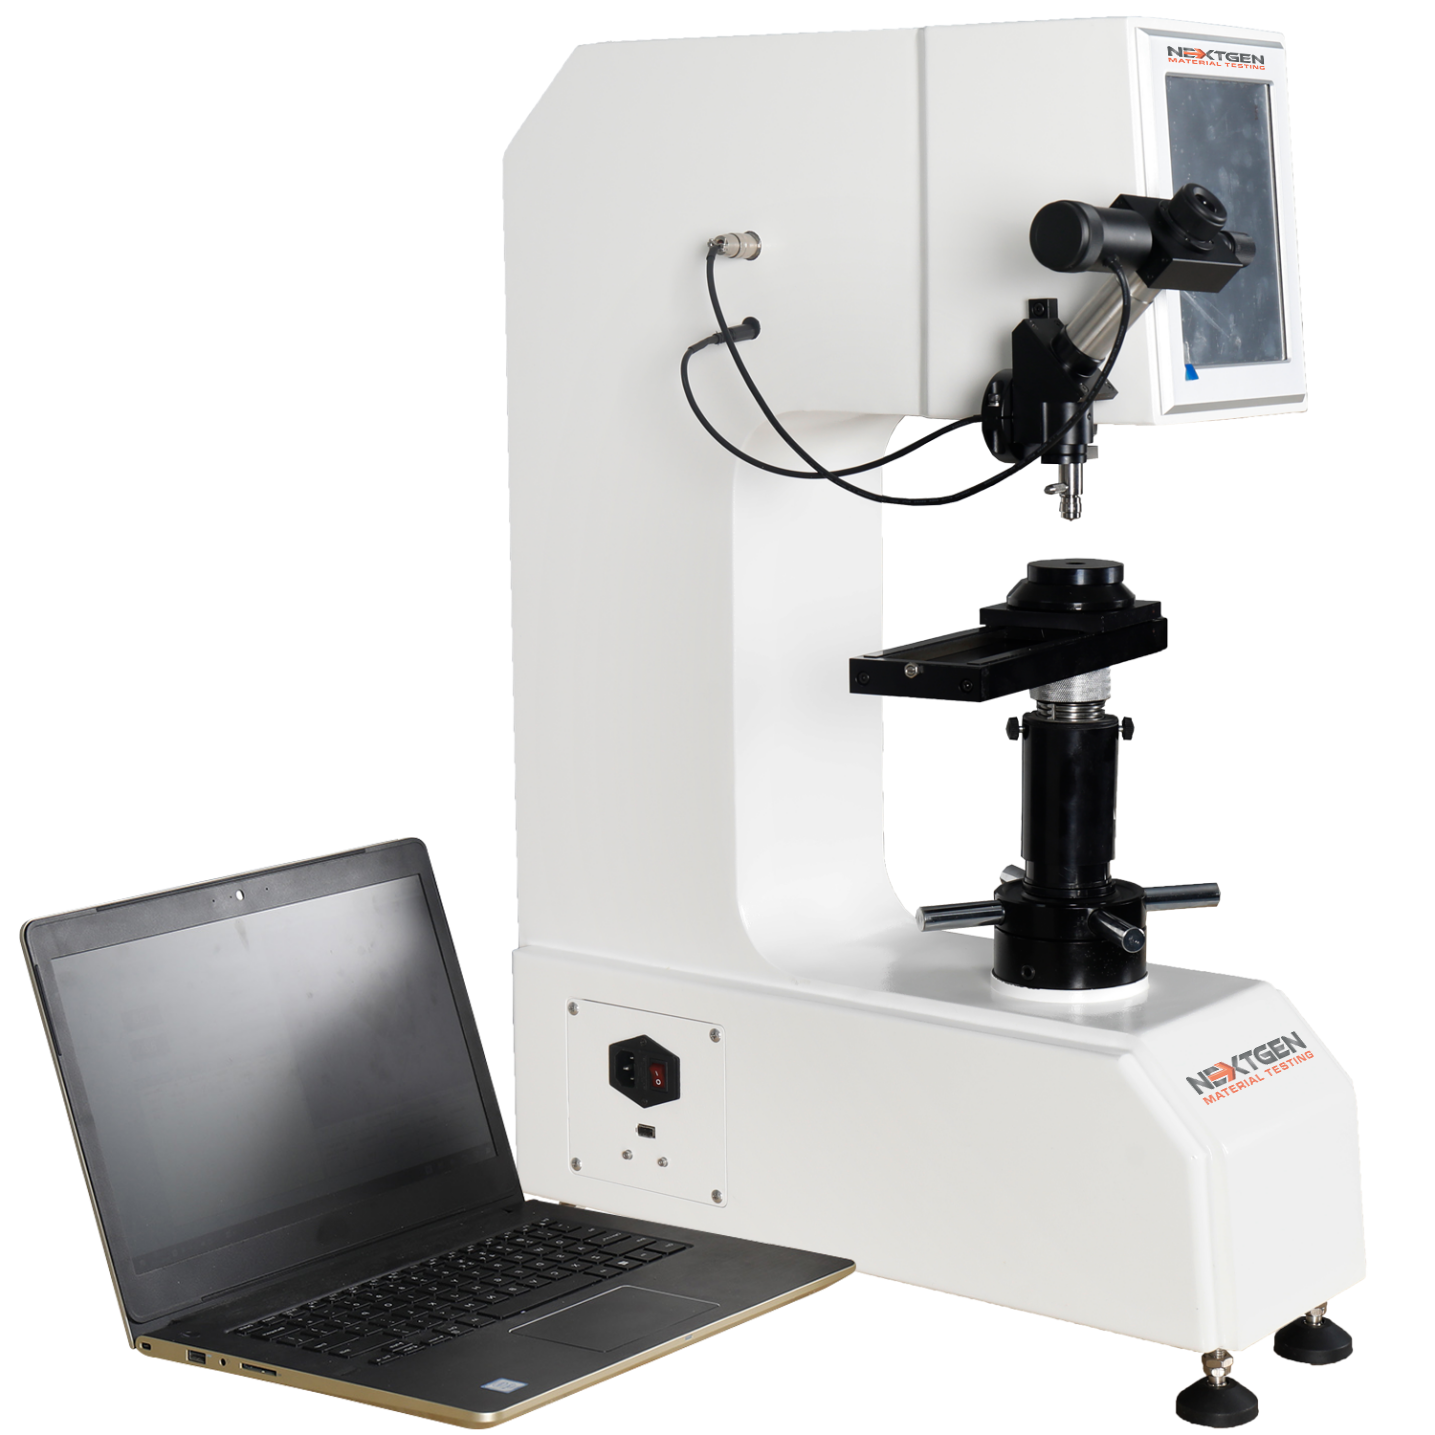 The UniGen series is built as a true all-in-one hardness testing system. Unlike single-purpose machines, it combines three of the most common methods—Vickers, Rockwell, and Brinell—into one unit. This makes it an ideal choice for laboratories and production facilities that need flexibility without compromising accuracy.
Equipped with an 8-inch LCD touchscreen, a CCD camera, and automated measuring software, the system simplifies the testing workflow. Operators can run tests with minimal setup, while the closed-loop load cell guarantees high precision without relying on traditional weight systems.
The UniGen tester supports a wide scope of international standards, including ISO, ASTM, JIS, and GB/T, making it suitable for global operations. Its modular design ensures easy maintenance, and built-in data export functions allow direct transfer to Excel for further analysis.
NG-1000 Series – Micro Vickers and Knoop Hardness Testers
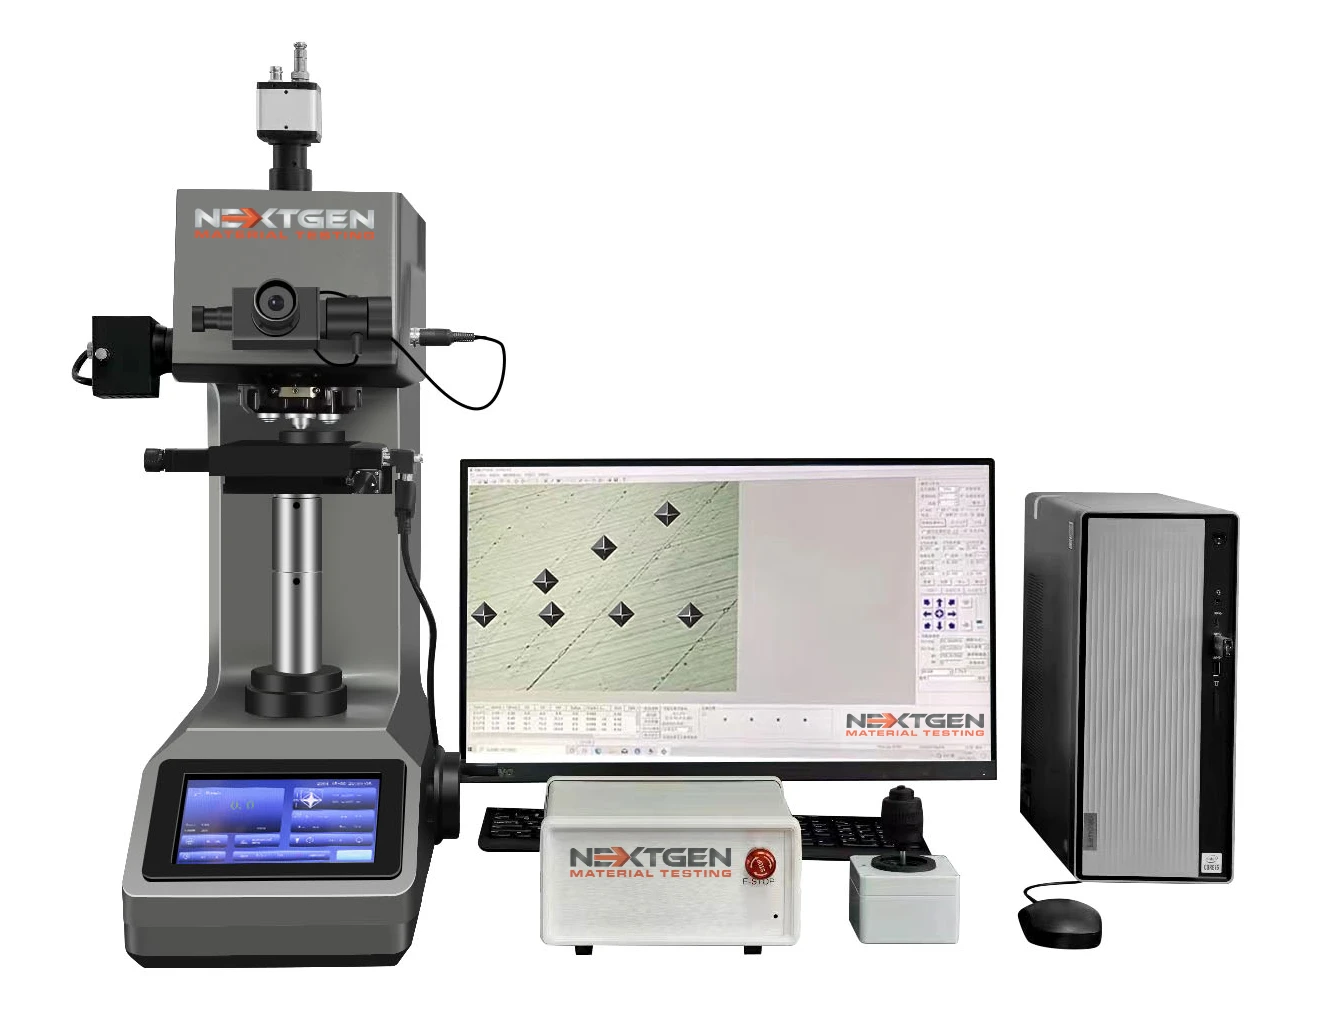 The NG-1000 series is built for laboratories and industries that need precise results on very small or thin samples. These micro hardness testers specialize in Vickers and Knoop methods, making them ideal for coatings, surface treatments, and fine case depth studies. Each model in the line delivers reliable performance, but users can select the configuration that fits their workflow best.
The AGEN version is the standard digital option, straightforward and dependable for routine testing. It allows operators to measure through the eyepiece and manually input readings into the system, which then calculates and displays the hardness value.
The DGEN version enhances this by adding an encoder. After measuring diagonals through the eyepiece, values are transmitted automatically into the tester with a single click. This reduces errors from manual entry and speeds up the testing process.
The CCD model takes automation further by adding a camera and analysis software. Indentations can be captured and measured digitally, with results and statistics generated instantly on screen. Users also benefit from automated hardness curve plotting, conversion to other scales, and detailed reporting tools.
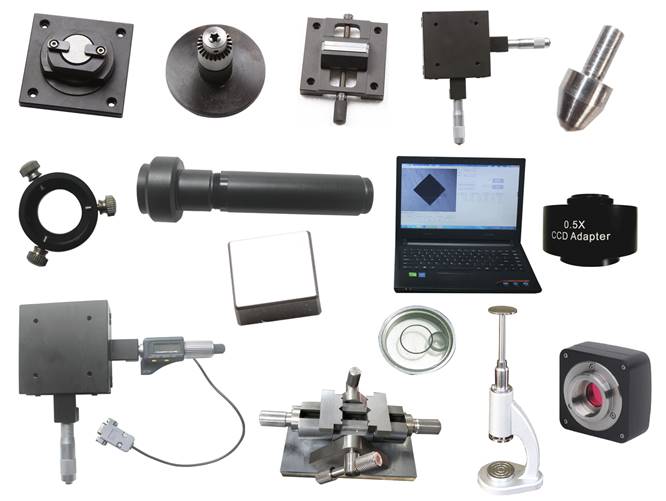 For labs that demand even higher levels of efficiency, the CCD SEMI introduces a motorized XY stage, while the CCD FA adds full automation of the Z axis, bringing near-complete automation of the hardness testing process.
Across the NG-1000 range, features like motorized turrets, LED cold light sources, durable optics, and compatibility with international standards (ASTM and ISO) provide consistent accuracy. The flexibility to upgrade between models also ensures that facilities can start with a simpler setup and expand as testing requirements grow.
NG-5000 Series – Macro Vickers Hardness Testers
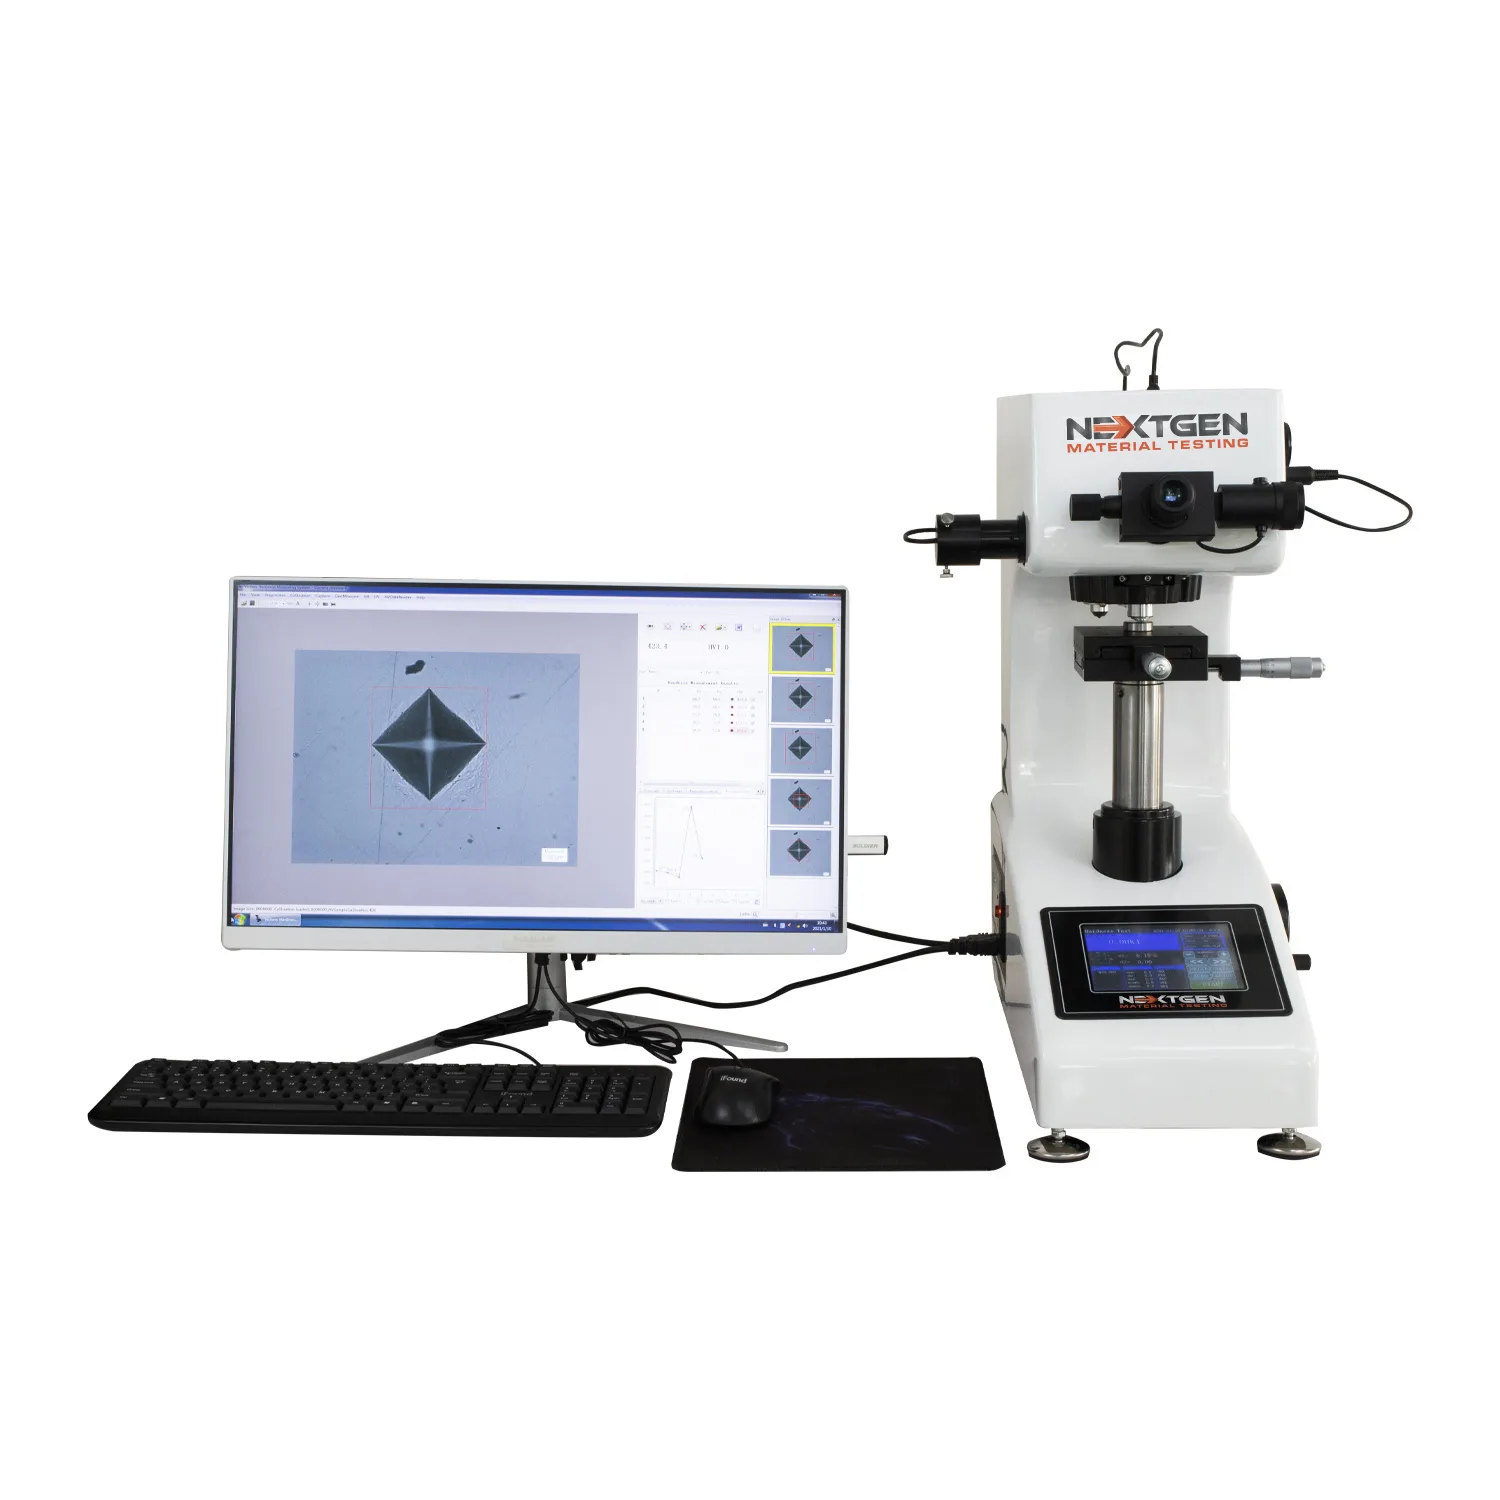 The NG-5000 series is designed for facilities that require dependable hardness testing on larger or bulkier samples. With testing loads ranging from 300g up to 50kg, these systems cover the full macro range, making them suitable for applications such as structural steels, heavy alloys, and surface-treated components.
All NG-5000 testers are built around a solid frame, a motorized turret, and a large integrated display. Each model also includes a built-in printer and data transfer options via USB or RS-232, allowing results to be stored or exported to Word and Excel with ease. This makes the NG-5000 line as practical for daily quality control as it is for research and development labs.
The AGEN version provides straightforward digital operation. Measurements are taken through the eyepiece, with diagonals entered manually on the keypad to generate the hardness value.
The DGEN version adds convenience with an encoder system. After measuring diagonals through the eyepiece, values can be transferred automatically into the system at the click of a button, reducing operator input and minimizing data-entry errors.
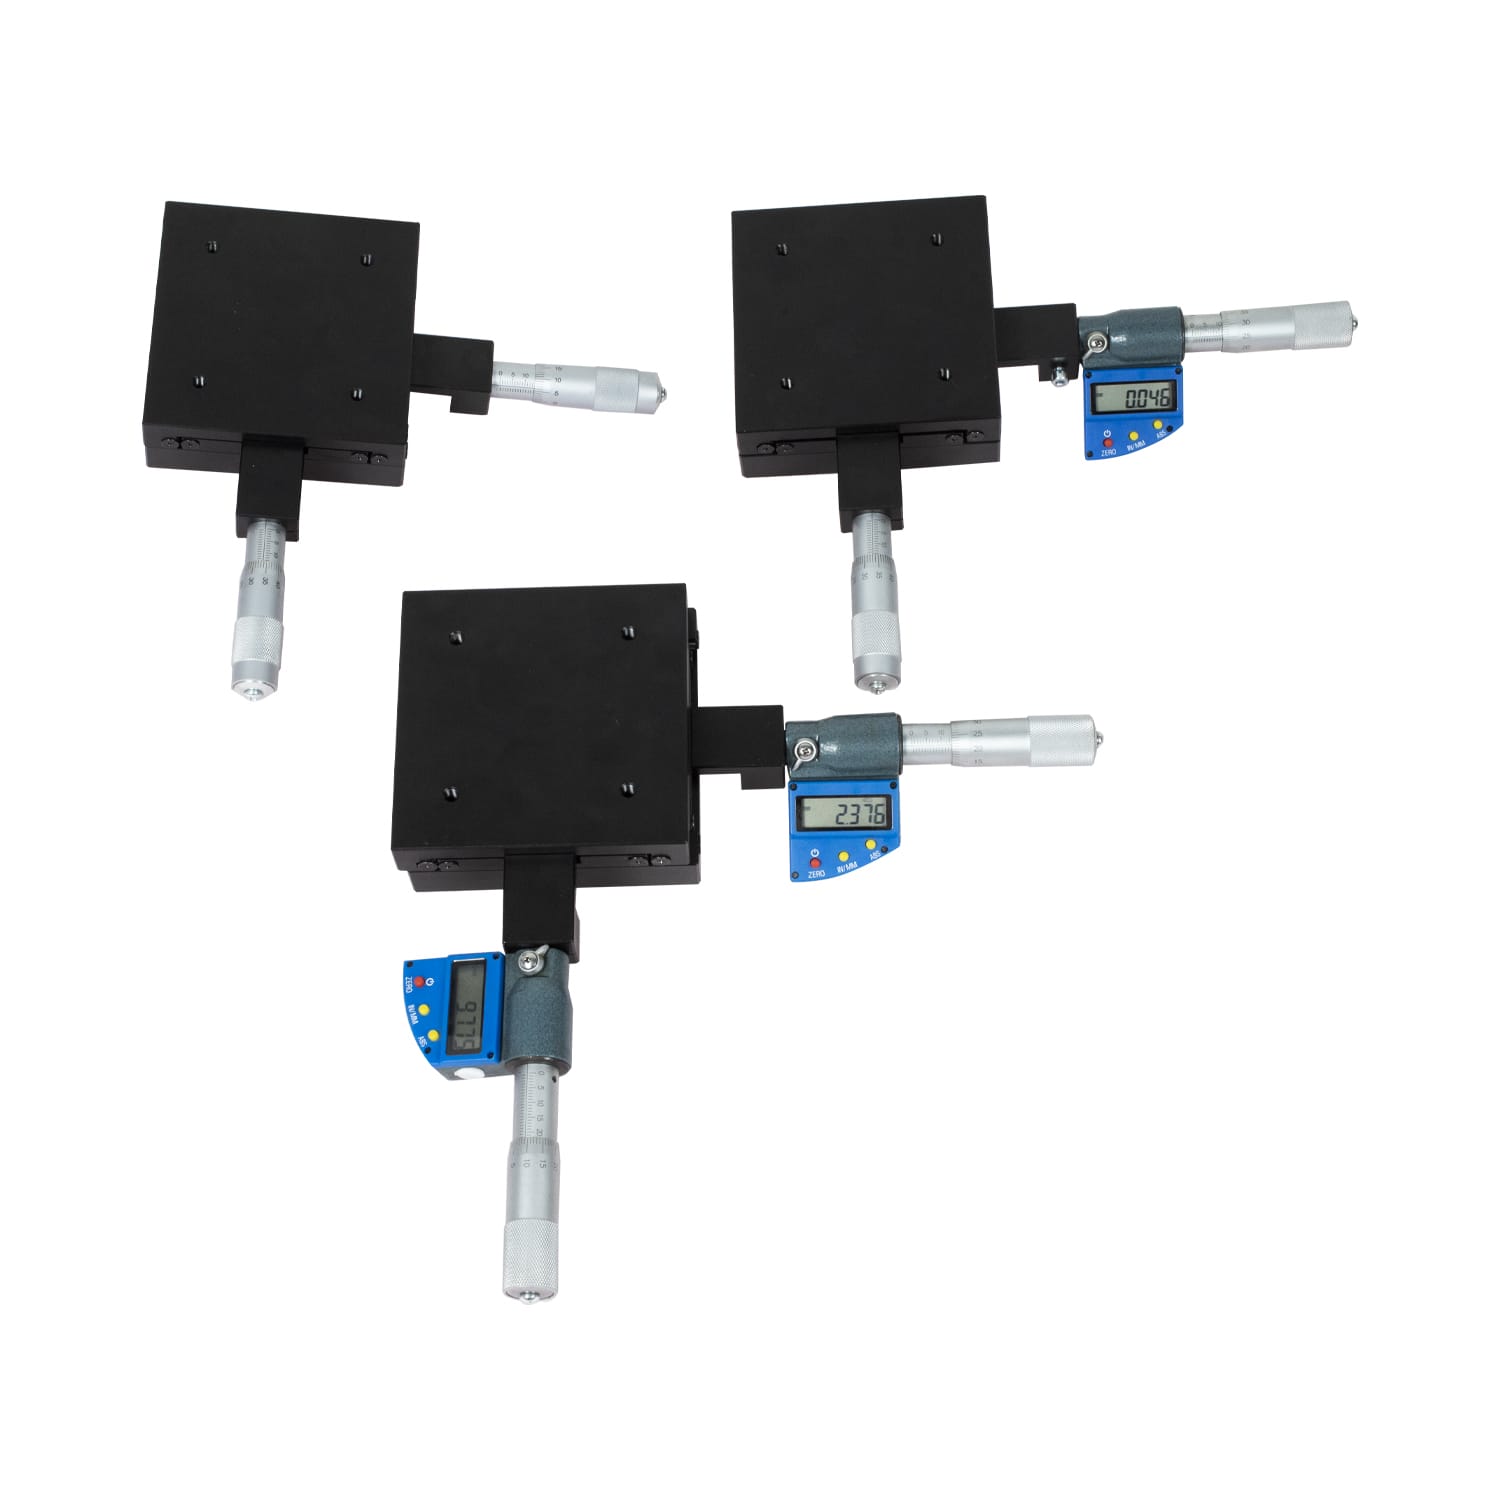 The CCD model offers advanced optical analysis. A camera and software package capture and analyze indentations digitally, providing instant results, statistical data, and automatic hardness curve plotting. For laboratories where throughput and traceability are key, this version delivers a major upgrade in efficiency.
For users who want more automation, the CCD SEMI introduces a motorized XY stage to streamline sample positioning, while the CCD FA completes the automation package with automatic Z-axis control, achieving nearly hands-off testing.
Across all versions, the NG-5000 series meets ASTM and ISO standards and includes NIST-certified consumables. The combination of high accuracy, flexible software, and upgrade paths makes these testers an excellent choice for industries handling larger, harder, or more complex samples.
Hardness Test Blocks and Certified Accessories
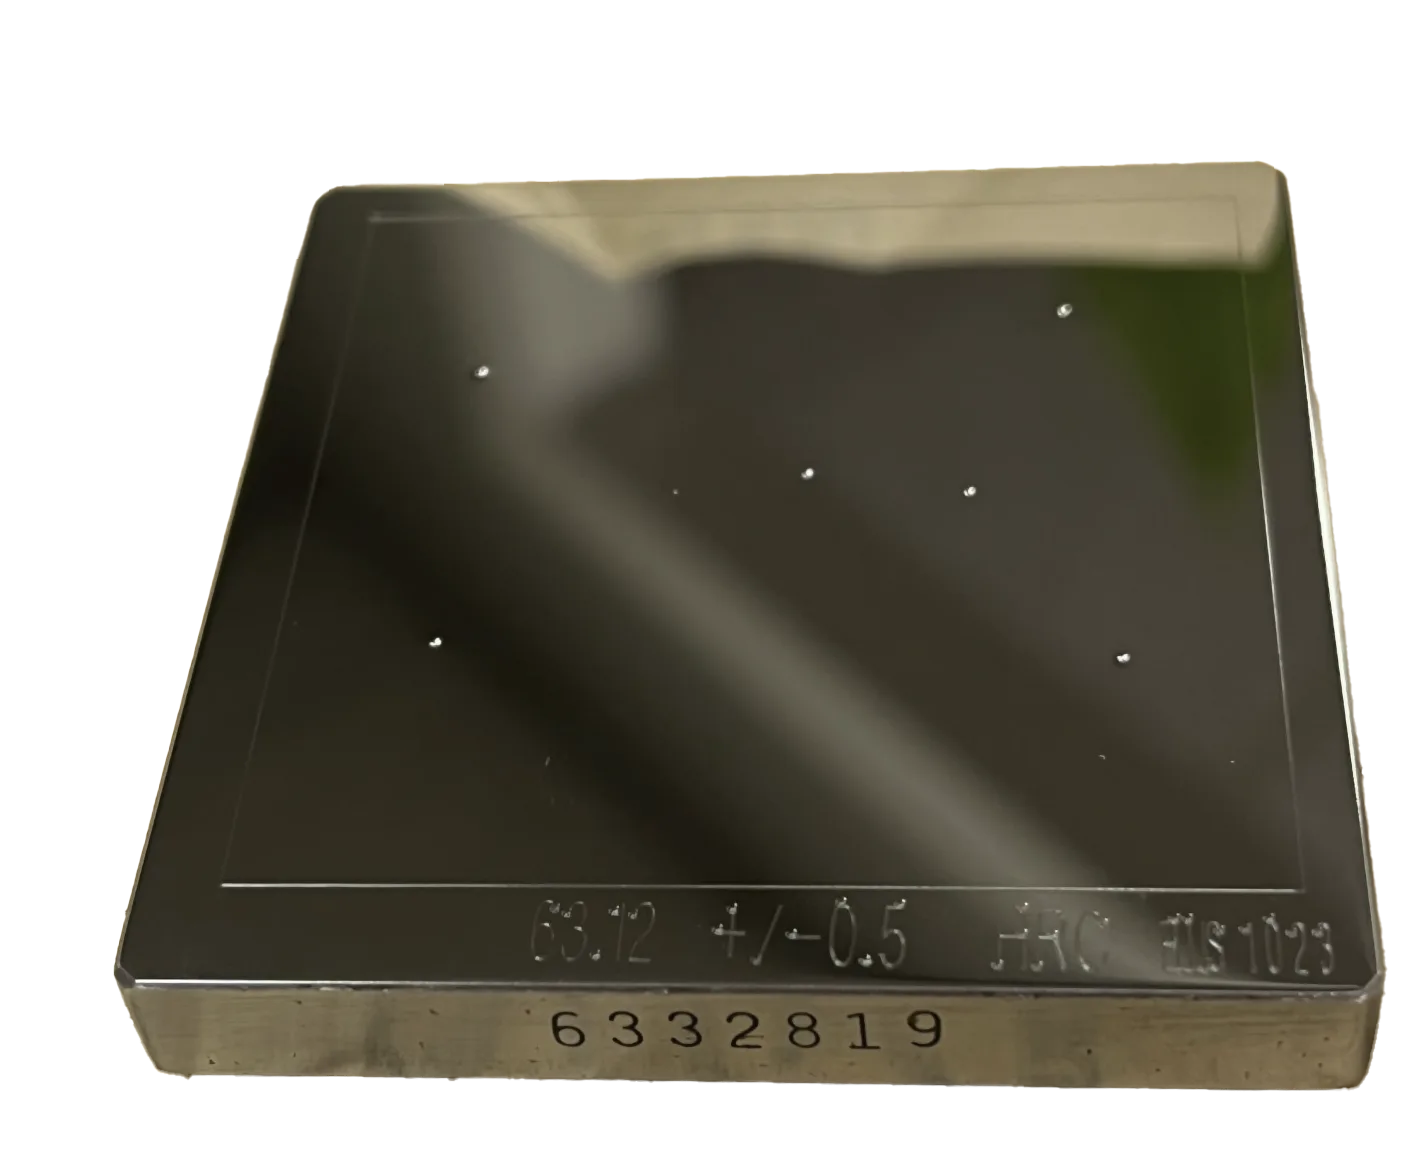 A hardness tester is only as reliable as the accessories that support it. To guarantee precise and repeatable measurements, daily verification against certified test blocks is required by international standards such as ASTM and ISO. That is why every Vickers, Rockwell, or Brinell tester from our lineup is supplied with all essential items so your laboratory can start working right away.
NextGen offers a complete range of consumables and accessories, all calibrated and traceable to NIST, and prepared in ISO 17025 compliant facilities. This gives our customers the confidence that their results will meet the strictest requirements in quality control and research environments.
Among our offerings you will find:
- Certified hardness test blocks for Vickers, Knoop, Rockwell, and Brinell scales, available in micro, heavy load, and superficial ranges.
- Diamond and carbide indenters, precisely manufactured and certified for each testing method.
- Test anvils and clamping tables designed to handle specimens of different sizes and geometries.
- Spare parts and consumables such as fuses, lighting components, covers, and XY stages.
All accessories are kept in stock, so replacements are always available without delays. Whether you are running routine daily checks or need replacements for high-throughput testing, we provide everything you need to keep your hardness testing equipment in peak condition.
International Standards Our Vickers Testers Meet
As mentioned earlier, our hardness testers are fully aligned with globally recognized standards. This means that when you receive and install our equipment, it is ready to deliver results accepted by partner laboratories, certification bodies, and clients across industries. No extra verification, no costly recalibration — just plug it in and start generating data that meets the strictest international requirements.
Here are the key standards supported by our equipment:
- EN ISO 6508 – Metallic materials, Rockwell hardness test
- ISO 6506 – Metallic materials, Brinell hardness test
- ISO 6507 – Metallic materials, Vickers hardness test
- ASTM E92 – Standard test methods for Vickers hardness of metallic materials
- ASTM E18 – Rockwell hardness of metallic materials
- ASTM E10 – Brinell hardness of metallic materials
- ASTM E384 – Microindentation hardness of materials (Vickers and Knoop)
- ISO 4545-2 – Metallic materials, Knoop hardness test
- JIS Z2245 – Metallic materials, Rockwell hardness test
- JIS Z2243 – Metallic materials, Brinell hardness test
- JIS Z2244 – Metallic materials, Vickers hardness test
- GB/T 230.2 – Metallic materials, Rockwell hardness test
- GB/T 231.2 – Metallic materials, Brinell hardness test
- GB/T 4340.2 – Metallic materials, Vickers hardness test
Who Benefits from Our Vickers Hardness Testers?
Our Vickers Hardness Testers are designed to serve a diverse range of industries, thanks to the flexibility of our product lineup and the ability to configure machines for specific testing requirements. Whether you need fine precision for thin coatings or high loads for large steel components, there is a solution that fits. Below are several industries that already rely on these systems and what they achieve with them.
Automotive and Aerospace
In the automotive and aerospace fields, strength, durability, and fatigue resistance are top priorities. Parts such as gears, shafts, turbine blades, and alloy frames must operate reliably under extreme stress. For this reason, Macro Vickers testers like the NG-5000 series are often used, as they apply higher loads suitable for hardened alloys and larger structural pieces. The accuracy and automated features allow laboratories to run large numbers of tests efficiently, ensuring consistent quality in production.
Electronics and Semiconductor Manufacturing
In electronics and semiconductors, components such as wafers, connectors, and thin films require extremely delicate hardness testing that will not damage the surface. Micro Vickers and Knoop testers, especially the NG-1000 series with CCD optical analysis, are well suited to this task. Their fine-scale measurements and automated imaging help engineers identify microstructural changes while keeping specimens intact.
Metallurgical Research and Heat Treatment Labs
Metallurgists and researchers use hardness data to study heat treatment effects, quenching depth, and case hardening. The Micro Vickers systems are excellent for creating hardness profiles across thin layers, while Macro models are used for thicker samples. These results provide crucial insights that connect hardness values to tensile strength, wear performance, and uniformity of treatments.
Medical Device Manufacturing
In medical manufacturing, surgical blades, implants, and instruments require the highest level of quality control. Micro Vickers testers with Knoop capability allow for precise testing of small or brittle parts such as ceramic coatings and fine steel components. The advanced imaging and calibration features help manufacturers maintain strict compliance with medical standards.
General Manufacturing, Research and Education
Hardness testing is a cornerstone in many industries, from general metal fabrication to research facilities and technical universities. It supports everything from checking the quality of steel sheets to training the next generation of engineers. Depending on the application, companies and institutions can choose between digital, automated systems or more traditional models that remain valuable for hands-on testing and training.
Choosing the Right Vickers Hardness Testing Equipment
Selecting material testing equipment is a critical decision, and it should always be made wisely. Our Vickers hardness testing solutions are designed to fit any industry, with the option to add specific modules tailored to your requirements. These product lines are an excellent choice both for companies upgrading their existing setup and for those building a new laboratory that complies with current international standards.
If you have questions, please feel free to directly contact us or request an online quote. We are here to help you choose the equipment that best suits your material testing needs.
