How do engineers test the strength of a metal surface only microns thick? The answer lies in Vickers and Knoop hardness testing. These precise methods reveal how a material resists pressure, deformation, and wear. In many labs, they define whether a part is ready for production or needs another treatment cycle. Yet manual testing systems often slow the process, depend too much on the operator, and make result tracking difficult.
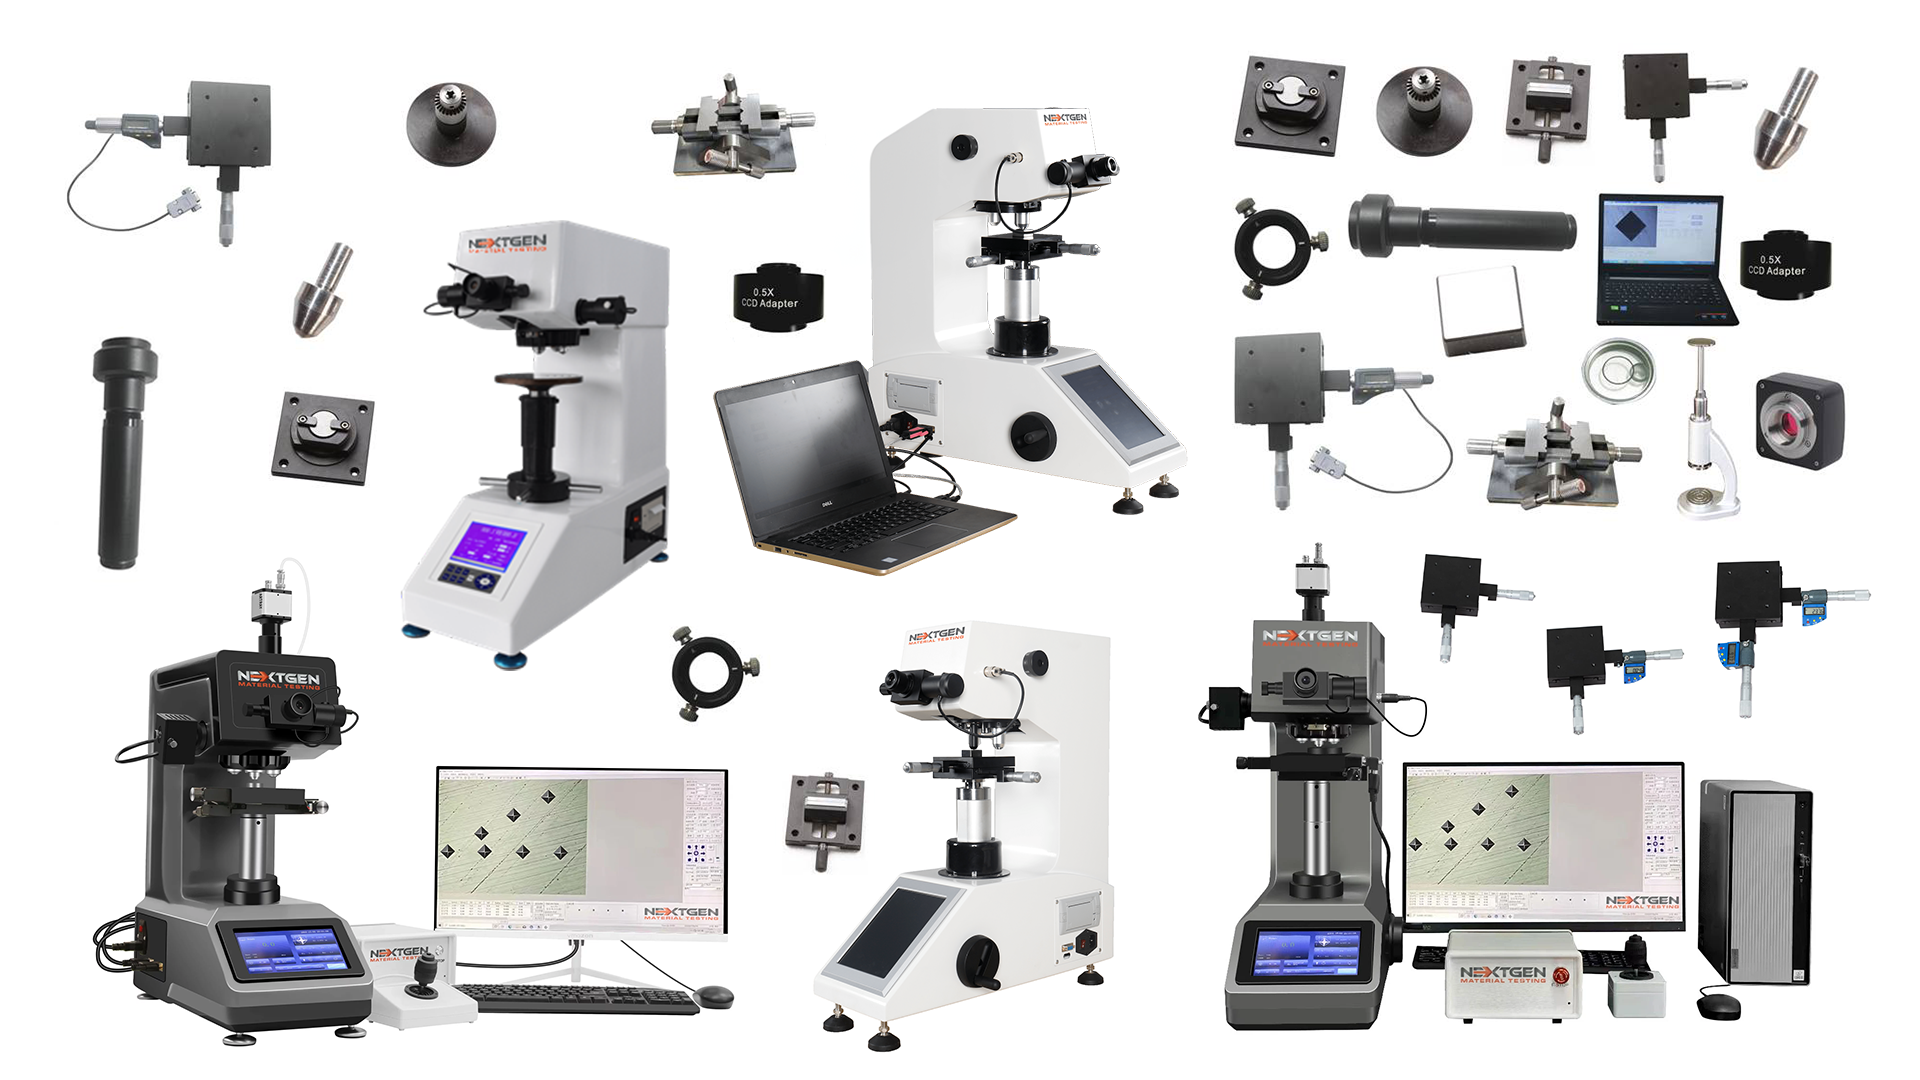
NextGen’s NG-Series testers bring a modern approach. The NG-1000 and NG-5000 systems combine accurate optics, automated loading, and smooth digital control to deliver consistent hardness data every time. Built in full compliance with ASTM and ISO standards, they make daily testing faster, clearer, and easier to manage.
This article introduces the basics of Vickers and Knoop hardness testing and highlights NextGen’s full range of solutions: NG-1000, NG-5000, certified test blocks, indenters, and metallography consumables designed for reliable work in today’s laboratories.
What Vickers and Knoop Testers Do
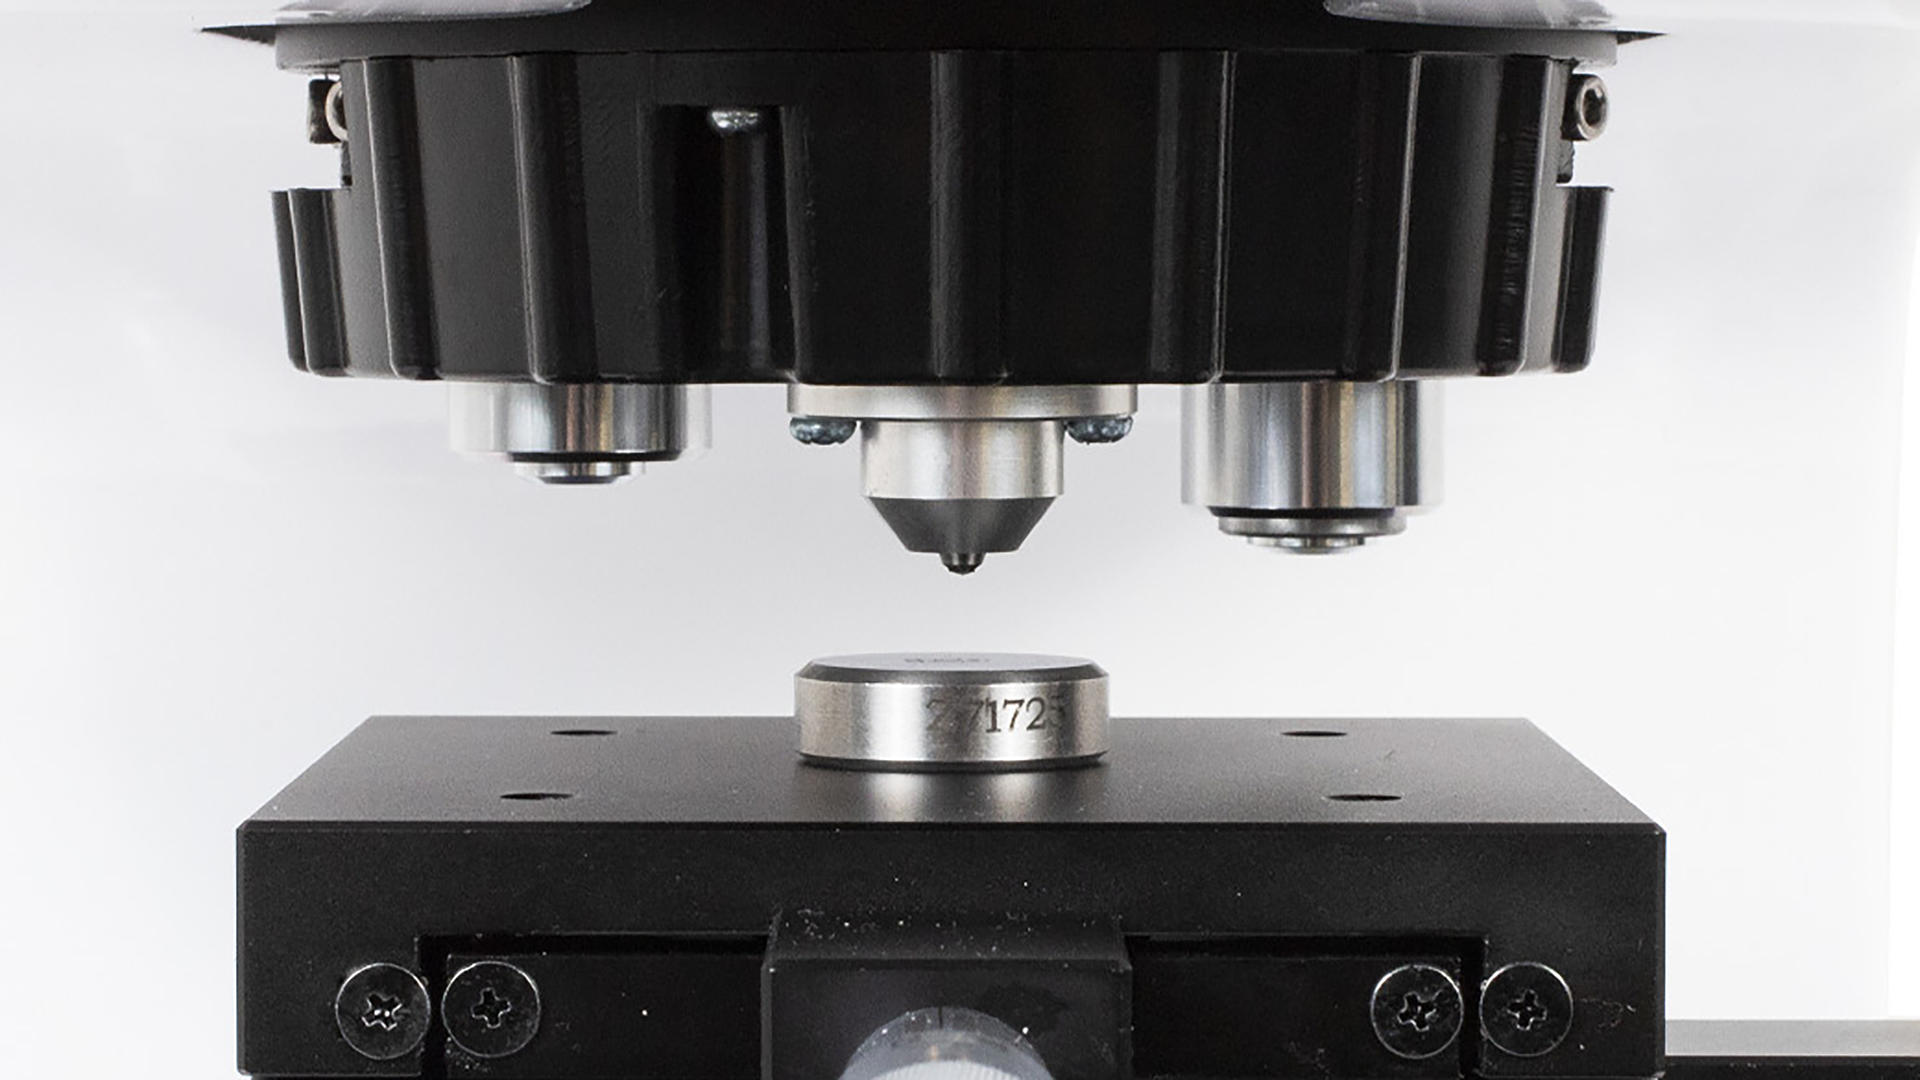
Before looking at the specific testers, it’s worth understanding how Vickers and Knoop methods actually measure hardness. Both use a diamond tip pressed into the material under a precise load, and the resulting indentation reveals how resistant that surface is to deformation. The principle is simple, but the execution demands precision. Small changes in force, dwell time, or surface finish can shift the reading, which is why these systems rely on fine optics and calibrated controls.
How the Methods Work
At the heart of both tests is a polished specimen and a diamond tip. The diamond is pressed into the surface under a defined force, held for a short dwell time, and then released. The resulting indentation reveals how resistant the material is to deformation.
The Vickers method uses a square-based pyramidal diamond with a 136° angle between opposite faces. Two diagonals are measured, and their average is used to calculate the Vickers Hardness Value (HV). This symmetry makes Vickers testing ideal for comparing different materials under varying loads.
The Knoop method, in contrast, uses an elongated diamond that produces a narrow rhombic impression. Only the long diagonal is measured to determine the Knoop Hardness Value (HK). Because it penetrates more shallowly than the Vickers pyramid, Knoop testing is especially effective for thin coatings, brittle layers, and micro-features where minimal damage is important.
Microhardness loads usually range from 1 gf up to about 1000 gf, while macro Vickers testing can extend to 30–50 kgf. The dwell period typically lasts 10 to 15 seconds, long enough for the material to respond fully to the applied force. Each test requires a smooth, well-polished surface, and the spacing between indents must follow strict rules to prevent overlap—usually at least two and a half times the diagonal length.
When to Use Each Method
Both methods aim to measure hardness accurately, but each fits a different kind of work. The Vickers method is often chosen for its versatility. Its symmetrical diamond shape gives stable results across many materials and load levels, from light tests on thin sheets to heavier tests on hardened steel. Because of that consistency, it remains a preferred option in laboratories that test metals, alloys, and heat-treated components.
The Knoop method shines in more delicate work. Because its indent is shallower and elongated, it excels in measuring hardness on thin coatings, brittle compounds, or micro-zones near edges where deeper impressions would distort results.
Standards and Daily Verification
Both testing methods follow international standards that define geometry, load accuracy, spacing, and calculation. The key documents are ASTM E384 for micro-indentation, ASTM E92 for Vickers on metallic materials, ISO 6507 for Vickers, and ISO 4545 for Knoop.
Routine verification is a must. A certified test block must be used at the start of each working day and after any change of indenter, anvil, or load setting. These checks confirm that the system remains within tolerance. Each reading is logged with the block ID, date, and deviation to maintain a traceable record. Over time, this data provides an audit trail and helps identify drift or wear before it affects results.
NextGen’s Line of Vickers and Knoop Hardness Testers
NextGen offers a complete line of Vickers and Knoop hardness testers designed for precision and daily reliability. The range includes both micro and macro systems, along with certified accessories and consumables that keep measurements consistent over time. Each model is built to match the workflow of modern laboratories: quick setup, clear operation, and accurate results.
The NG-Series stands out for its practical versatility. Whether a lab focuses on surface coatings or bulk materials, these testers deliver dependable readings that meet ASTM and ISO standards. Every unit is supported by available spare parts, calibration services, and responsive technical assistance, allowing users to keep their testing process stable and efficient.
NG-1000 Series — Micro Vickers and Knoop
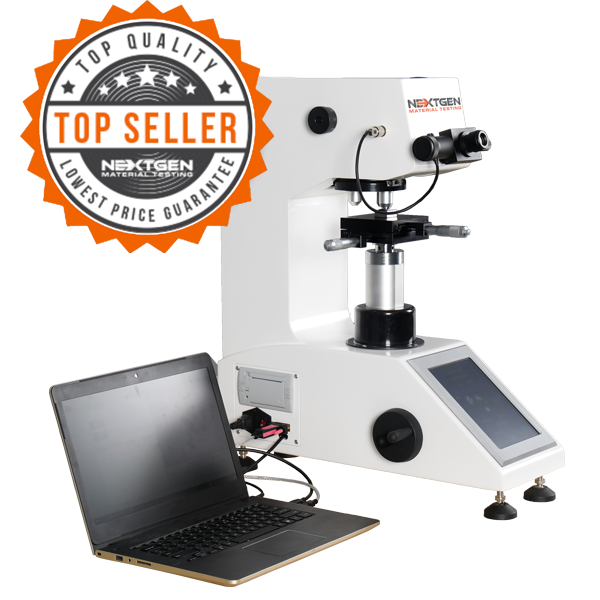 The NG-1000 Series is designed for micro-scale hardness testing across metals, coatings, and small components. It operates with loads from 10 grams-force to 1 kilogram-force and supports both Vickers (HV) and Knoop (HK) scales. The series includes three main configurations: AGEN for standard digital testing, DGEN with an encoder for direct reading transfer, and CCD with a built-in optical system and analysis software. Optional SEMI and FA models offer XY and Z-axis automation for faster workflows.
A motorized turret automatically switches between lenses and indenters. The loading cycle is fully automated, with adjustable dwell times from 1 to 99 seconds. Each model features a bright LED light source, a 0.01 μm resolution, and a large display for quick data viewing. The CCD version adds advanced software that measures indentations automatically, converts between hardness scales, and generates case-depth curves and statistical summaries. Results can be saved, grouped by part ID, and exported in Word or Excel format.
NG-5000 Series — Macro Vickers
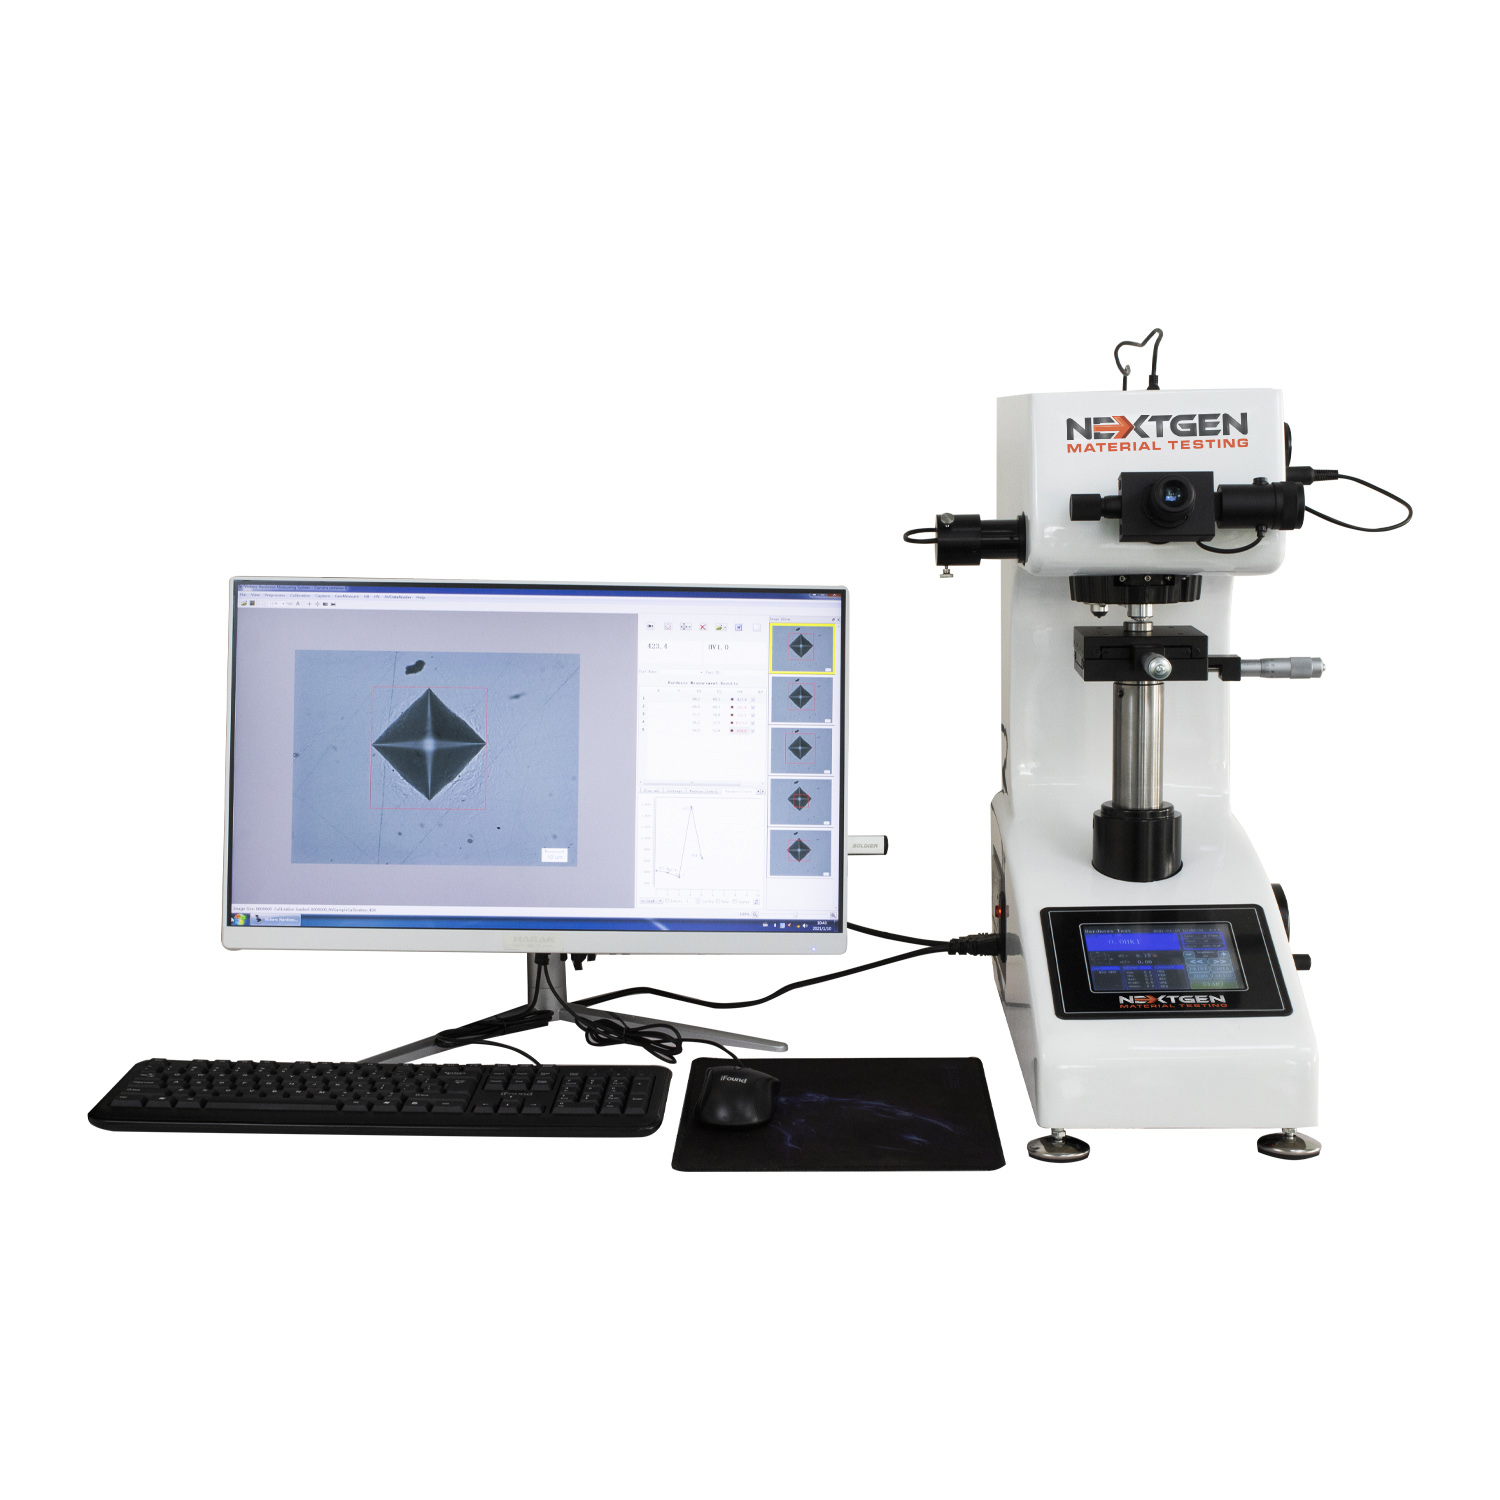 The NG-5000 Series brings the same precision to heavier loads, serving laboratories and production environments where larger specimens or higher forces are required. Models are available with maximum loads of 5, 10, 30, and 50 kilograms-force. Each tester includes an automatic loading cycle with a programmable dwell time, a motorized turret, and LED illumination that keeps surface reflections stable during measurement.
The series offers AGEN, DGEN, and CCD versions, each supporting SEMI and FA automation upgrades. The AGEN model features manual data entry, while the DGEN system captures readings directly through its encoder. The CCD configuration includes software that records and analyzes indentation images, producing accurate hardness values and complete statistical reports. Data can be printed immediately or transferred to a computer through USB or RS-232 connections.
The NG-5000 is most often used for testing base materials, welded joints, and heat-treated parts. Its combination of accuracy, strength, and digital convenience makes it suitable for laboratories that handle daily production checks or research applications requiring dependable macro-scale data.
Certified Blocks, Indenters, Stages, and Anvils
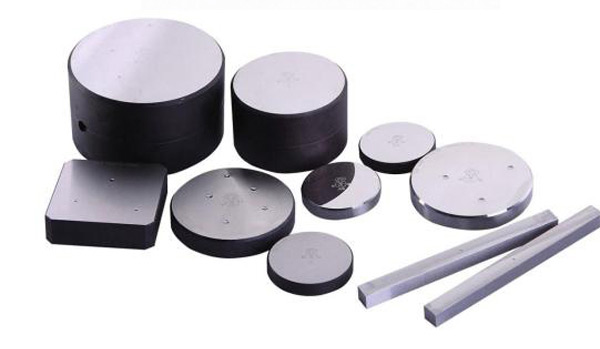
Accurate testing begins with certified reference materials. NextGen supplies a complete selection of test blocks, diamond indenters, stages, and anvils to maintain precision across every measurement. The range includes Rockwell, Superficial, Brinell, micro Vickers, heavy-load Vickers, and Knoop blocks. Each is certified in ISO/IEC 17025-accredited facilities and carries traceable calibration values for consistent daily use.
The accessory line also covers Vickers and Knoop diamond indenters, with a dual-indenter turret option for switching between testing methods without manual replacement. Adjustable XY micrometer stages, leveling fixtures, and anvils for flat and irregular samples are available to support consistent testing alignment. These accessories are designed for compatibility with both NG-1000 and NG-5000 systems.
Metallography Consumables for Hardness Testing
NextGen provides a complete range of metallography consumables to prepare test specimens before indentation. Proper preparation is essential for reliable readings, and the company’s consumables are made for both its own equipment and other brands.
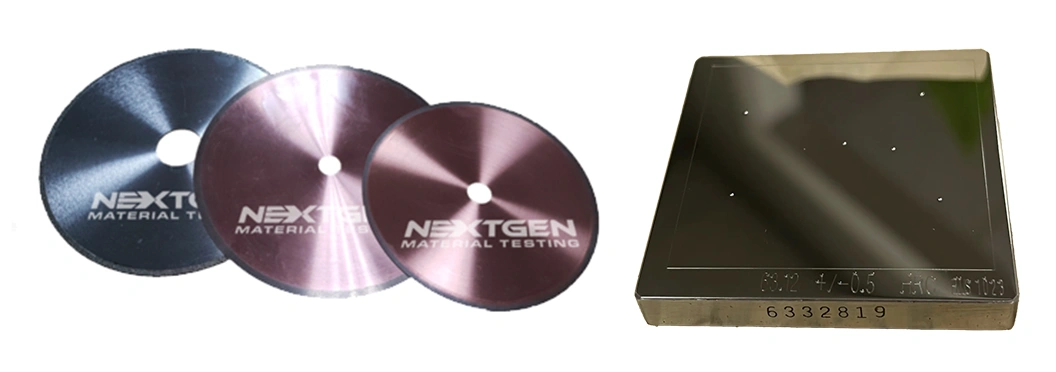 The lineup includes abrasive and precision sectioning blades, compatible fluids, and mounting resins for both hot and cold applications. Grinding and polishing media include diamond suspensions, papers, and composite disks for achieving mirror-quality finishes. Cleaning and etching agents are also available to reveal material structures and remove polishing residue. Each consumable is selected for consistency and compatibility, supporting laboratories in creating uniform, polished surfaces that meet hardness testing standards.
Who Benefits and Typical Scenarios
NextGen Vickers and Knoop hardness testers fit naturally into both laboratories and production floors. Their accuracy and steady performance make them practical for routine quality checks as well as detailed research and development work.
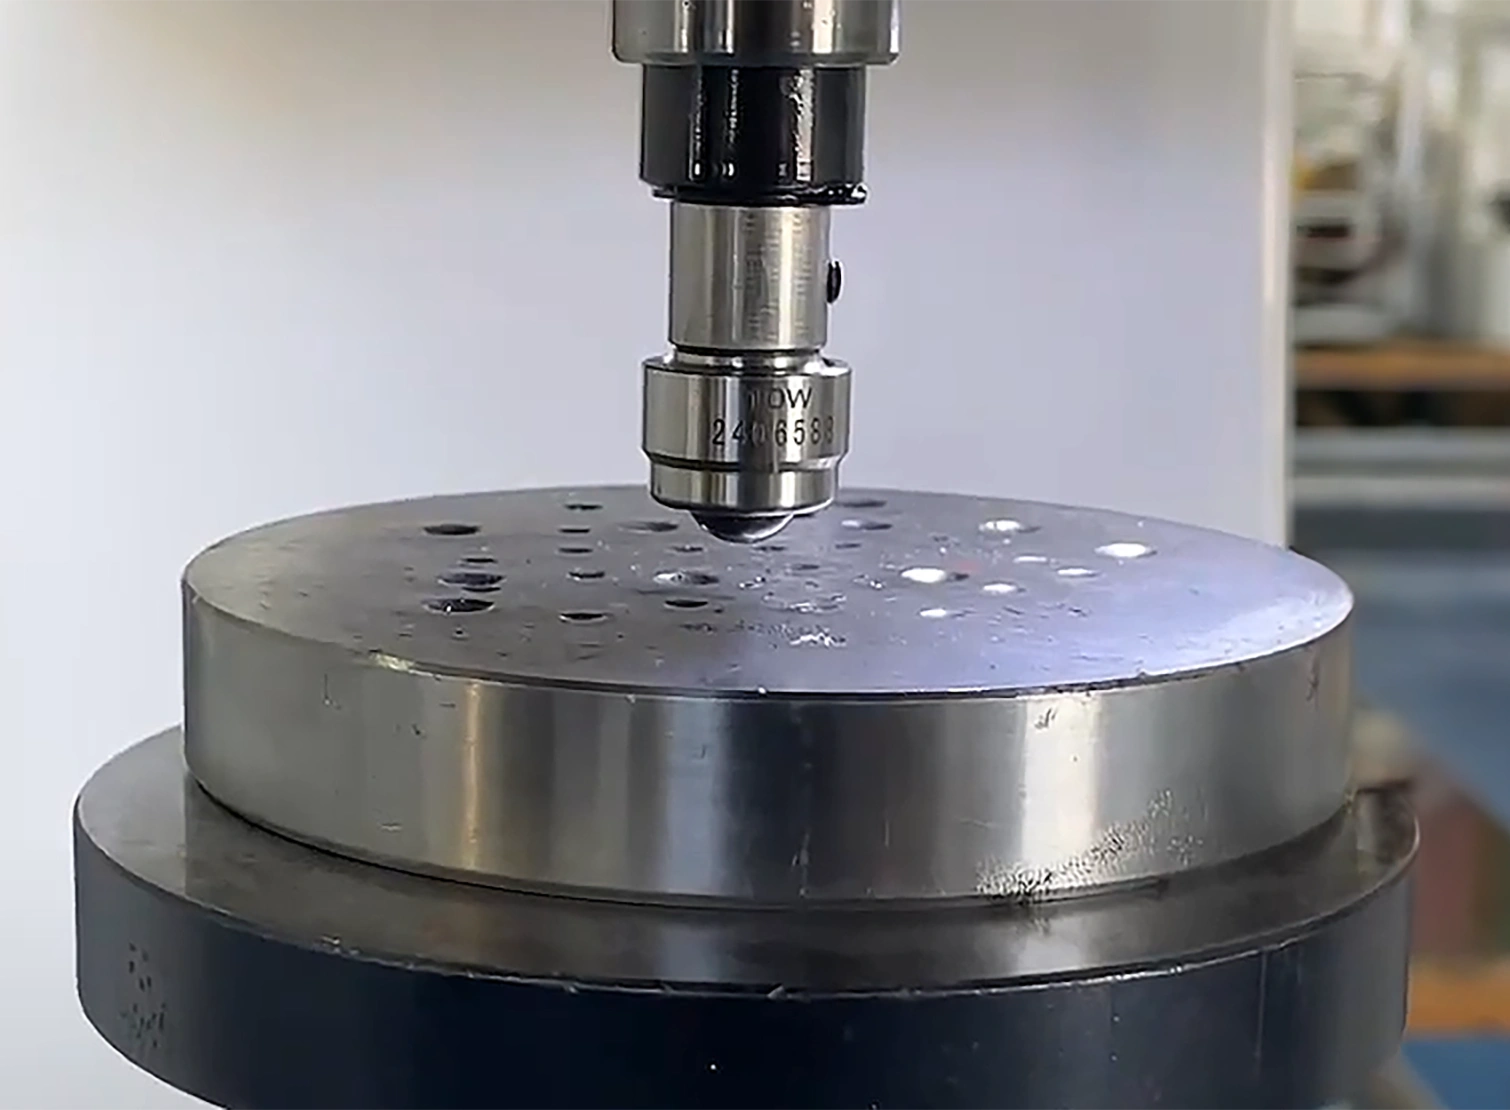
Quality assurance laboratories use these systems for shift-based checks and quick reporting. The testers provide repeatable results across mixed alloys and surface treatments, making them ideal for monitoring batch consistency and process stability.
Heat-treatment facilities rely on the NG-Series for evaluating hardened layers and case-depth profiles. Automated dwell control and consistent indentation spacing make these systems dependable for generating hardness gradients in treated steels and similar materials.
Coatings and surface analysis labs benefit from precise Knoop measurements on thin films, diffusion layers, and micro-scale samples. The testers’ optical precision allows accurate readings even on small, localized areas.
Research centers and educational institutions use the NG-1000 and NG-5000 models for method validation, material mapping, and training applications. The clear data workflow supports both practical study and structured experiments.
Why Choose NextGen
 Labs that demand consistency and long-term reliability often select NextGen systems. The NG-1000 and NG-5000 platforms have proven performance in many installations, standing the test of time under regular use. Support and parts remain available years after purchase.
The CCD optics and analysis software reduce variation from operator to operator. Automated measurement and image analysis minimize manual error and rework. When configuration options change, such as switching from micro to macro or adjusting loads, you’ll see stable results without retraining or shifting baselines.
NextGen maintains a full inventory of certified blocks, diamond indenters, stages, and test accessories. When reference materials or spare components are needed, labs can order replacements quickly. This availability helps maintain uptime and consistency for daily hardness testing.
Technical support is part of the package. Engineers assist with equipment selection during planning, guide installation, and offer training for operators. That hands-on support helps smooth initial setup and accelerates adoption. Over time, labs gain confidence in their processes and can rely on the system’s consistency rather than frequent adjustments or troubleshooting.
Reliable Hardness Data Starts With the Right Equipment
Hardness testing is only as strong as the system behind it. From thin coatings to hardened steel, laboratories need consistent readings they can trust. The NG-Series testers deliver that reliability every day. They combine precise mechanics, clear optics, and stable software control to keep data consistent across shifts and materials.
The NG-1000 and NG-5000 models cover the full range of Vickers and Knoop testing, from micro to macro. They meet ASTM and ISO standards, support automatic loading cycles, and provide clean digital reporting without unnecessary steps. With certified accessories and consumables available in stock, laboratories can keep their work running without delays.
If you would like more details, have specific questions, or want to discuss which configuration fits your lab best, request a quote or contact us directly. The NextGen team will help you choose the right solution and get testing started quickly.
